
Making a Wrapped Basket
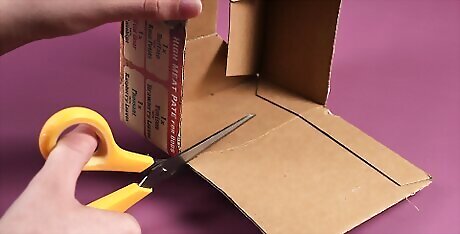
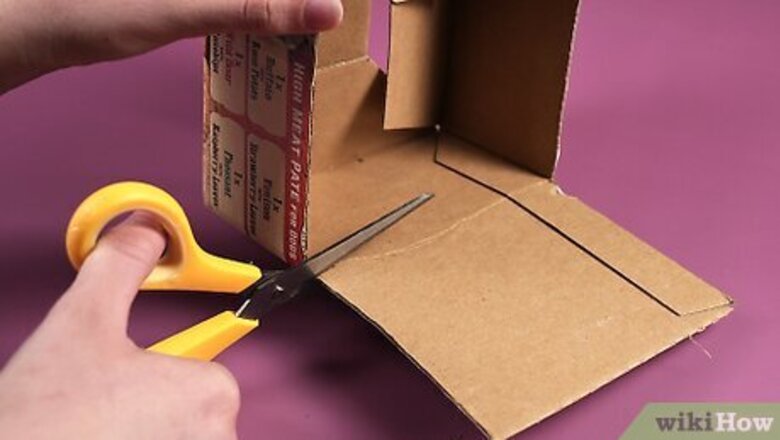
Cut the top flaps off of a cardboard box. You can do this with a pair of sharp scissors or with a box cutter. If your box is not very stable, now is the time to reinforce it with duct tape or packaging tape. Your box can be any size, but be aware that the bigger it is, the more glue and rope you will need.
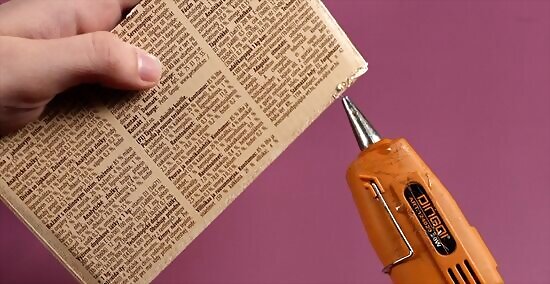
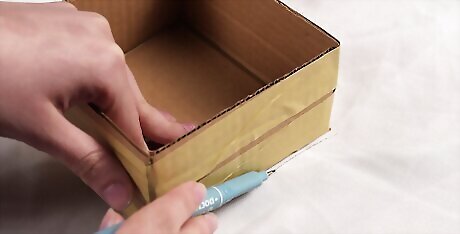
Draw a short line of hot glue along the bottom edge of the box. Plug in your hot glue gun, insert a hot glue stick, and let the gun heat up. Once it's hot, draw a 1 to 2-inch (2.54 to 5.08-centimeter) line of hot glue along the bottom edge of the box, close to one of the corners.
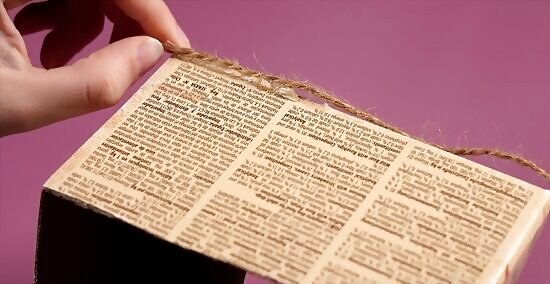
Quickly press the end of some jute cord into the glue. You can use any thickness of cord you'd like. Thinner cord would work better for smaller boxes, while thicker cord will work for larger ones.
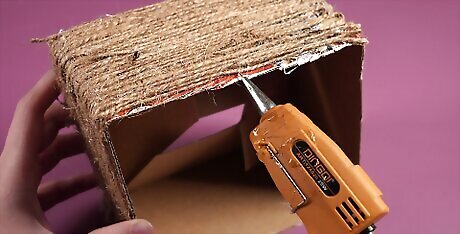
Continue gluing and wrapping the cord around the box until you reach the top of the box. Squeeze out another 1 to 2 inches (2.54 to 5.08 centimeters) of hot glue, and press the cord against it. Keep going around the box in rows until you reach the top of the box. Make sure that there aren't any gaps between the rows. If you don't have a lot of glue, you can glue the cord down every few inches. Avoid squeezing out too much hot glue at one time; hot glue sets fast.
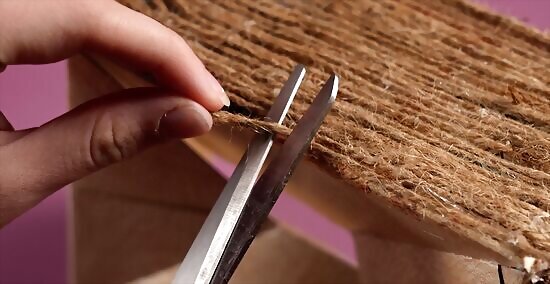
Trim the excess rope off. If you need to, secure the end with more hot glue. Your basket at this point is essentially complete, or you can read on to learn how to make a lining and give it a nicer finish.
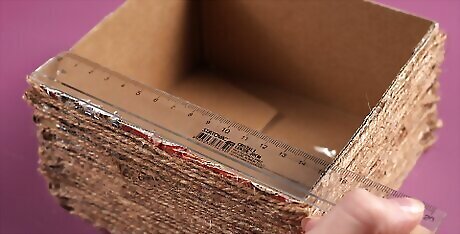
Measure the inside of your box to get the dimensions for a lining. Use a ruler or measuring tape to measure the length and width of the bottom of the box. If the sides are different sizes, be sure to take their measurements too.
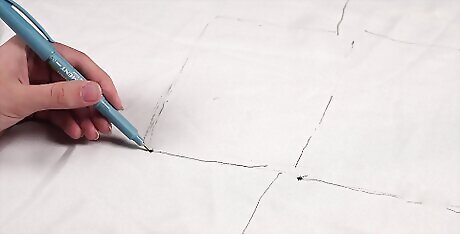
Draw your pattern on the wrong side of a large piece of fabric. Draw the base of the box in the middle of the fabric, and the walls to each side of the base. You will end up with something that looks like a giant + sign. You can use any type of fabric you want. Because of how rustic jute cord is, cotton, linen, or canvas would work best.
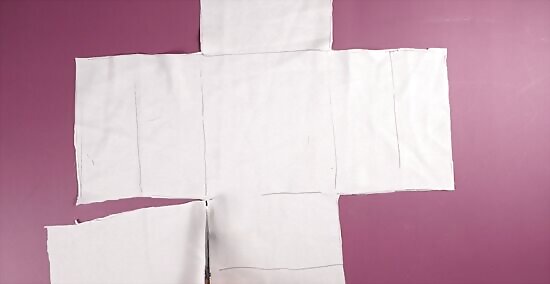
Cut your pattern out. Leave behind a ½-inch (1.27-centimeter) seam on every edge. If you don't, your lining will be too small.

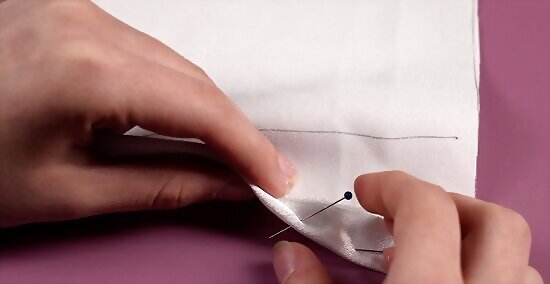
Pin and sew the "walls" of the lining together. Fold each of the walls together, so that their edges meet, and pin them in place. You should have something that looks like a box. When you're done pinning, sew the four corners using a ½-inch (1.27-centimeter) seam allowance. Remove the pins when you are done and don't turn the lining inside out.
Fold the top hem down by ½ inch (1.27 centimeters), and topstitch it. Fold the hem down all the way around the top edge of the lining, and pin it in place. Make sure that you are folding towards the wrong side of the lining, where the seams are. Topstitch close to the raw edge, then remove the pins.
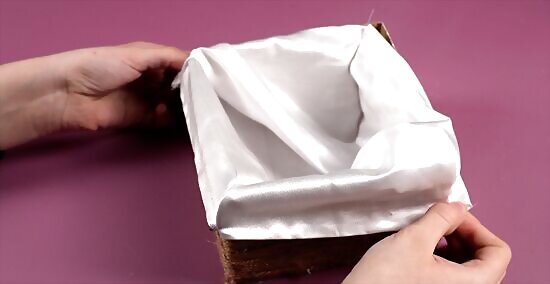
Insert the lining, and secure it with more hot glue. Set the lining into the basket. If the fabric is flimsy, like cotton, clip the hem to the edge of the basket with clothespins or binder clips. Hot glue the hem, inch by inch (2.54 centimeters) to the top edge of the box, removing the clothespins/binder clips as you do so.
Making a Woven Basket
Trace the base of a box onto a sheet of fabric or felt, then cut the fabric out. This will make the inner lining of your basket. For a neater finish, cut two pieces of fabric or felt. Set these aside when you are done. You can use any size of box you want. Keep in mind that, the bigger your box is, the more rope you will need to use.
Cut the top flaps off of the box, then cut the box apart at the corners. You can use a pair of sharp scissors or a box cutter to do this. Cut the flaps off first, then cut straight down each of the four corners. Flatten the box, so that you end up with something that looks like a +.
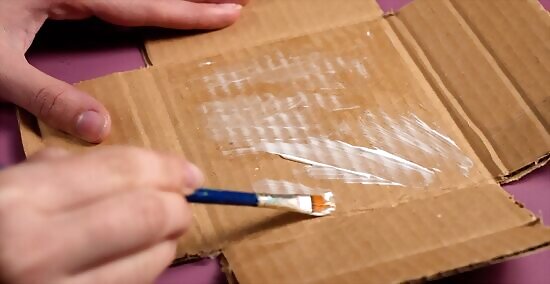
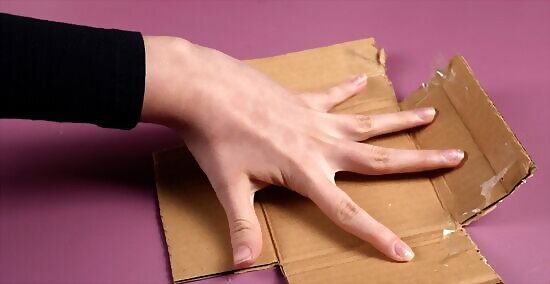
Glue your fabric/felt to the base of the box. Coat the base of the box using tacky glue and a stiff paintbrush, then place the material on top. Smooth out any wrinkles. If you cut two pieces of material, be sure to glue the other one to the underside of the box as well.
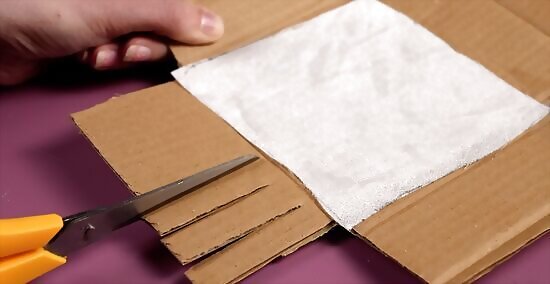
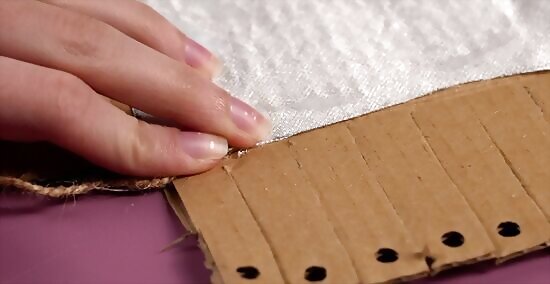
Cut ⅛-inch (0.32-centimeter) thick slits into each flap. Cut the slits from the edge of the flap all the way to the crease. Make sure that the slits are evenly spaced apart—including the side edges of each flap. About 1 inch (2.54 centimeters) apart should work for most size boxes. These will make the "fingers" of your basket. Be sure to cut slightly into the fabric/felt lining as well. This will allow you to "catch" the lining as you weave and prevent raw edges. The slits need to be about ⅛-inch (0.32-centimeter) wide to accommodate the string you will be weaving around the "fingers." If you are using a very big box, you may have to use thicker cord so that it will be more proportionate. Make your slits about ¼-inch (0.64-centimeter) wide to accommodate the thickness of the cord.
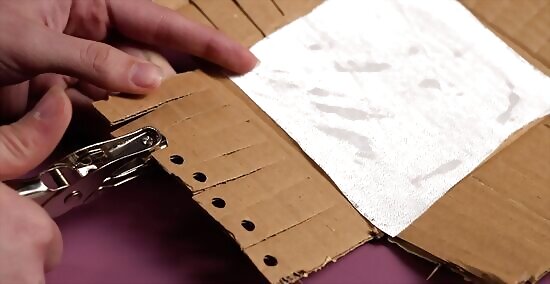
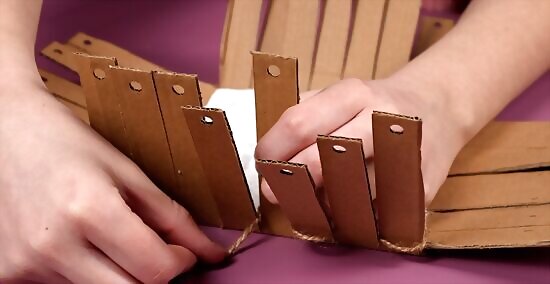
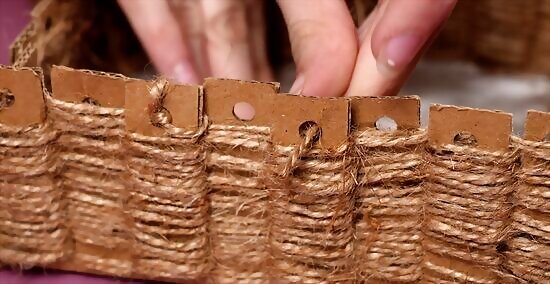
Punch a hole into each finger, close to the upper, narrow edge. Try to center each hole as much as possible. You will be weaving the cord through these holes at the end, so make them as close to the edge of each finger as possible—about ⅛ to ¼-inch (0.32 to 0.64-centimeter) will be enough. Depending on the thickness of your box, you may be able to use a regular hole puncher. If your box is too thick, you can punch the holes with a nail instead.
Hot glue the end of some jute cord to the base of one finger. Choose a "finger" at the edge of one of the flaps. Draw a 1-inch (2.54-centimeter) line of hot glue across the finger, right next to the crease. Quickly press the end of your cord against the glue. The thinner the cord is, the better.
Begin weaving the cord over and under each finger. When you reach the opposite end of the flap, fold the flap and the one next to it together to make a corner, and continue weaving. When you are done with your first row, the walls should be standing in their original positions. Be sure to weave tightly at the corners. Be sure to weave over the fabric/felt. This will pin the material to the "fingers" and widen the raw edges.
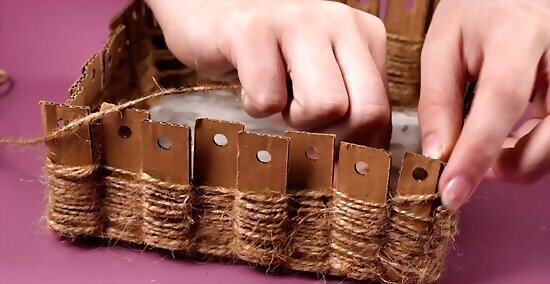
Continue weaving until you are partway up the holes you punched. Every so often, use your fingers to push down on the rows. This keeps your weave nice and right, and prevents gaps. Make sure that the gaps left inside the holes are still big enough for the cord to fit through. If you run out of cord, tie the end of a new cord to it, and continue weaving. Tuck the tail ends of the knot under the cord as you weave.
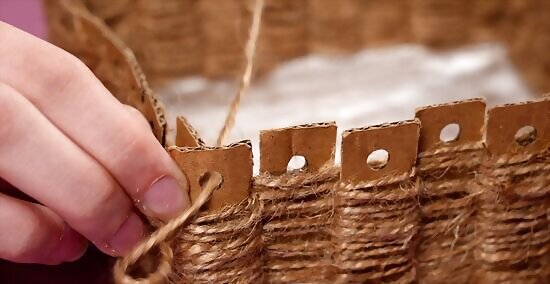
Begin weaving over the top edge of the basket. Weave the cord under a finger, then pull it up through the finger's hole. Pull the cord up, then feed it through the hole again. Keep your weaving on this part loose.
Skip a hole and feed the rope through the next one. Pull the cord past the adjacent hole, bring it behind the finger, and push it out through the hole. Keep weaving the cord through every other hole until you are back where you started.
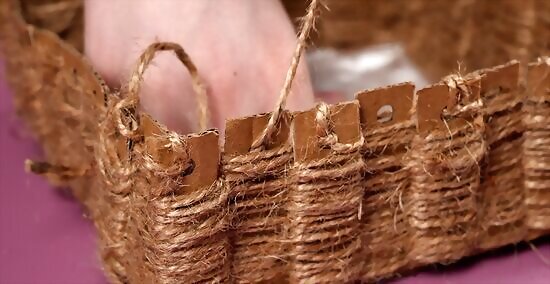
Finish the top of the box. When you get back to where you started, every other finger should have an empty hole. Continue weaving your cord over the fingers, and through the empty holes. You may have to make several rounds like this, until the holes are filled, and tops of the fingers are covered.

Cut and knot the cord when you are done. Once the top of the basket is to your liking, cut the cord, leaving a tail that is a few inches/centimeters long. Tie the tail to one of the cords on the inside of the basket, and trim it off. If you are worried about it unraveling, secure it with a drop of glue.
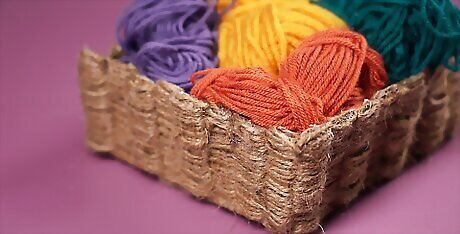
Finished.


Comments
0 comment