
Creating PSD Files
Launch Adobe Photoshop. Any version of Photoshop will support the creation of PSD files.
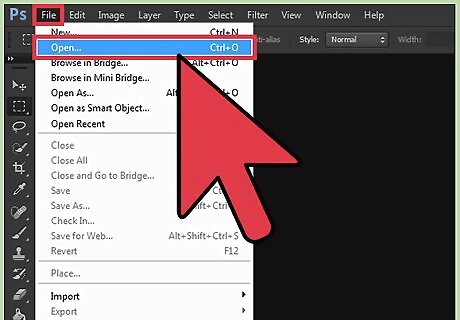
Open an image file. Most Photoshop projects begin with a base image. Go to “File > Open” and browse for an image file you wish to make changes to (e.g. .jpg, .gif, .png). Unsupported filetypes will not show in the browsing window. When you find one you like, select it and press “Open”. Multiple images can be opened at once by pressing Ctrl + click (⌘ Cmd + click on Mac) and selecting multiple files in the browsing window. Alternatively, if you want to start a project from scratch, you can go to “File > New”.
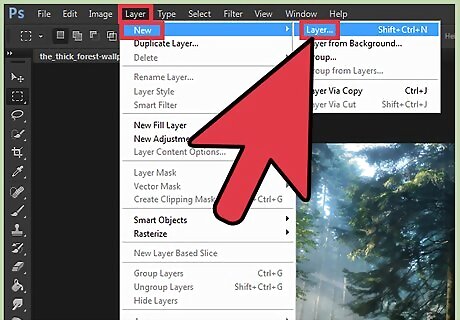
Add a layer to your photo. Go to the “Layer" menu and select "Add New Layer”. Layers allow you to make edits without altering the base image. You can draw on layers, add filters, and more. You can add as many separate layers as you like to alter your photo. You can make a duplicate of the base background layer by right-clicking (Ctrl + click on Mac) and selecting “Duplicate Layer”. This way you can work on the photo in a duplicate while preserving the base image in its own background layer.
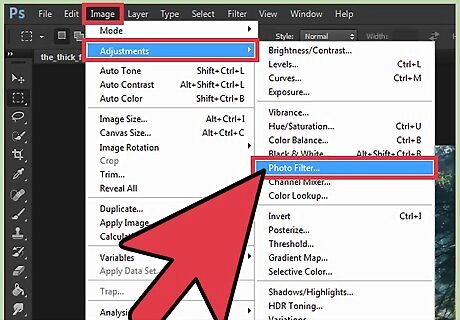
Add a filter to your photo (optional). Go to the "Image" menu and select "Filters" This will open a menu with a number of filter options. Filters offer a quick and easy way to make preset stylistic adjustments to your photo.
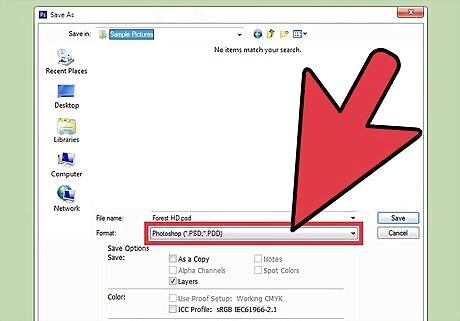
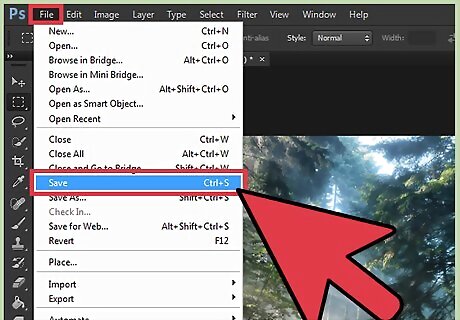
Save your PSD file. When you are finished editing (for now), go to “File > Save As…”. In the dropdown menu, make sure .PSD is selected as the filetype. If you created the PSD from an existing image, the PSD will be a separate file with your changes made. Photoshop will also automatically prompt you to save your work (if you haven't already) upon exiting the program.
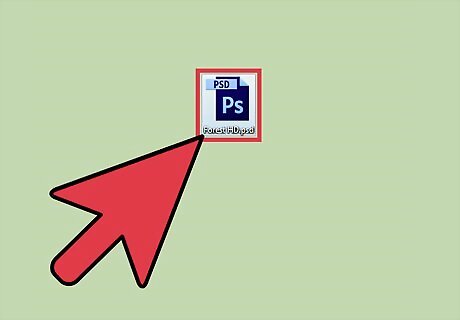
Resume editing your PSD. Double-click your new PSD or go to “File > Open” in Photoshop. Upon opening, your layers and edits will remain intact and can be adjusted, removed, or added upon.
Shrinking PSD Files

Open a PSD file in Photoshop. Double-click a PSD file or go to “File > Open” in Photoshop. With successive edits and additions, PSD files can often grow into very large files. Shrinking them, without the loss of your content or image quality, is helpful for sharing and storing your Photoshop projects.
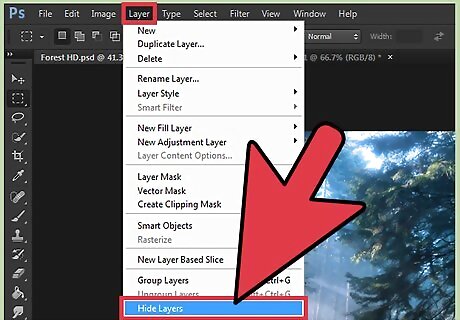
Hide all layers. In the Photoshop menu bar, select “Layer > Hide Layers”. Layers can also be hidden one at a time by clicking the eye icon next to each layer.
Save your file. Go to “File > Save” to save your changes (the file will remain in .PSD format).
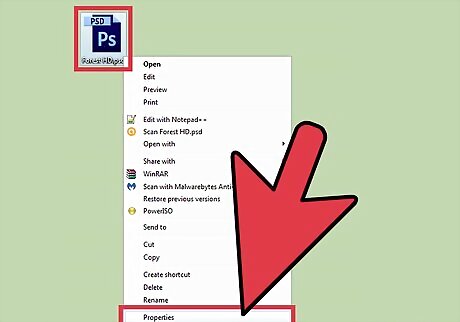
Observe the smaller filesize. Use “right-click > Properties” (Windows) or “File > Get Info” (Mac) to view the filesize of your shrunken PSD. Some users report up to a 33% reduction in filesize! When resuming work, the layers can be unhidden from the “Layer” menu or press the eye icon next to each layer.


Comments
0 comment