views
Connecting Your Computer to the TV
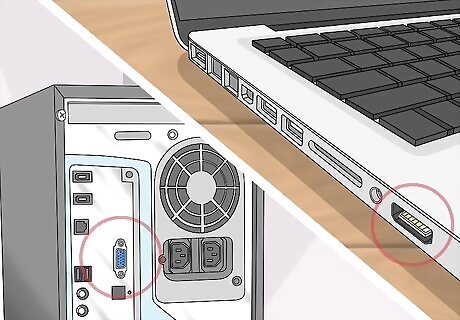
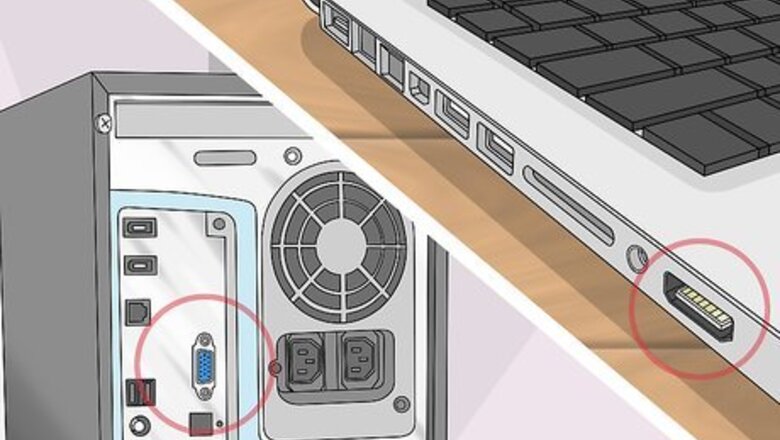
Find your computer's video output port. Virtually all computers have at least one video output port: Windows HDMI - A six-sided, tapered port. Transmits both audio and video. DisplayPort - Similar to a USB port, but with one crimped corner. Transmits both audio and video. VGA - A blue trapezoid with holes in it. VGA transmits video, but you will need a separate audio cable (such as A/V cables) to transmit sound. Mac HDMI - Found most often on Macs manufactured between 2012 and 2016. Also found on the backs of iMac computers. Thunderbolt 3 (also known as "USB-C") - Found on the sides of modern MacBooks and the backs of iMacs. You can't connect a USB-C cable directly to a TV, but you can buy a USB-C to HDMI adapter.
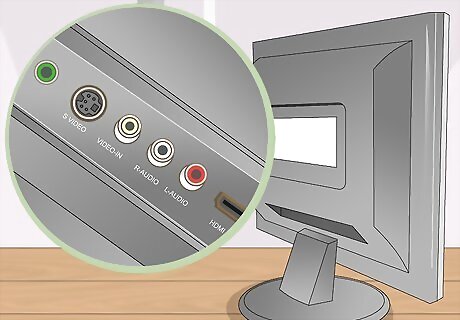
Find your TV's video input options. You'll usually find the video input section on the side or back of the TV. Nearly all modern TVs have HDMI ports; if your TV has an HDMI port, try to prioritize it. Other common input ports include DVI, VGA, and A/V inputs.
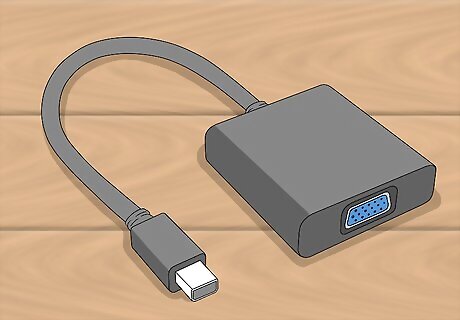
Determine whether or not you need an adapter. If both your computer and your TV have the same port type (e.g., HDMI), you do not need an adapter; otherwise, you'll need a [computer port] to [TV port] cable or adapter (e.g., USB-C to HDMI). Several options, such as USB-C to HDMI or VGA to HDMI, are available as single cables rather than needing adapters.
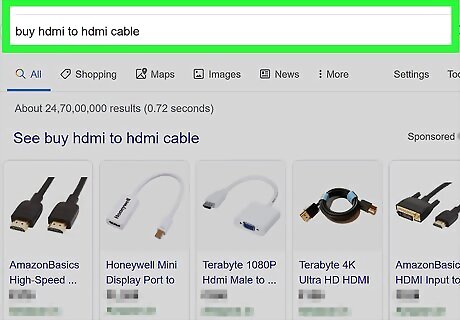
Buy any adapters and cables that you need. You can usually pick up cables and adapters in tech stores such as Best Buy, as well as online in places like Amazon and eBay.
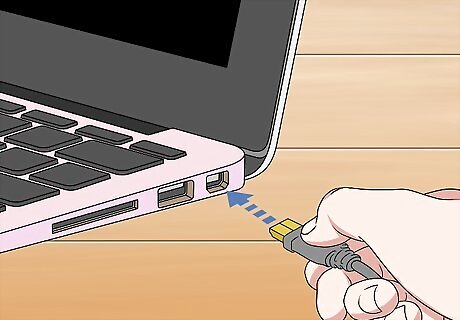
Plug one end of the cable into your computer. The cable should plug into your computer's video output port.
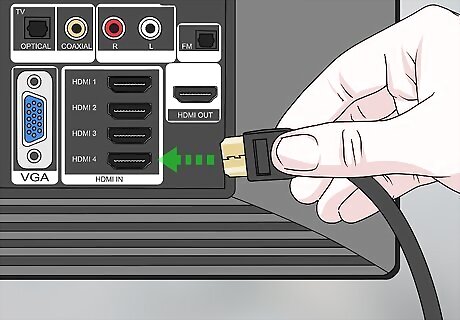
Plug the other end of the cable into your TV. If you bought an adapter to bridge the gap between two separate cables, you'll instead plug the computer's cable into one end of the adapter, attach the other end of the adapter to the other cable, and plug the other cable into the TV.
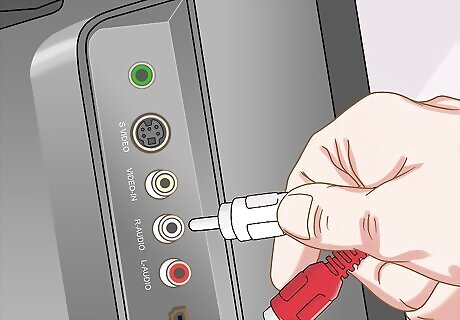
Connect an audio cable if necessary. If you are connecting your computer to your TV using HDMI-to-HDMI or DisplayPort-to-HDMI, you don't need any extra cables to send audio to the TV. If you're using a different connection, including something like VGA-to-HDMI, you'll need to use a separate audio cable to send audio from your computer to your TV. Use a standard 3.5mm stereo cable to connect the Audio Out port on your computer to the Audio In port that matches the input you're connected to on the TV. The Audio Out port on your computer is usually green, and may have a symbol indicating that it is sending signal out.
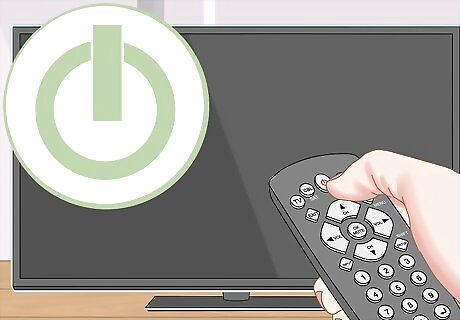
Turn on the TV. Press the TV's Power Windows Power button to do so.
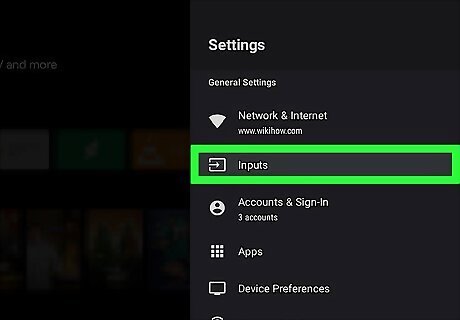
Switch your TV to the correct input. Use your TV's remote to turn it on and switch to the input that you connected your computer to. The input in question will usually have a label, such as "HDMI 1" or "1". You can also use the Input or Video button on your TV to cycle through the available inputs.
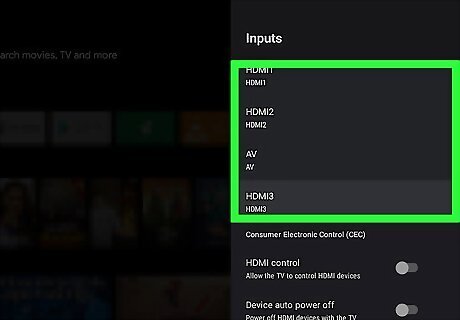
Wait for your computer's screen to appear. Once you see your computer's screen appear on the TV, you can proceed with changing your display settings to set up your TV's screen as you like.
Changing Display Settings on Windows

Open Start Windows Start. Click the Windows logo in the bottom-left corner of the screen. The Start menu will open.
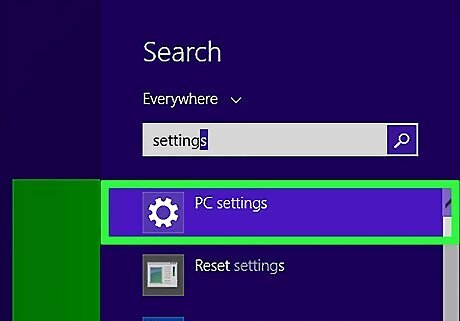
Open Settings Windows Settings. Click the gear-shaped icon in the lower-left side of the menu.
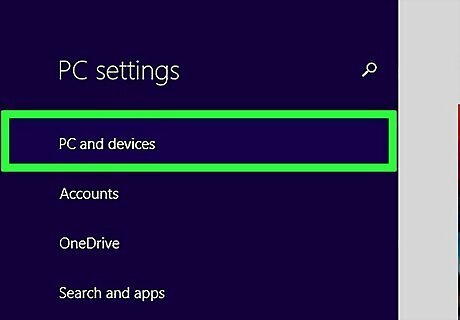
Click System. It's a computer-shaped icon in the Settings window.
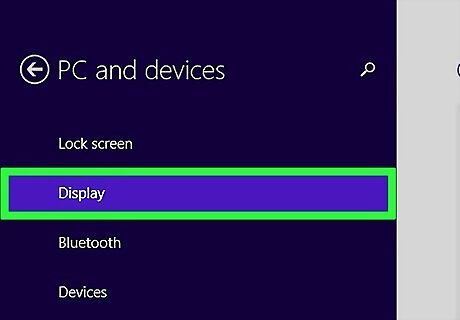
Click the Display tab. This option is on the left side of the Display window.
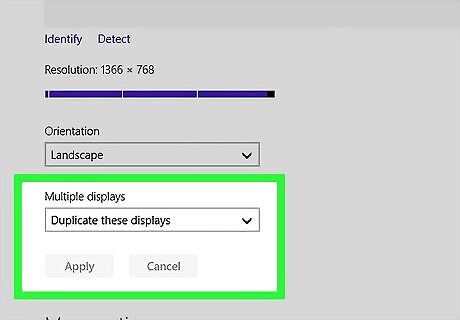
Scroll down to the "Multiple displays" section. It's near the bottom of the page.
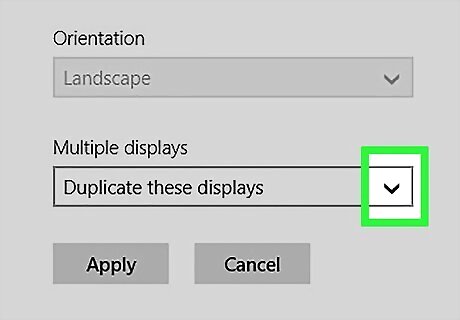
Click the "Multiple displays" drop-down box. Doing so prompts a drop-down menu.
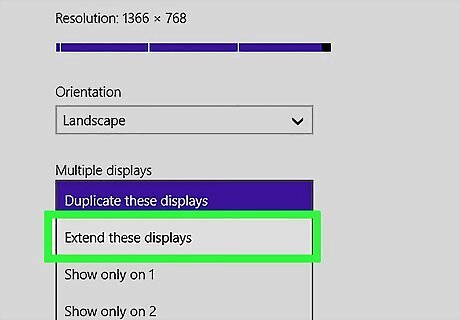
Click Extend these displays. It's an option in the drop-down box. This will ensure that your TV's screen acts as a continuation of your PC's screen (rather than just duplicating it).
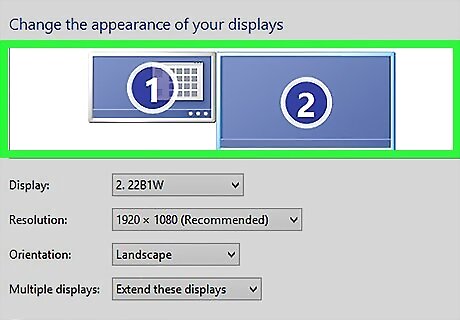
Use your extended TV display. Moving your mouse all the way to the right edge of your computer will move the mouse onto your TV's screen, where you can proceed to use the computer like usual. Any content on your computer's screen will remain as it was before extending the display. Think of the TV as a screen immediately to the right of your computer's screen.
Changing Display Settings on Mac
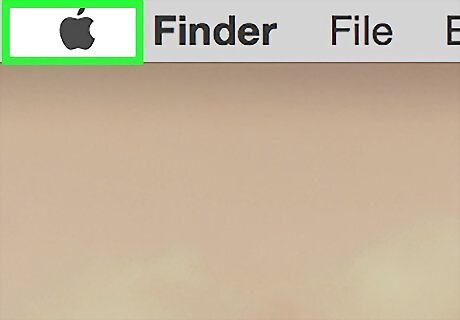
Open the Apple menu Mac Apple. Click the Apple logo in the top-left corner of the screen. A drop-down menu will appear.
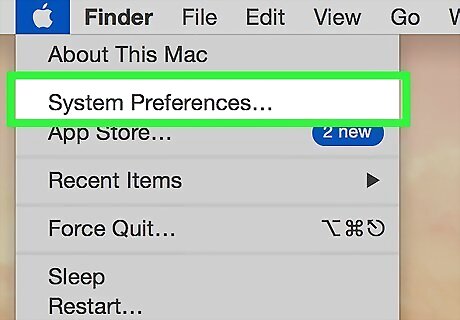
Click System Preferences…. It's near the top of the drop-down menu. Doing so opens the System Preferences window.
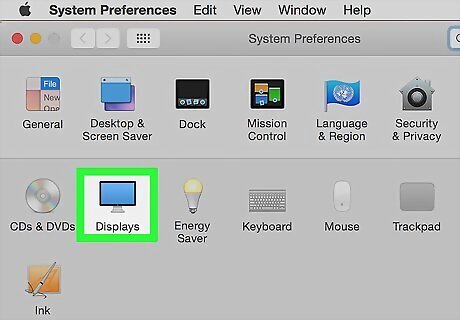
Click Displays. This computer monitor-shaped icon is in the middle of the System Preferences window.
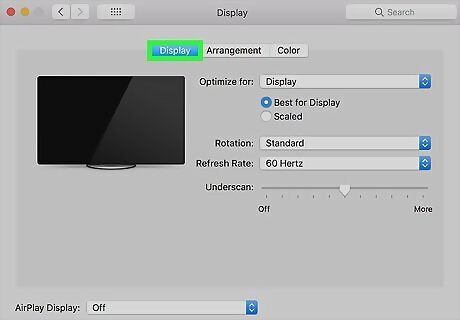
Click the Displays tab. It's in the upper-left corner of the window.
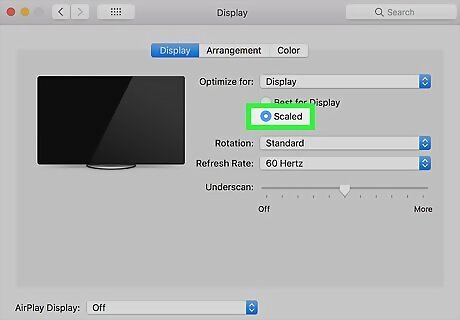
Change the TV's resolution. Check the "Scaled" box, then click a resolution. You can't use a resolution that's higher than your TV's built-in resolution (e.g., 4K).
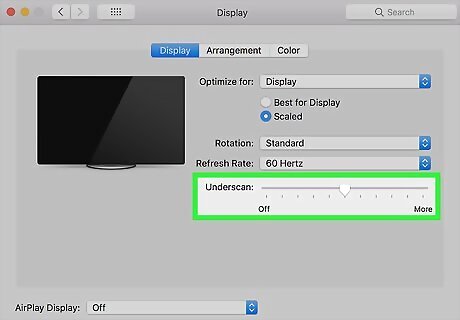
Change the screen scaling. Click and drag the "Underscan" slider that's at the bottom of the page left to show more of your Mac's screen on the TV or right to zoom in the screen. This will help you fit your Mac's screen to your TV if the image on the TV is too large or too small.
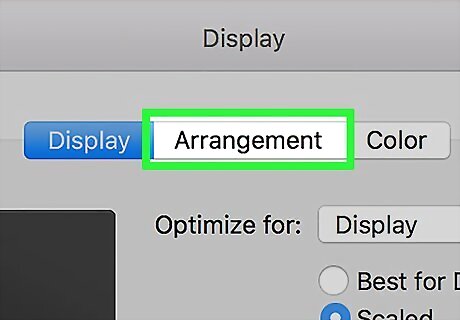
Click the Arrangement tab. You'll find this option at the top of window.
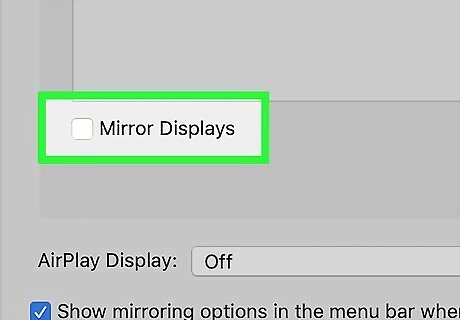
Uncheck the "Mirror displays" box. This will prevent the TV from merely duplicating what you see on your Mac. Skip this step if the box is unchecked.
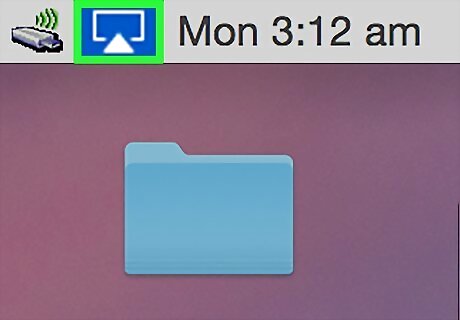
Move the TV's screen icon if necessary. The TV's screen icon, which is usually the larger rectangle at the top of the window, should be to the right of your Mac's screen icon. You can click and drag the TV's icon to the right if necessary. The screen icon with the white bar at the top of it is your Mac's screen.
Use your extended TV display. Moving your mouse all the way to the right edge of your computer will move the mouse onto your TV's screen, where you can proceed to use the computer like usual. Any content on your computer's screen will remain as it was before extending the display.






Comments
0 comment