views
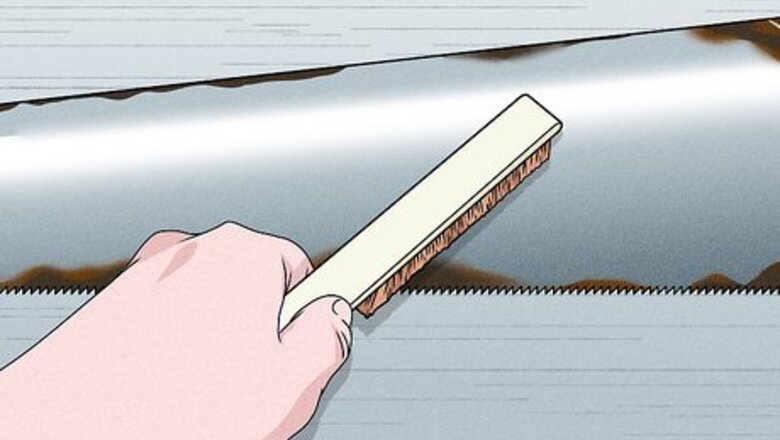
Clean off any rust.
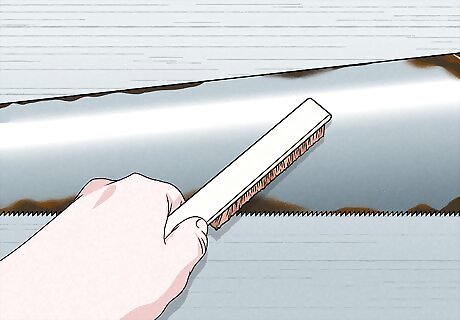
Use a wire brush to remove rust before sharpening your saw. If your hand saw is old or has been sitting out for a while, it might look a little dingy or rusty. Clean it up by using a wire brush and gently scrubbing away the rust. This will help keep your saw clean and make it last even longer. If left untouched, rust can eventually eat through the metal in your saw, making it unusable.
Clamp the saw with a saw vise.
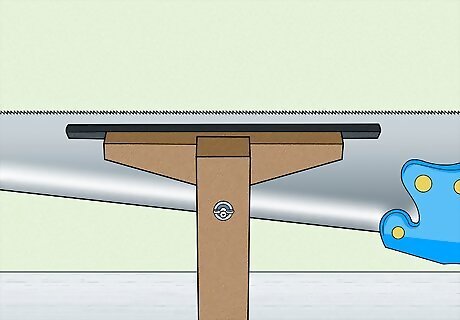
Use a saw vise to keep your saw in place blade-up. Saw vises are slightly different from other clamps that you might already have in your woodworking arsenal. If you don’t have one already, invest in a saw vise, then clamp it around the saw blade with the teeth pointing up. Make sure that the saw is completely clamped and immobile before you start filing. Trying to file a saw without a saw vise is dangerous, and can lead to injury.
Set the teeth with a saw set if they’re crooked.
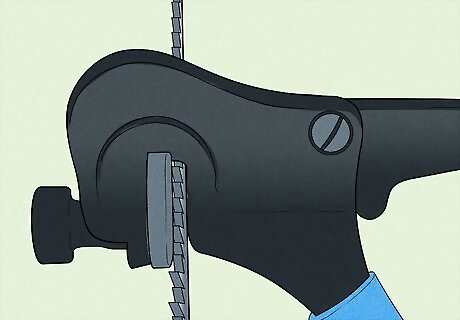
Straighten your saw teeth to ensure an even file. Once your saw is clamped, lower down to the saw’s level and take a look at the teeth. If they look jagged or crooked, grab a saw set (which looks like a form of pliers) and clamp it around 1 tooth. Press the handles of the saw set together to clamp the tooth, then release. Use the saw set on any teeth that aren’t completely straight. Saw sets are small, and they can be difficult to see into. If you’re having trouble, make sure that you have a light shining onto your saw, and use a magnifying glass to see up close.
Use a jointer if the teeth are different lengths.
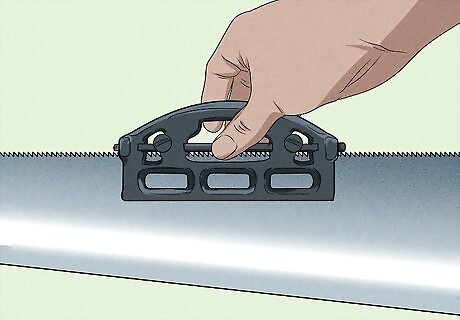
Jointers flatten out any teeth that are taller than the others. If you notice that your saw has dulled unevenly, grab a jointer and place it around the teeth of the saw. Slide it slowly from one end of the saw to the other, using a steady, even downwards pressure. Once you’ve done one pass, take a look at the saw teeth again. If they’re even, you can stop. If the saw teeth are still uneven, use the jointer again. Only use the jointer for 2 or 3 passes at most to avoid dulling your saw.
Pick a file that matches your teeth per inch.
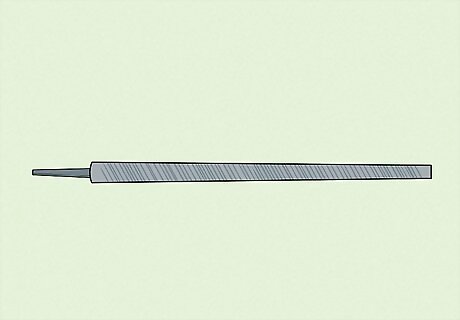
Different file sizes are better for different saws. Either take a look at your saw’s manual to find the teeth per inch (also sometimes called the “pitch”), or simply measure 1 inch of your saw and count the teeth within. Then, pick a file that works for your saw. If you aren’t sure or you want a variety, buy a saw sharpener file kit. Use these guidelines as a reference: 5 teeth per inch: 7"/175mm Regular Taper or 6"/150mm Heavy Taper 5 ½ teeth per inch: 7" /175mm Regular Taper or 6" /150mm Heavy Taper 6 teeth per inch: 7" /175mm or 8" /200mm Slim Taper 7 teeth per inch: 6" /150mm, 7" /175mm Slim Taper and 9" /225mm or 10" /250mm Double Ender 8 teeth per inch: 6" /150mm Slim Taper or 7" /175mm Extra Slim Taper or 9"/225mm Double Ender 9 teeth per inch: 6" /150mm Extra Slim Taper, 7"/175mm Double Extra Slim Taper or 8"/200mm Double Ender 10 teeth per inch: 5" /125mm or 6" /150mm Extra Slim Taper, 6"/150mm Double Ender
Attach a handle to the file for safety.
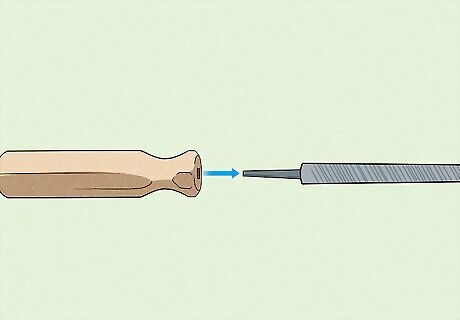
Handles will help keep the file steady as you work. You might find that your file comes as-is without a wooden handle. This is fine for some projects, but when sharpening a saw, you need a handle for extra security. Order a wooden handle along with your file, then slot the file into the handle before you start working. Using a file without a handle leaves your fingers unprotected, and it’s much more likely that you’ll cut yourself on the saw blade.
Hold the file in a straight line perpendicular to the saw blade.
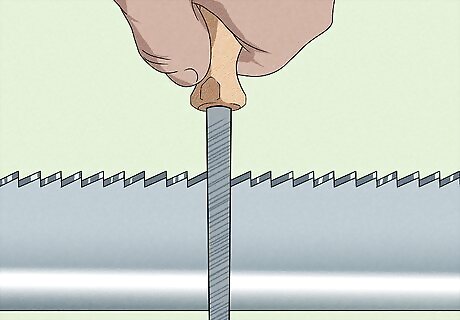
Keep the file straight to sharpen the teeth evenly. Grab your file and set it in between 2 teeth. You’ll notice that your file is a triangle shape, which makes it perfect for sitting in between the teeth. Keep the file straight, and hold it perpendicular to the saw blade the whole time you file. Tilting or twisting the file can cause it to sharpen unevenly. Try to hold it as steady as you can the entire time.
Use short, even strokes to pull the file.
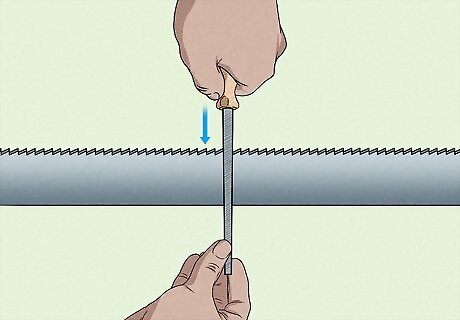
Short strokes ensure that you get an even file. Start on the saw tooth that is pointing away from the saw’s handle. Grasp the file with both hands, one on either end of the file. Pull the file between the teeth, going from one side to the other, working in small, quick strokes. Try to keep an even pressure, and don’t press down too hard on the saw. Think of the movement as pulling rather than pushing. Pulling the file through gently will give your teeth a sharp, even point.
Skip every other tooth.

Most saws have alternating teeth that cut the other way. Ever notice how your saw cuts both when you push it and when you pull it? This is because the teeth are alternating. As you file, pay attention to the way the teeth are facing. Start with one tooth, then skip the next tooth so you can sharpen the correct side. If you accidentally file a side you weren’t supposed to, it won’t ruin your saw—it just won’t be super helpful.
Turn the saw around and file again.

Go back over the saw to file the teeth that you skipped. Unclamp your saw and turn it around in the saw clamp so the blade faces the other direction. Then, line the file up with the saw teeth that you skipped last time. Use the same short, even strokes that you did to file the other half of the teeth as you work your way down the saw.
Stone the saw for a smooth cut.
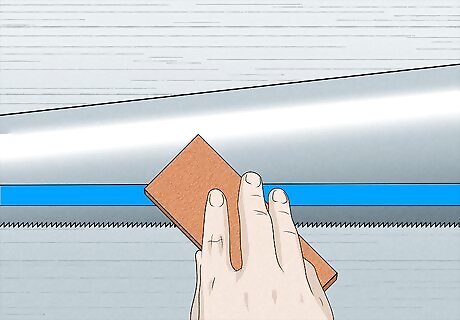
Stoning provides a smooth, even finish to both sides of your saw. Unclamp the saw and place it flat on your work table, and put a piece of painter’s tape along with the teeth of the saw (but not covering them). Run a fine India stone or a #600-grit diamond stone lightly over the teeth, using smooth, even pressure. Flip the saw over and do the same thing on the other side. Stoning the saw is optional, but many woodworkers swear by it. It removes any rough edges or burrs that might have been created during the sharpening process.


Comments
0 comment