
- This method works best for simple images with high color contrasts.
- Apply the Grayscale mode to your image, then duplicate the layer. In the Layers panel, select Color Dodge for the duplicated layer.
- Use the Magic Wand Tool to select remaining dark areas. Press the "del" key to erase them.
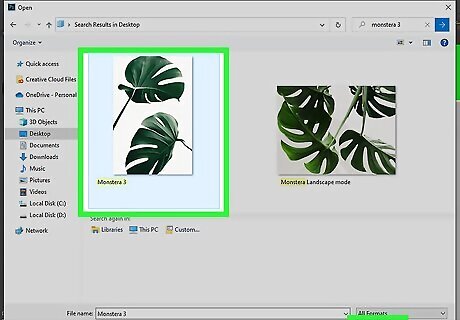
Open an image in Adobe Photoshop. With the program open, click File in the top menu, then Open…. You'll be able to locate and select your image. If you haven't already, you'll need to download Photoshop. This method works best for simple images with high contrasts. If you need to convert a detailed image into lines, this method will not work. You can also choose to trace the image using the Pen Tool.

Click Image in the top menu, then Grayscale. A new window will open and ask you to flatten your image before changing modes.
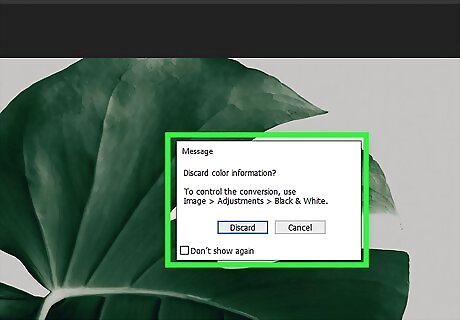
Click Flatten. A new window will open to confirm the discarding of color information.
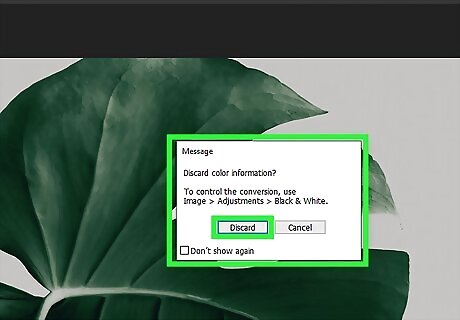
Click Discard. Your image will now be in grayscale.
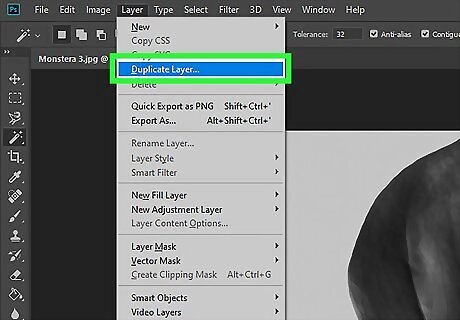
Click Layer in the top menu, then Duplicate Layer…. This will make a copy of your image. Alternatively, you can right-click the layer in your Layers panel and click Duplicate Layer.
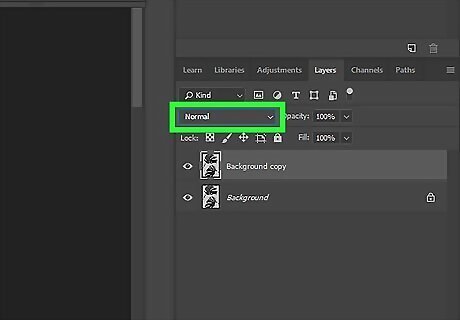
In the Layers panel, click Normal. This will open the drop-down menu with different layer modes. Make sure your duplicated layer is selected.
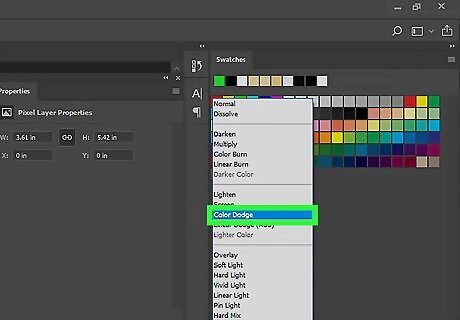
Click Color Dodge. This will input the Color Dodge effect, which lightens the colors of the base layers to reduce the contrast. Your image should resemble a line drawing. You may have some dark spots in areas if the color was particularly dark.
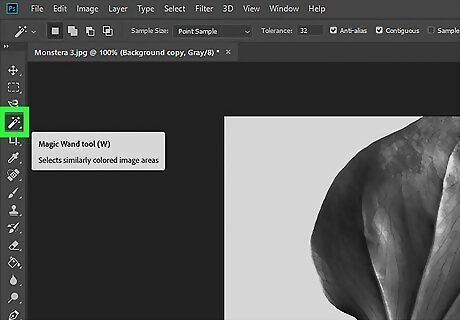
Select the Magic Wand Tool. You may have to expand the Quick Selection Tool to find the Magic Wand Tool.
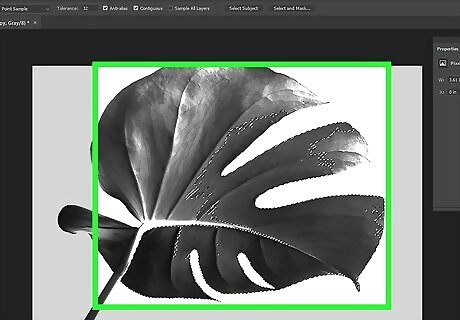
Click the dark area. The Magic Wand will automatically select the dark area within the thicker lines.

On your keyboard, press Del. This will delete the dark area. Alternatively, you can click Edit in the top menu, then Cut. Repeat this step until all dark areas are gone and you're left with crisp lines.
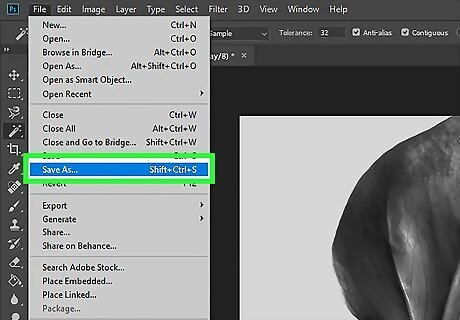
Save your line drawing. In the top menu, click File, then Save As…. Name your file and click Save. If you want to work on this project again later, you can make a PSD file.


Comments
0 comment