views
Spacing the Fenders
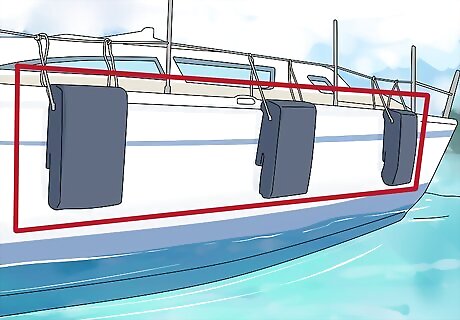
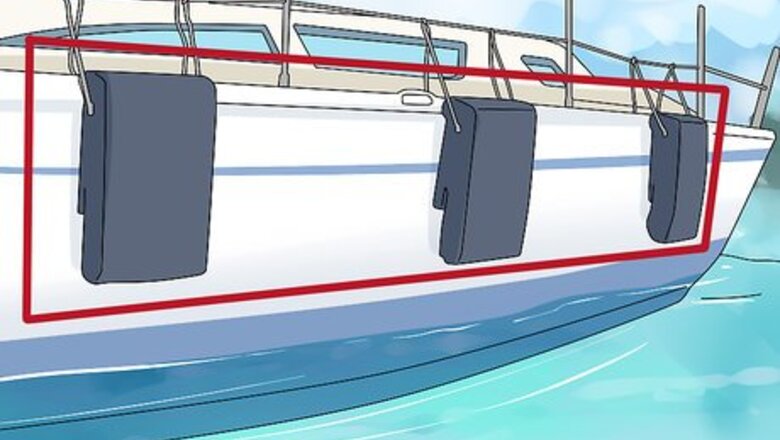
Use at least 3 fenders on your boat. A boat should have at least 3 fenders tied to it to protect it efficiently, more always being a good option. You can follow the guidelines of having 1 fender per 10 feet (300 cm) of waterline while also always having a minimum of 3 fenders.
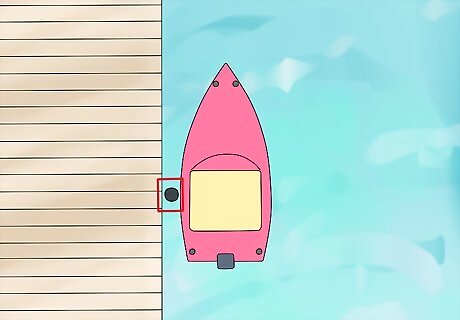
Place 1 fender at the widest part of the boat. The widest part of your boat is the part that will bump into something first along the sides, so you definitely want to place a fender at this section. You can place other fenders forward and aft.
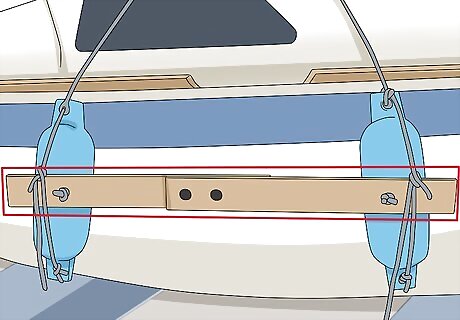
Use a fender board if the spaces between pilings are big. Sometimes your boat will bump into pilings even if they have fenders attached if the spaces between the pilings are large. To prevent this, you can use fender boards which connect to 2 fenders, forming a barrier against the pilings.
Positioning Your Fenders
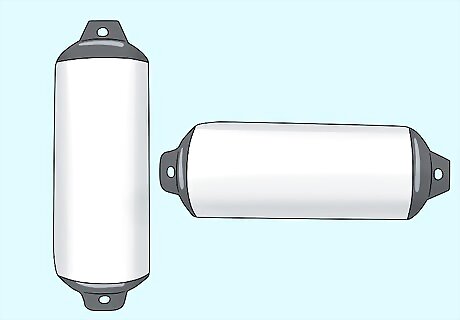
Orient your fenders either horizontally or vertically. When you're choosing the position of your fenders, think about what your boat is going to come into contact with. If your boat will be stationed next to another boat, by a dock, or by a seawall, you’ll want to tie the fenders on going vertically. If your boat will be next to pilings or posts, choose to tie them horizontally.
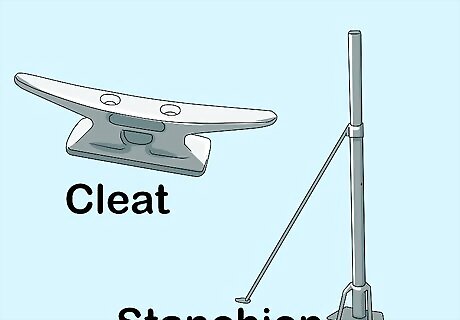
Choose something solid and low to tie your fenders to. You want to tie the fenders as low on the boat as possible, choosing something sturdy such as a cleat, a lifeline stanchion, or a padeye. Tying them low will help keep them steady and prevent them from swinging around too much. Avoid tying fenders to the top of a lifeline or rail.
Stand on the boat to adjust the fender heights. Position yourself next to what you'll be protecting your boat from bumping against to decide where to position the fenders. Stand on your boat when adjusting the fenders, next to the dock, boat, or other structure.
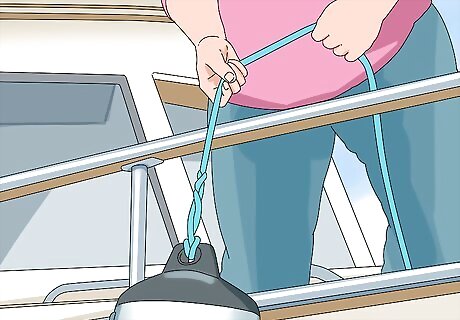
Adjust the fenders according to what they’re lying against. When you’re holding the fender over the boat, position it so that it becomes a buffer between the boat and the dock or other structure. You should raise or lower the fenders depending on the height of what you’re protecting your boat from.
Tying a Clove Hitch or Similar Knot
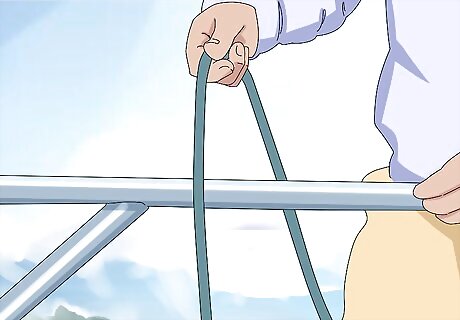
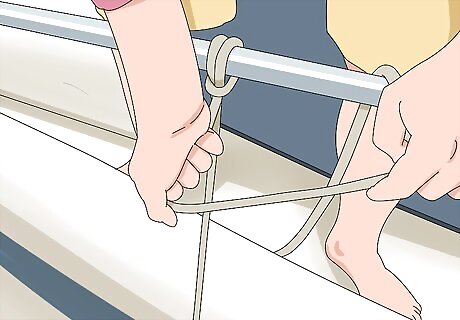
Lay the line over the bar to begin a clove hitch knot. With the fender hanging off the side of the boat, lay the working end of the line over the rail or bar. The working end of the line is the end that you'll use to tie the knot — the end not attached to a fender.
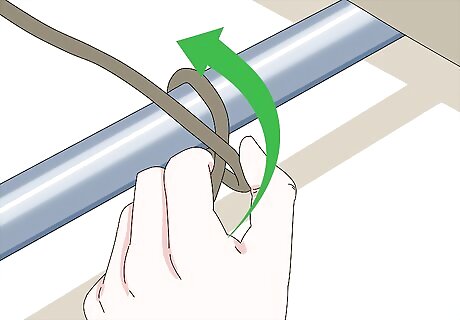
Wrap the line halfway around the rail or bar. Once the line is laying on the rail, wrap it underneath the rail.
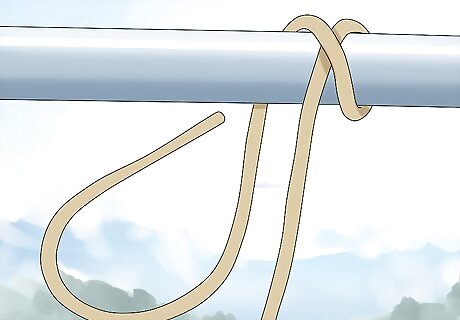
Cross the line over the wrapped part. Pull the working end of the line up and over the part of the line that's still laying on the rail. You should have formed an "X" with the line.
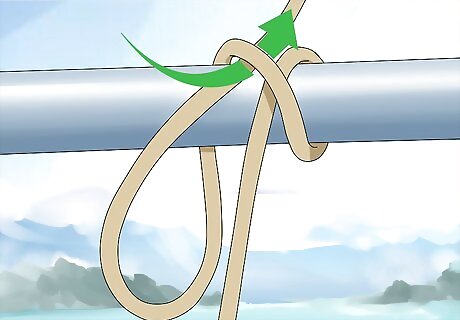
Wrap the working end of the line around the rail again. Complete the "X" by pulling the line under and half-way around the rail 1 more time.
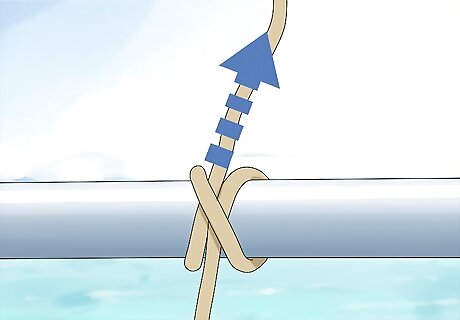
Pull the running end through the loop you've created. Once the line is half-way around the rail, you'll have created a loop. Pull the working end of the line underneath this loop, pulling the line tightly. The weight of the fender will pull down on the knot, keeping it tight and in place.
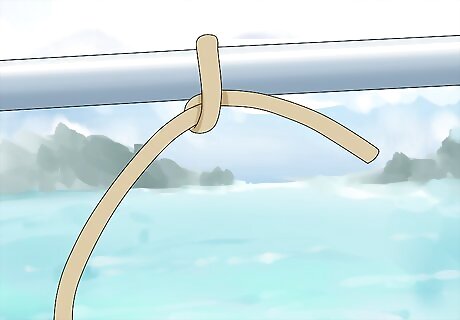
Use a half hitch knot as a simple alternative. To tie a half hitch knot, lay the line around the rail, bringing the end under the standing part of the line. Pull the end of the line up through the loop you just created. Pull it tightly to secure it. You can repeat this process to create several half hitches, making your line even more secure. Use half hitches if you're attaching the fenders to a lifeline.




Comments
0 comment