
Keeping Chives in the Refrigerator

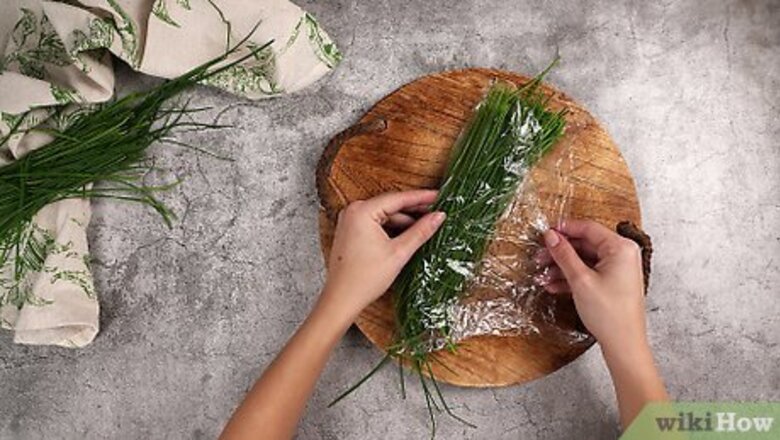
Wrap the chives loosely in plastic wrap. Lay the stems lengthwise along a sheet of plastic wrap. Roll the chives up in the plastic wrap similar to how you would roll a burrito. Avoid wrapping the chives too tightly which will trap moisture and cause them to mold faster. To absorb any extra moisture, put a paper towel between the chives and the plastic wrap before wrapping them up. Using a partially closed resealable bag instead of plastic wrap will also work.

Place the wrapped chives in the door of the refrigerator for up to 1 week. The compartments of the fridge door are the warmest spots in the refrigerator. Don’t place your chives in the back of the fridge where it’s colder because this dries them out and may cause them to partially freeze. Throw the chives away if the stems turn dark or crunchy or if you see mold spots.
Wash the chives right before using them. Don’t rinse the chives prior to putting them in the refrigerator because any leftover moisture will make them go bad faster. Instead, wait until you’re ready to use them and wash any dirt or grime off in cool water. Even if there’s no visible dirt on your chives, always rinse them before eating them. They can contain bacteria that you can’t see.
Freezing Chives
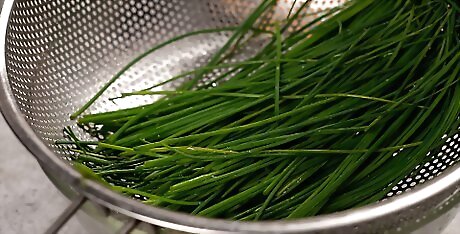
Rinse the chives and pat them dry with paper towels. Use cold water to wash the chives, running your hand gently along the stems to get rid of any grime. Remove all excess water by firmly pressing the chives between 2 paper towels. Use a salad spinner if you have one to dry the chives. Place the rinsed chives in the bowl of the spinner, then spin them to wick off the water. If you leave any moisture on the chives, they will stick together when they freeze.

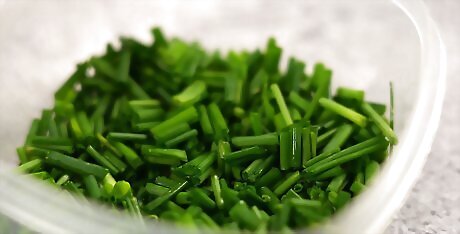
Cut the chives into ⁄4 inch (0.64 cm) pieces with scissors or a knife. Grab the stems together into one bunch. Hold them in your hand if you’re using scissors or lay them on a cutting board if you’re using a knife. Cut through all of the stems together. Trim off any pieces of the chives that are brown or yellow and discard them.
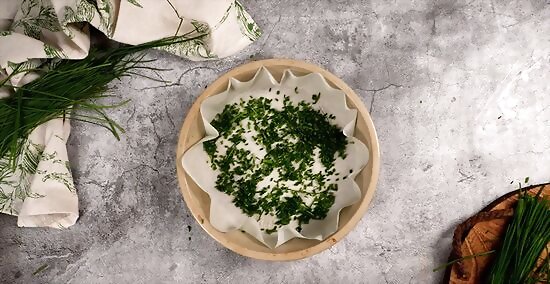
Arrange the chives in a single layer on a baking sheet. Use your hands to smooth out the chives across the sheet, making sure they don’t pile up on top of each other. Keeping them in one layer stops them from freezing together. Putting a piece of parchment paper or a silipat mat between the chives and the baking sheet will prevent the chives from hardening to the baking sheet itself.

Place the baking sheet in the freezer for 5 minutes. This is a process known as flash freezing. It will harden the chives before you put them in a container so that they freeze as separate pieces instead of clumping together. Clear out a spot for the baking sheet to sit flat and level in the freezer. If the sheet is on an angle, the chives may shift and freeze together.
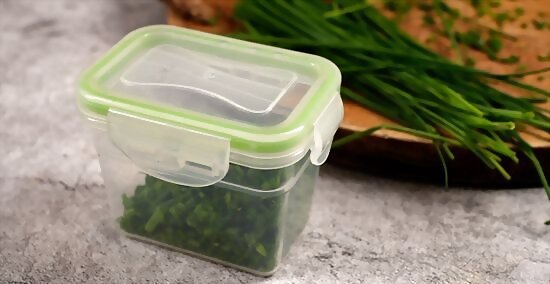
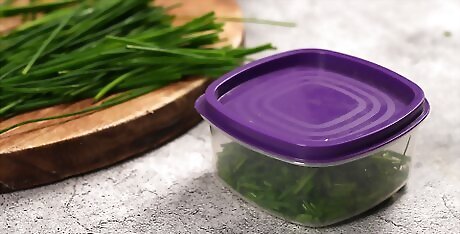
Remove the sheet and pour the chives into a freezer-safe container. Use a resealable freezer bag, airtight container, or glass jar. Whichever container you choose, make sure it’s tightly sealed to prevent freezer burn and keep the chives fresh for longer. If you use a freezer bag, firmly press down on the bag to push out any extra air before sealing it.

Keep the container of chives in the freezer for 6 months to 1 year. After 6 months, the chives will still be safe to eat but they will lose some of their flavor. The best spot for your chives is the back of the freezer, where it's coldest. A freezer temperature of 0 °F (−18 °C) is ideal for keeping your food fresher for longer. Because the chives are so small, you don’t have to defrost them before using them in recipes. Just remove them from the freezer when you need them.
Drying Chives in the Freezer
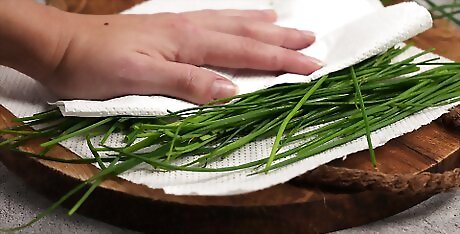
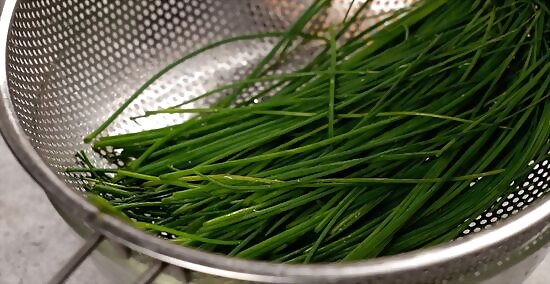
Wash the chives and let them dry completely. Run the chives under cool water in the sink to remove any dirt. Then lay the chives flat on a paper towel and pat them dry with another paper towel. Let the chives sit on the towel until they’re dry. If you have a salad spinner, this is a great tool for washing herbs. Rinse the chives in the sink first, then place them in the salad spinner. Turn the handle to spin the water off the chives. Continue spinning until there’s no moisture left on the chives.
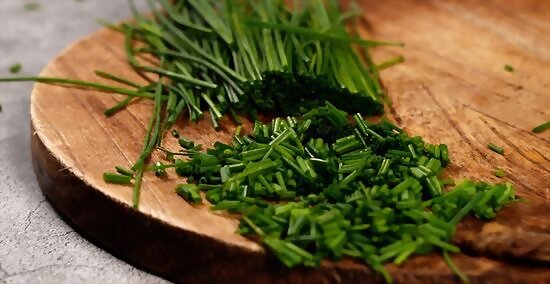
Chop the chives into pieces no bigger than ⁄4 inch (0.64 cm). Use kitchen scissors or a paring knife to cut the stalks into the smallest pieces possible. Bunching the chives together in your hand before cutting so you can trim all of the stalks at once will make the process quicker. If you're using a knife, always cut on a cutting board to protect your counters.

Spread the chives out on a baking sheet in a single layer. This allows the chives to freeze individually instead of clumping together. Try to make sure none of the pieces of chives are touching each other. Placing parchment paper on the baking sheet before arranging the chives on it will prevent the chives from freezing to the baking sheet.

Place the baking sheet with the chives in the freezer for 30 minutes. Sit the baking sheet flat on a shelf so the chives don't move around. Leave the chives in the freezer until they’re completely frozen. To test if the chives are frozen, pick a few up and run them through your fingers. They should be crunchy and crisp.
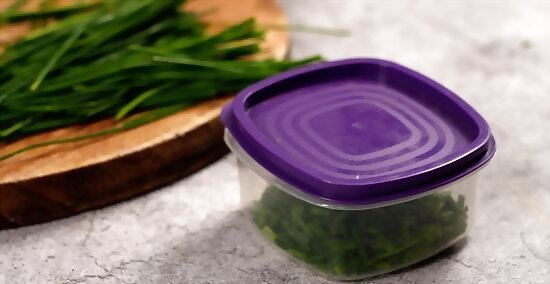
Remove the chives and scoop them into an airtight container. Do this immediately after taking them out of the freezer as they’ll begin defrosting quickly. Use a resealable bag, a container, or a jar. Whichever container you use, seal it tightly to keep out moisture. If you used a sheet of parchment paper between the chives and the baking sheet, simply lift the paper off the baking sheet and curl it into a funnel for easy pouring.
Store the container in a cool dry place for 1 year. Keep the chives out of direct sunlight and away from warm areas like on top of the stove or by the oven. A dark, closed cupboard is the best spot for keeping herbs. Label the container with a permanent marker, noting the type of herb (chives) and the date that you dried them. This will help you know when the year is up and they need to be tossed.
Finished.


Comments
0 comment