views
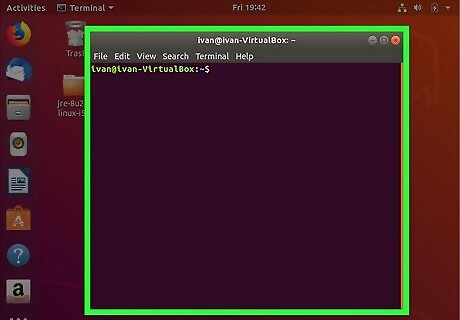
Launch the Terminal. To open the Terminal in Ubuntu, press Ctrl+Alt+T or open the Dash and click the icon that resembles a black screen with a text prompt on it.
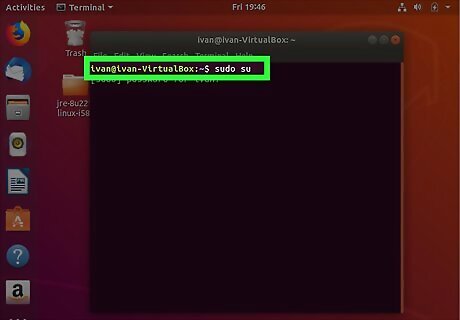
Type in sudo su and press ↵ Enter. This gives you root privileges.
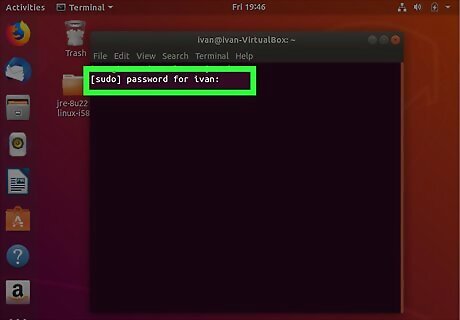
Enter the root password. In order to get root access, you will need to enter the root password.
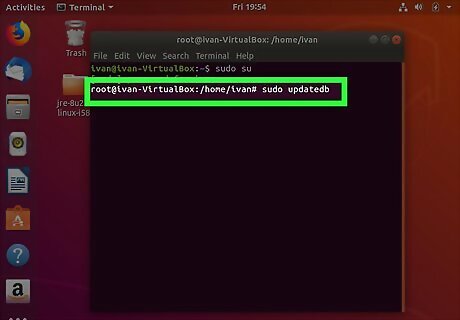
Type sudo updatedb and press ↵ Enter. This updates your database.
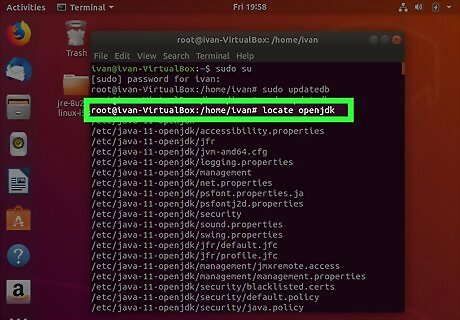
Type locate openjdk and press ↵ Enter. This command is used to identify where is Java installed on your Ubuntu machine. If Java has not been installed, type sudo apt-get install openjdk-9-jre-headless -y and press ↵ Enter
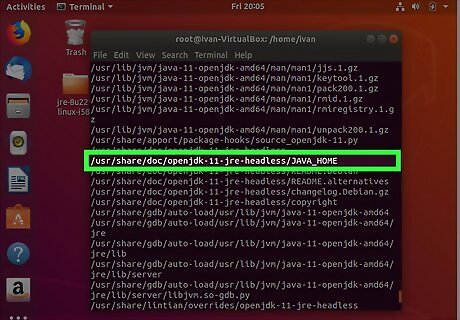
Look to see where Java is installed. You can use the install location to set the Java_Home path. For example, if most of the return outputs are "/usr/lib/jvm/java-9-openjdk-amd64", we would use this path to set the Java_Home pather.
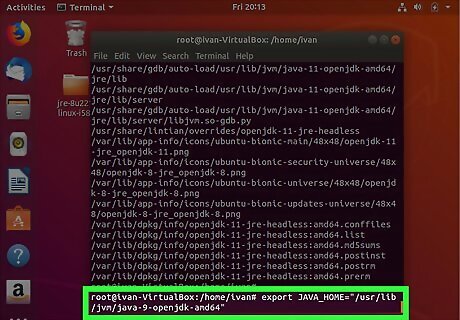
Type export JAVA_HOME= followed by the Java installation path. In our previous example, we would type export JAVA_HOME="/usr/lib/jvm/java-9-openjdk-amd64". This temporarily sets the Java_Home path. However, if the system is restarted, it will be lost.
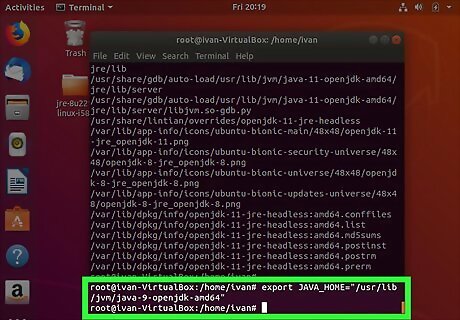
Press ↵ Enter. This executes the command.
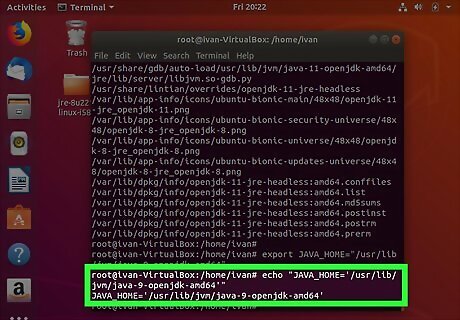
Type echo "JAVA_HOME=' followed by the installation path. Using the above example, we would type echo "JAVA_HOME='/usr/lib/jvm/java-9-openjdk-amd64'".
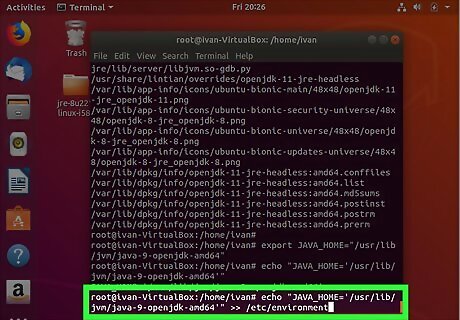
Add >> /etc/environment to the end of the line and press ↵ Enter. This permanently sets the Java_Home path. Alternatively, if you do not have root access, you can type echo "JAVA_HOME='java installation path'" >> .bashrc and press ↵ Enter to set the Java_Home path.


Comments
0 comment