
Open your iPhone or iPad’s Settings iPhone Settings App Icon. It’s usually at the bottom of the home screen.
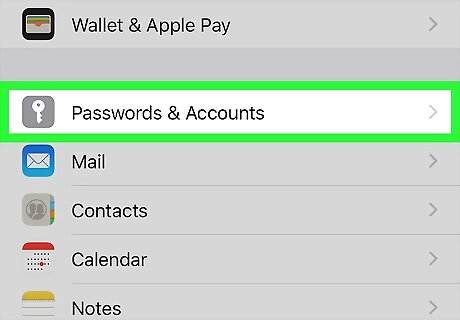
Tap Accounts & Passwords.
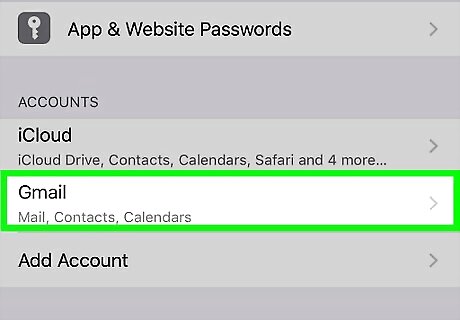
Select your email account. Your accounts appear under the “ACCOUNTS” header.
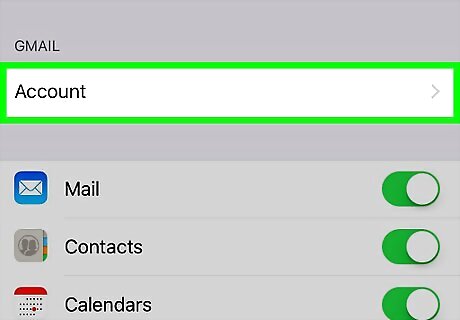
Tap your account name. It’s at the top of the screen.
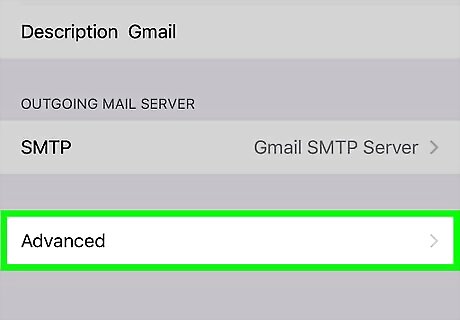
Tap Advanced. It’s at the bottom of the screen.
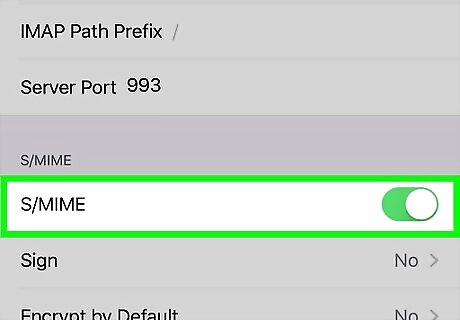
Scroll down and slide the “S/MIME” switch to iPhone Switch On Icon. Two more options will appear below.
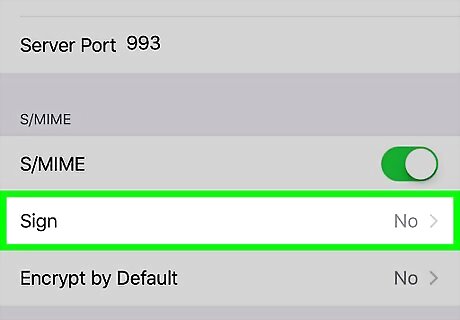
Tap Sign.
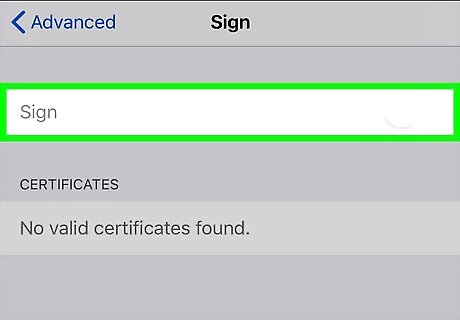
Slide the “Sign” switch to iPhone Switch On Icon. You should see your certificate at the bottom of the screen. If you see more than one certificate, select the one with the most distant expiration date.
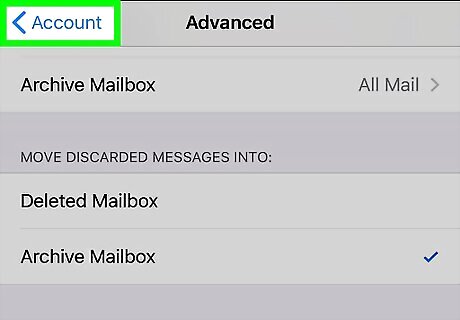
Tap the back button to return to the Advanced menu.
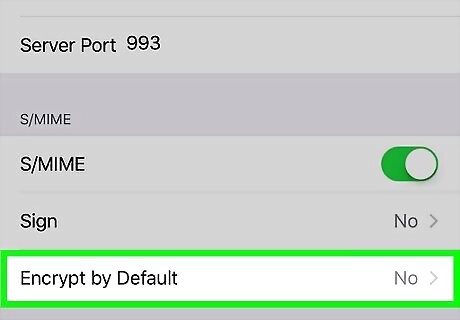
Tap Encrypt by default.
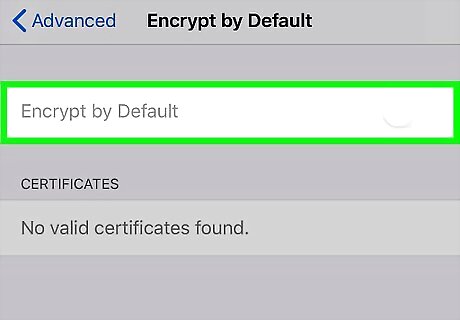
Slide the “Encrypt by Default” switch to iPhone Switch On Icon. You are now ready to send an encrypted email message to someone with whom you’ve shared certificates. If you see more than one certificate, select the one with the most distant expiration date.
Open the Mail app. It’s the envelope icon that’s usually at the bottom of the home screen.
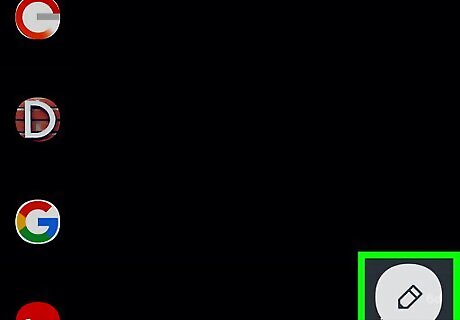
Compose a message to the desired recipient.
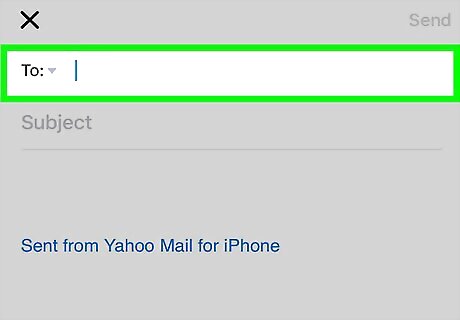
Tap the “To:” field again. An unlocked blue lock will appear to the right of their name or email address.
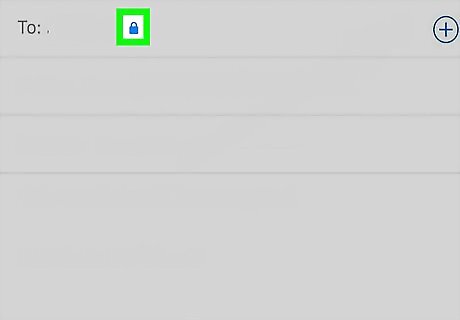
Tap the blue lock. This tells the Mail app to encrypt the message you are about to send. If the lock was already locked, don’t tap it—this will just disable encryption.
Write your message and tap Send. The encrypted message will be delivered to the recipient. Only the recipient will be able to access the message, as they have your public key.


Comments
0 comment