
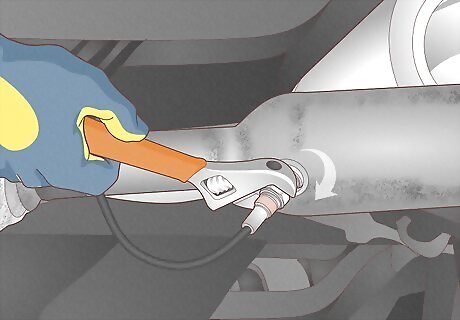
- Jack up the car so you can access the oxygen sensors. Spray the sensors with WD-40 and unscrew them with a wrench to remove the sensors from the vehicle.
- Fill an industrial plastic container with gasoline and place the sensors inside. Cover the container and let the sensors soak overnight.
- Remove the sensors from the container and dry them off with a cotton cloth before reinstalling them.
Removing the Oxygen Sensors

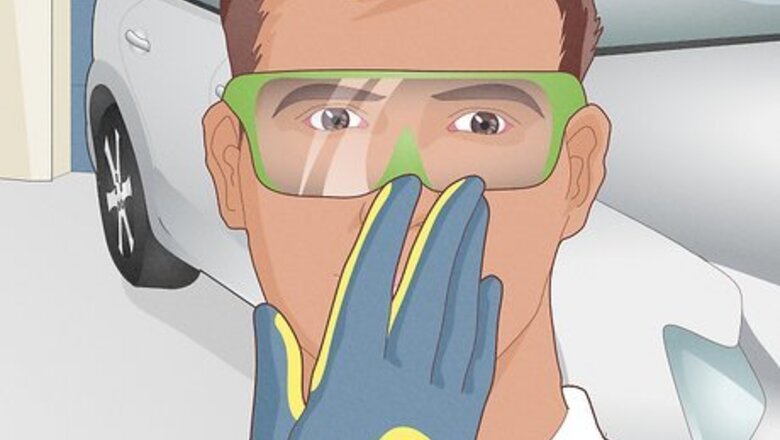
Put on work gloves and protective eyewear. Since you'll be dealing with gasoline and various car parts, it's important to protect yourself from potential harm. Before you begin to lift your car and locate the oxygen sensor, put on a sturdy pair of work gloves to protect your hands and wear a pair of protective eyeglasses or goggles in case WD-40 or gasoline comes near your eyes.
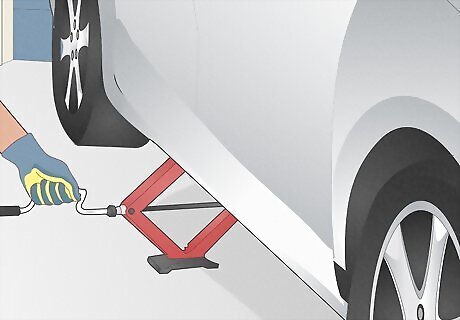
Use a car jack to elevate the vehicle. Park the vehicle on level ground, put it in “Park,” and engage the emergency break. Place the jack under part of your vehicle's chassis (including an axis or the side of the car frame) and lift the vehicle. Purchase a car jack at any auto-parts store. Speak with the sales staff and let them know the type and size of vehicle you have, so they can recommend an appropriate jack. Consider disconnecting the car's battery before you start working on any electrical sensors, including the oxygen sensor.
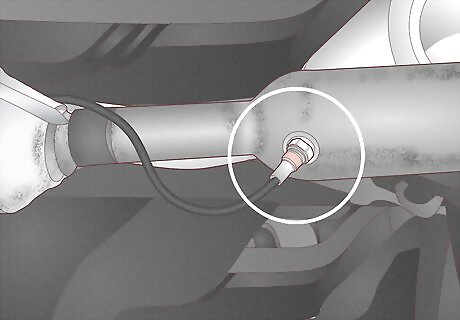
Identify the oxygen sensor(s). Depending on the make and model of your vehicle, it may have more than one oxygen sensor. Check your vehicle's owner's manual for the exact locations of the sensors. All vehicles have at least two oxygen sensors: one in front of your car's catalytic converter, and one in the car's exhaust manifold. If your vehicle has more than one exhaust manifold, there will likely be an oxygen sensor inside each one. The oxygen sensor will look something like a spark plug: roughly 2 inches (5 cm) long. One end will have a hexagon shape—for a wrench to fit over—and the other end will be threaded to screw into your vehicle. Let the vehicle cool off completely before you touch the oxygen sensor—it's attached to the exhaust or muffler pipe, so if the pipe is hot, the sensor will be, too.
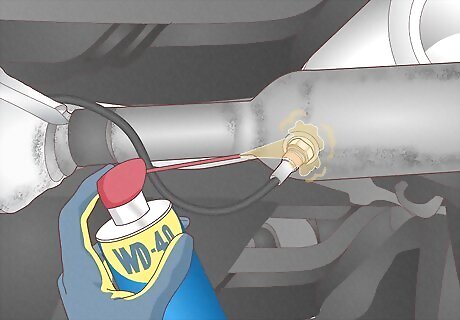
Spray the sensors with WD-40. As your vehicle's oxygen sensors are seldom removed, they will probably be firmly stuck in place. To loosen them, spray the sensors with a lubricant like WD-40 and let them sit for 10–15 minutes. The WD-40 will lubricate and loosen the sensors, making them easier to remove. Purchase WD-40 at any local hardware or auto-supply store.
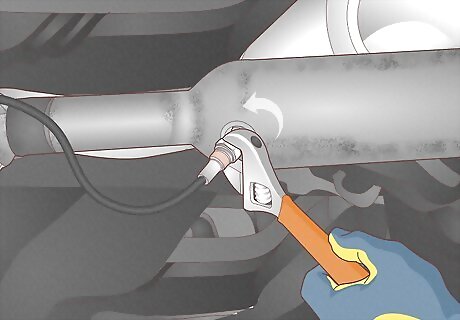
Remove the oxygen sensors from their housing with a wrench. Use a sturdy wrench to loosen the sensors. Place the sensors somewhere clean, such as in a plastic bowl or on a clean, flat spot on your vehicle, so they won't get lost or dirty. If you're not certain of the sensors' wrench size, determine it by attempting to fit a medium-sized wrench over the head of the oxygen sensor. If the first wrench you try doesn't fit, adjust the wrench size smaller or larger as necessary. Alternately, use a wrench with an adjustable opening size.
Cleaning the Oxygen Sensors
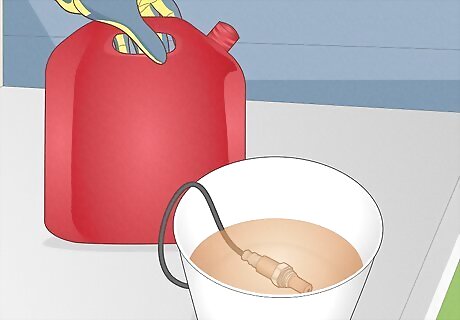
Fill an industrial plastic container with gas and submerge the sensors. Make sure the sensors are fully immersed in the container and none of the liquid splashes out or gets on your hands. Gasoline is enriched with additives that act as detergents to safely clean oxygen sensors. Alternatively, use a specialized commercial oxygen sensor cleaner instead of gasoline. Avoid using home remedies like vinegar or household detergents since they can damage the sensors. Make sure the container can safely contain gasoline. Not all types of containers will be gasoline resistant. If you're purchasing the bucket or container at a hardware store, ask the sales staff to recommend a sealable, gasoline-safe plastic. Never smoke, light a candle, or have any other type of open flame when working near gasoline.
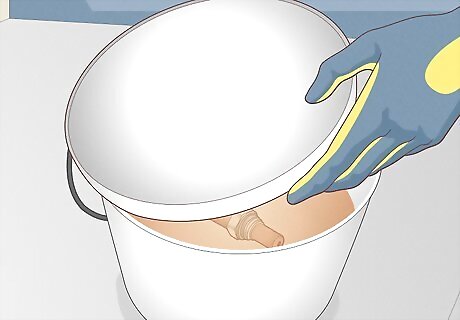
Cover the bucket or container with a lid. Due to the flammable nature of gasoline, it's important to cover the bucket or industrial container of gasoline. This prevents the gas from catching fire, and also keeps any wandering animals from getting into the gas. Make sure to seal the lid tightly. If you're soaking the sensors in a bucket or a container that does not have its own lid, find something to cover the opening with. Look for an appropriately sized lid among your pots and pans in the kitchen, or simply place a piece of plywood or a large book over the bucket opening.
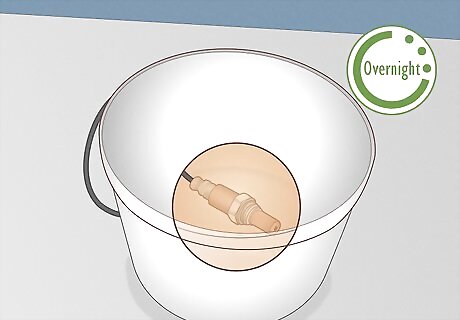
Allow the sensors to soak overnight. The gas won't clean the oxygen sensors immediately; you'll need to let them soak for at least 8 hours. While the sensors are soaking, pick the container up and swirl it around several times so all parts of the sensors are being cleaned by the gasoline. For safety, store the container in a cool, dark place outside (like in a shed). Don't keep the container of gas inside a house or basement, and make sure there aren't any fuel-burning appliances, open flames, pilot lights, stoves, heaters, or electric mowers nearby. Restore fuel efficiency with clean sensors. "My car's declining gas mileage was frustrating. This guide taught me how bad oxygen sensors can impact MPG. After an overnight gasoline soak and reinstalling the now-clean sensors, my fuel efficiency is restored!" - Guillermo M. Protect skin while handling gasoline. "I appreciated the tip about wearing gloves when working with gasoline — that stuff can really dry out your hands! The gloves kept my skin protected." - Fred W. Choose a safe sensor soaking location. "I soaked my sensors in a sealed Tupperware container in my locked, detached garage just to be extra safe. No spills or fumes! The guide's tip to store gas away from flames and appliances gave me peace of mind." - Jorge A. Save on mechanic bills with DIY cleaner. "My mechanic quoted $300 to replace my car's oxygen sensors. Instead, this guide allowed me to clean them myself over a weekend with some cheap materials. Huge money saver!" - Ron H. Did you know that wikiHow has collected over 365,000 reader stories since it started in 2005? We’d love to hear from you! Share your story here.
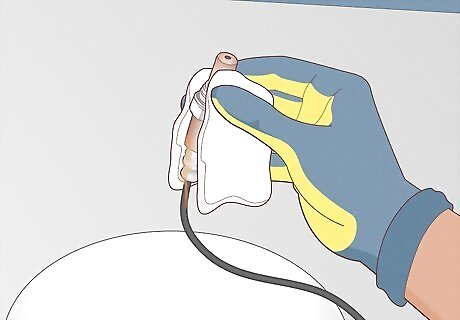
Remove and dry the sensors. Reach into the bucket or container of gasoline and remove the sensors. Then, use a clean cotton cloth to wipe the gasoline off the oxygen sensors and dry them fully. Wear a pair of thick rubber gloves to remove the oxygen sensors from the gasoline.
Reinstall the oxygen sensors in your vehicle. Once the oxygen sensors are dry, use your wrench to insert them back into their original positions and use a wrench to tighten the bolts. Then, use the car jack to carefully and slowly lower your vehicle. Start your vehicle and check to see if the “check engine” light is still on. It will likely have turned off; you may also notice that the cleaned oxygen sensors result in your car using substantially less gasoline.


Comments
0 comment