views
X
Trustworthy Source
Immunization Action Coalition
Nonprofit organization focused on promoting the use of vaccines by distributing information about vaccines and the diseases they prevent.
Go to source
Cleaning and Inspecting the Area
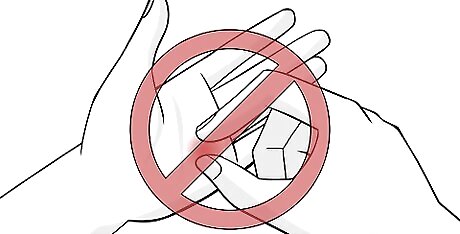
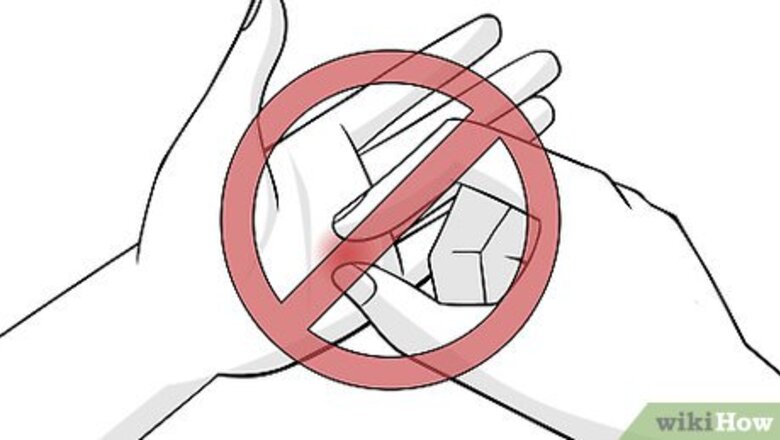
Do not squeeze the splinter. When cleaning or examining the area surrounding the splinter, you may be tempted to squeeze the surrounding skin to get a better look. This can cause the splinter to break into smaller fragments or become stuck deeper in the skin. Never squeeze the splinter or surrounding skin while removing the splinter.
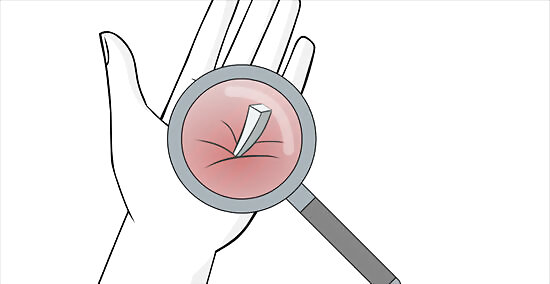
Examine the area. Use a magnifying glass if need be. See how big the splinter is and see the angle it's going into the skin. This can help you avoid pressing the splinter deeper into the skin when applying your paste and bandaid. Make sure not to press on the splinter in the direction it's angled into your skin.
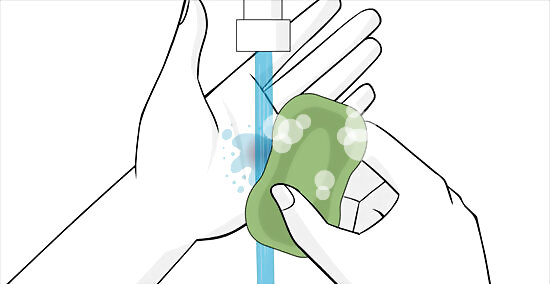
Clean and dry the area. You want to make sure to avoid an infection when dealing with a splinter. Before you attempt to remove the splinter, clean the skin around the where the splinter is stuck. Wash your skin with soap and water and then gently pat the area dry with a paper towel. Make sure to wash your hands before washing the skin around your splinter.
Removing the Splinter
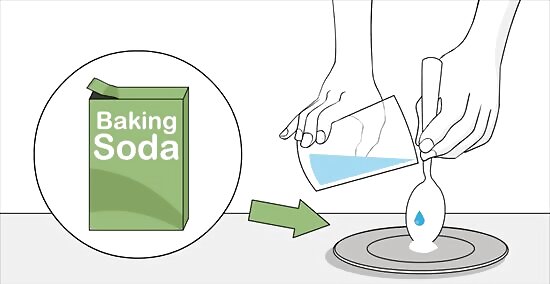
Make a paste with baking soda and water. In a small cup or other container, add a generous amount of baking soda. Then, add in water in small increments and mix until you form a thick paste. There is no precise ratio of baking soda to water. You just need to add enough that you end up with a spreadable paste.
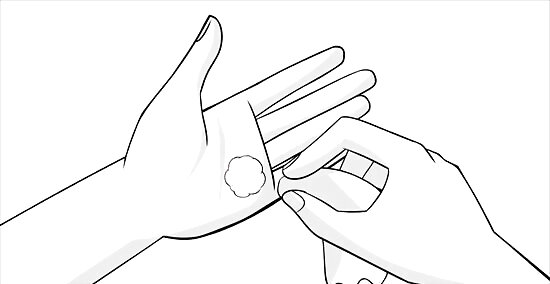
Apply your paste to the splinter. Use your fingers or a paper towel to gently dab the paste over your splinter. Add a light layer of paste to the splinter and the surrounding skin. Be careful not to push the splinter in deeper when applying the paste. Remember the angle in which it's driven into the skin and be gentle when applying baking soda at this angle.
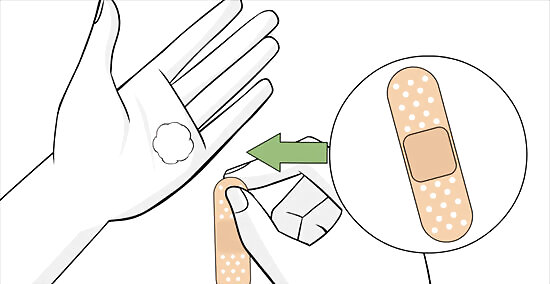
Cover the spot with a Band-Aid. Place a Band-Aid over the paste. Make sure to cover the splinter completely with the cotton portion of the Band-Aid. The type of Band-Aid does not matter as long as it fits over the splinter.
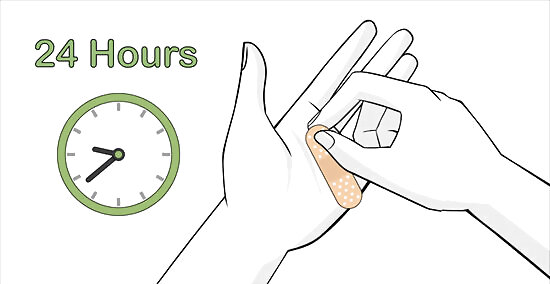
Remove the Band-Aid after a few hours. Wait anywhere from an hour to a day to remove the Band-Aid. Splinters that are stuck in deep will generally require more time. When you remove the bandaid, the splinter should come out easily. If the splinter does not come out by itself as you pull off the band aid, try gently squeezing it with tweezers (sterilize tweezers with alcohol before using). If the splinter does not come out the first time, or is still very deep, try repeating the process and leaving the bandaid on longer, up to 24 hours. Rinse the area with soap and water and apply antibiotic ointment after the splinter comes out. You may also cover the area with a bandaid after the splinter has been removed to help with the healing process.
Taking Safety Precautions
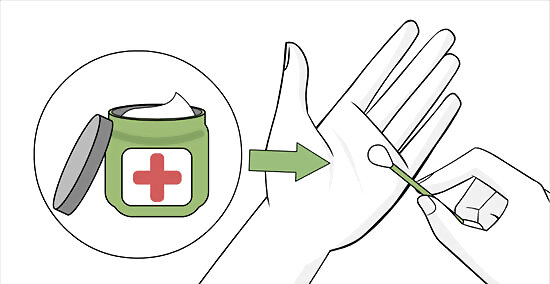
Apply an antibiotic ointment to the area. It is a good idea to apply antibiotic ointment after removing the splinter. This will help prevent an infection. You can get an antibacterial ointment at any drug store. Apply the ointment as directed. For example, use a cream from a drug store like Neosporin to cover the wound. If you're on existing medication, check with a pharmacist before selecting your ointment. You want to make sure the ointment you choose will not interfere with your current medication.
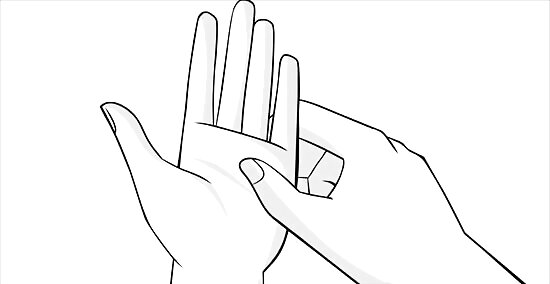
Control bleeding if necessary. Sometimes, your skin will bleed after you remove a splinter. Press firmly around the area where the splinter was. This will bring the skin together to patch up the wound and stop bleeding. You may also need to apply a bandaid.
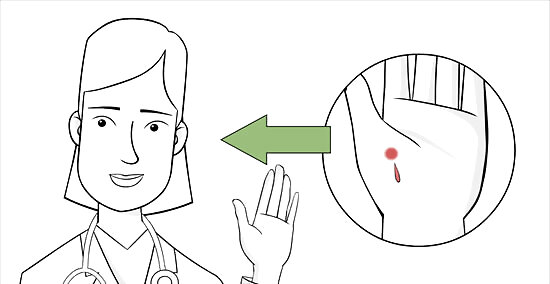
Seek medical attention under certain conditions. If a splinter will not come out and is causing heavy bleeding, you may need medical attention. You also may need medical attention for a splinter that's underneath a fingernail or toenail. If you are not up to date on your vaccinations, you should see a doctor if you get a splinter to make sure you don't need something like a tetanus shot to prevent infection.


Comments
0 comment