
Setting a Passcode

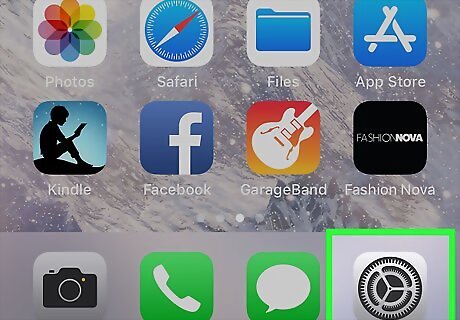
Open your iPhone or iPad's Settings. Find and tap the iPhone Settings App Icon icon on your home screen to open your Settings menu.

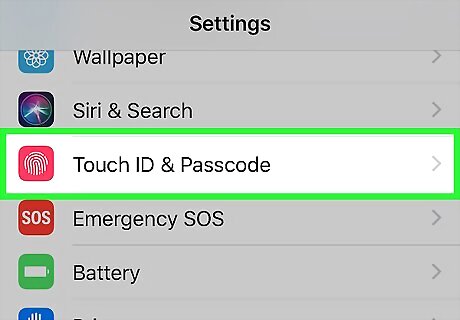
Scroll down and tap Touch ID & Passcode. This will open your security and lock options.
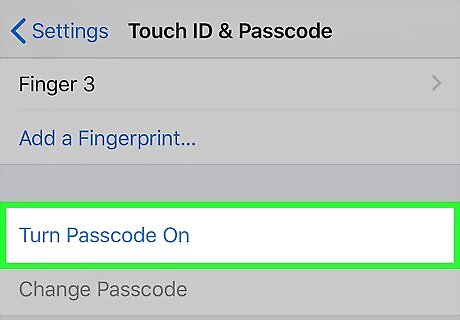
Tap Turn Passcode On. This option is written in blue letters below the FINGERPRINTS list. This will prompt you to create a new passcode on the next page.
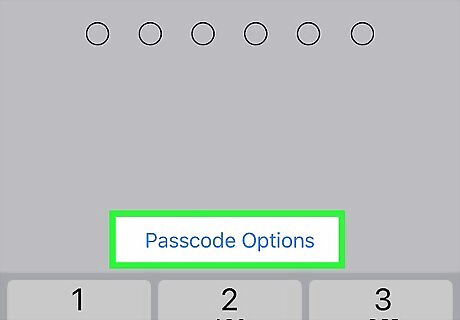
Tap Passcode Options. You can find this button above the numpad on the Set Passcode page. A pop-up menu will slide in from the bottom with all your different passcode options.

Select a passcode option on the menu. Tap the passcode you want to use on the pop-up menu. Custom Alphanumeric Code will allow you to create a long passcode string with numbers and letters on your keyboard. Custom Numeric Code will allow you to create a long passcode with only numbers. 6-Digit Numeric Code and 4-Digit Numeric Code will allow you to use numbers to create a short passcode.
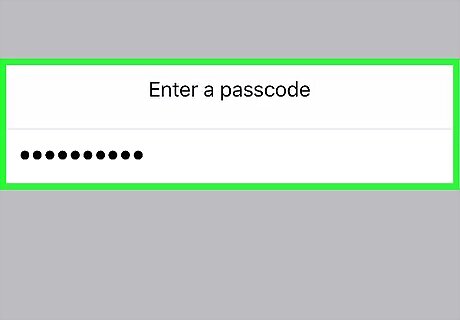
Create your new passcode. Use numbers and/or letters to type your new passcode here. If you're creating a longer password, you'll have to tap Next on the top-right after you enter your passcode.
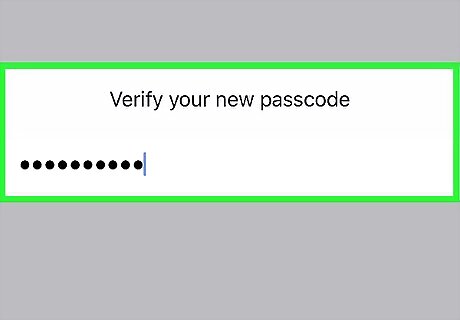
Verify your passcode. Enter your new passcode again to confirm it. If you're creating a long password, you'll have to tap Done on the top-right.
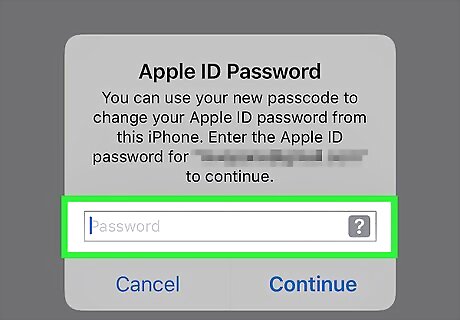
Enter your Apple ID password to confirm your identity. You'll be prompted to verify your Apple ID password here to save your new passcode. Enter your Apple ID account password. Tap Continue to save your passcode.
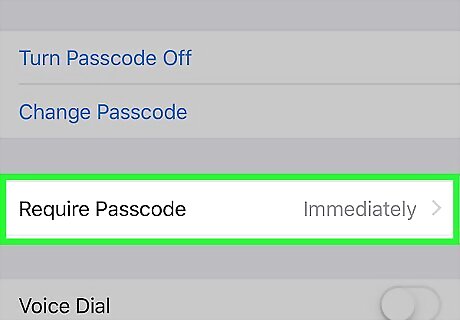
Tap Require Passcode. This will open your time options for how long your iPhone will wait before it's automatically locked.
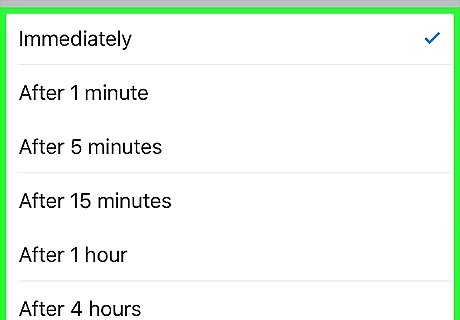
Select an auto-lock time. Think about how long you want your phone to wait before it's automatically locked, and tap the option you want to use. As a rule of thumb, shorter times are more secure. If you select Immediately, you'll have to enter your passcode to unlock your phone every time you press the power button and put it to sleep.
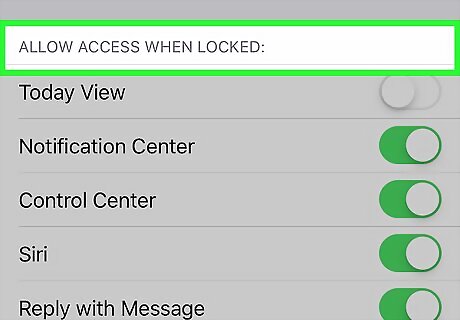
Scroll down to the "ALLOW ACCESS WHEN LOCKED" section. This section lists all the apps and features you can access without entering your passcode and unlocking your iPhone.
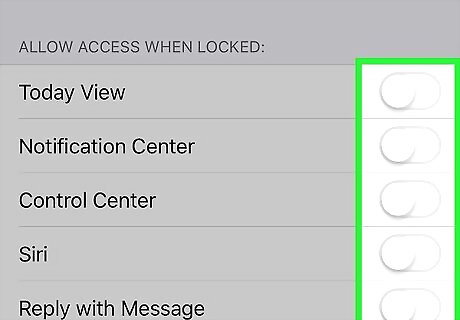
Slide all the "ALLOW ACCESS WHEN LOCKED" switches to iPhone Switch Off Icon. This way, all the features and apps on your phone will be locked with your secure passcode. This will prevent others from accessing your information from your lock screen.
Setting Up Touch ID
Open your iPhone or iPad's Settings. Find and tap the iPhone Settings App Icon icon on your home screen to open your Settings menu.
Scroll down and tap Touch ID & Passcode. This will open your security and lock options.
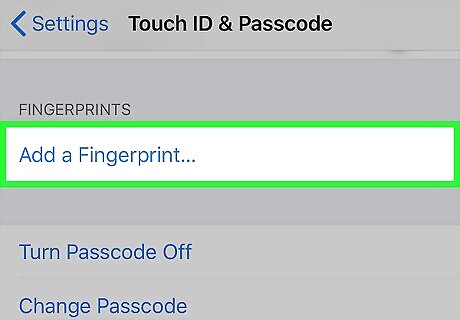
Tap Add a Fingerprint. This option will allow you to scan your fingerprint, and use it in place of your passcode to unlock your iPhone.
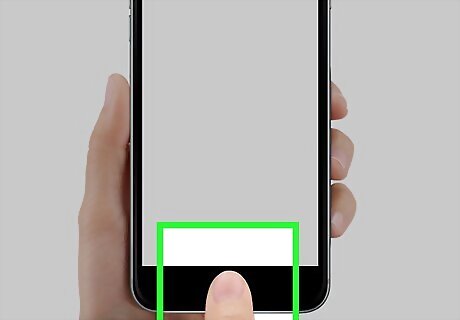
Place your finger or thumb on the Home Button. You can use any of your fingers or thumbs here.

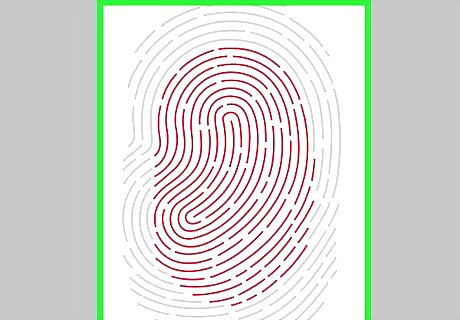
Lift your finger and put it back on the Home Button again. You will have to do this a few times until your fingerprint scan is complete. The fingerprint icon on your screen will fill up with red lines as you scan your finger.

Tap Continue. Make sure you're holding your iPhone in a comfortable position, and tap Continue to scan the edges of your finger.
Place the same finger on the Home button again. Lift your finger and put it back on the home button repeatedly until the scan is complete.

Tap Continue. This will save your new fingerprint to Touch ID. If you don't already have a passcode, you'll be prompted to create a new one here.
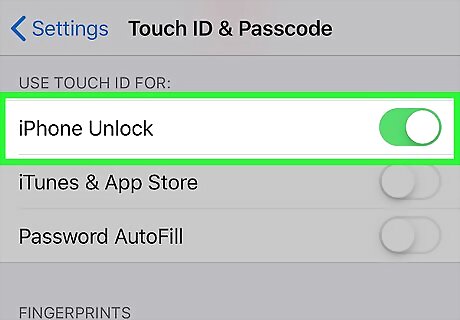
Slide the iPhone Unlock switch to iPhone Switch On Icon. You can find this option at the top of the Touch ID & Passcode menu. When this option is enabled, you can unlock your iPhone with your fingerprint.
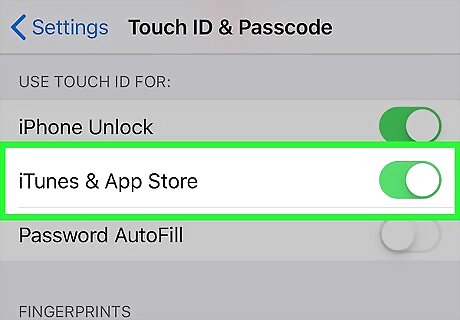
Slide Apple Pay and iTunes & App Store to iPhone Switch On Icon. This way, you'll have to verify all your online purchases with your fingerprint.
Disabling Widgets

Swipe right on your iPhone's home screen. Swipe right until you see your widgets page. Your widgets may include apps like Weather, Stocks, Calendar or Siri App Suggestions.
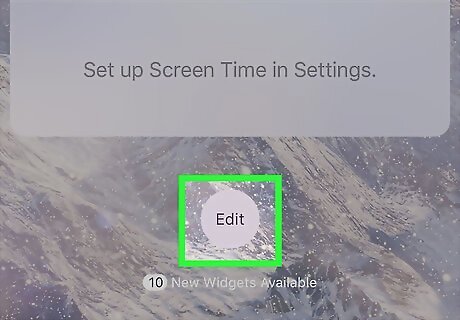
Scroll down and tap the Edit button. You can find this button at the bottom of the widgets page. It will open a list of all your active and available widgets.
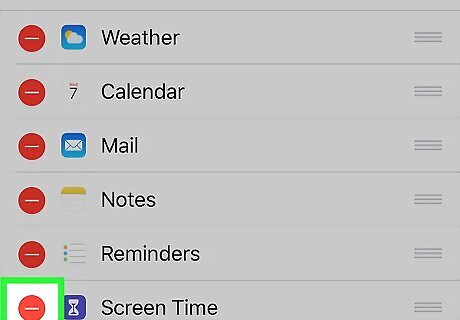
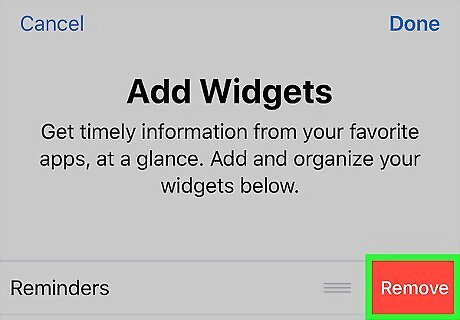
Tap the red - icon next to a widget. This will allow you to remove the selected widget from your widgets page.
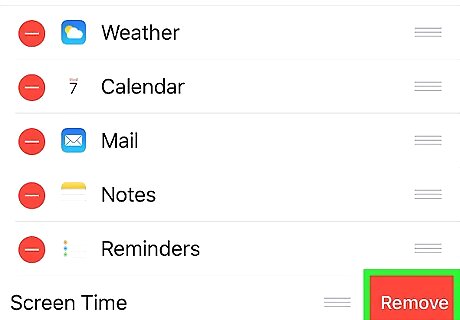
Tap the Remove button next to the selected widget. This will confirm your action, and remove the selected widget from your widgets page.
Remove all the widgets. This will prevent others from accessing your apps from the widget screen.
Using Private Internet Browsing
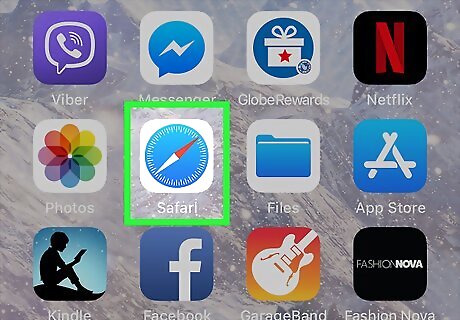
Open Safari on your iPhone. Find and tap the blue compass icon on your home screen to open your internet browser.

Tap the Pages icon. This button looks like two squares in the lower-right corner of your screen. It will open a list of all your open tabs.

Tap the Private button. You can find this option in the lower-left corner of your browser. It will switch you to the private browsing mode. Private mode will disable browsing history and the web cache. This way, you can browse the web without storing local data on your phone.

Tap the + icon at the bottom. This will open a new tab, and allow you to browse the web in private mode.
Enabling Two-Factor Authentication

Open your iPhone or iPad's Settings. Find and tap the iPhone Settings App Icon icon on your home screen to open your Settings menu.
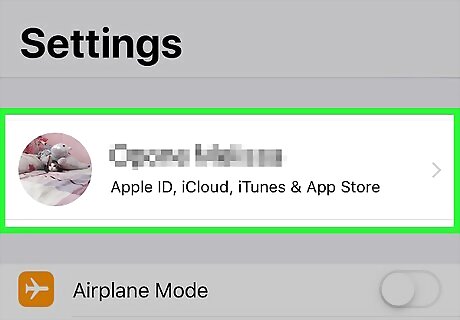
Tap your Apple ID at the top. Your Apple ID name and picture are listed at the top of your Settings menu. Tapping on it will open your Apple ID menu. If you're using iOS 10.2 or earlier, tap iCloud first, then tap Apple ID.
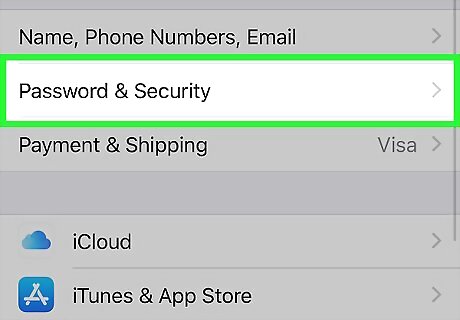
Tap Password & Security. This will open your Apple ID security options.
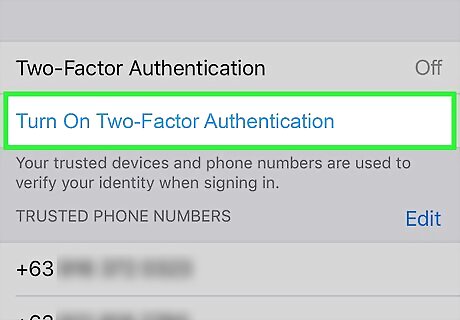
Tap Turn On Two-Factor Authentication.

Tap Continue. This will prompt you to enter a phone number to set up two-factor authentication.
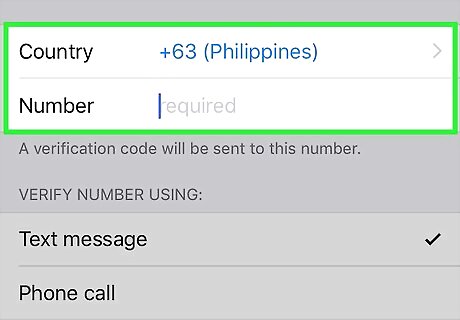
Enter your phone number. Select your country code, and enter the phone number you want to use for two-factor authentication.
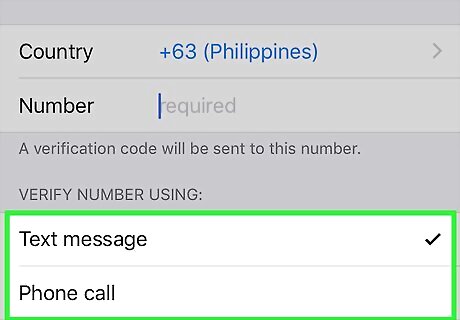
Select a verification method. You will receive a verification code on your phone to set up two-factor authentication. You can select Text Message or Phone Call to receive your verification code.
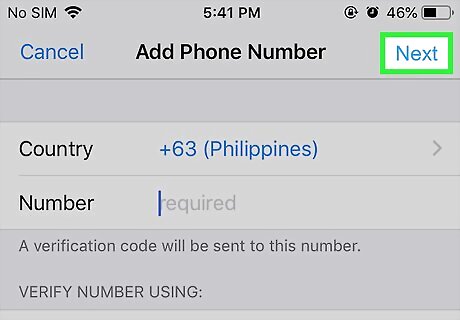
Tap Next. This will confirm your phone number, and send you a text message or give you a call with your verification code.
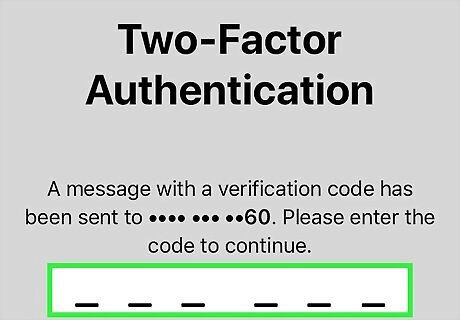
Enter your verification code. This will verify your phone number, and turn on two-factor authentication on your Apple ID account. When two-factor authentication is enabled, your Apple ID data can only be accessed with a verification code that's automatically displayed on your saved, trusted devices, such as your iPhone, iPad or Mac.


Comments
0 comment