views
Making Patina with Household Ingredients

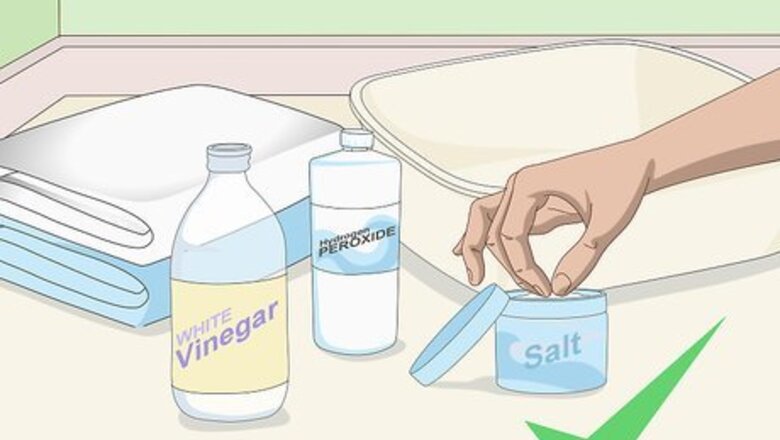
Collect your patinating necessities. You can find most of these items and ingredients in your home. You'll need a suitable container to soak your metal in a patinating solution, like a plastic container or cheap bowl. After patinating, you can clean this container and reuse it as you see fit, but it must at least be deep enough to completely submerge the metal you'll be patinating. Including these things, you'll also need: Clean rag (or paper towels; for drying) Container Hydrogen peroxide (3% solution; optional) Metal (to patinate) Plastic/rubber gloves (optional; recommended) Salt (any kind OK) White vinegar

Prepare to patinate the metal. For the best results, always clean your metal and container before patinating. Even fingerprints or invisible residue can influence the outcome of your patination, so clean and dry your metal and container carefully and thoroughly. In most cases, a few drops of dish soap and a scrub brush will be enough to clean light to moderately dirty pieces of metal and containers. Soak especially dirty metal pieces in degreaser. This will remove build up in difficult to reach nooks and crannies. If you're trying to patinate steel, cleaning it with Trisodium Phosphate can be very effective. Then rinse off the metal and allow it to air dry. Wearing clean gloves while cleaning and handling the metal can protect your skin from harsh cleaning agents while preventing fingerprints from being re-transferred.

Soak the metal in vinegar. Add vinegar to your clean, dry container so there is enough to completely submerge the metal. Then add an equal amount of salt to the vinegar, stir it thoroughly, and insert the metal so it can sit in the solution and create a vinegar-salt patina. Allow metal to soak in vinegar-salt patinating solutions for no less than half an hour. This solution can produce many colors of patina depending on soak time, metal composition, temperature, and other factors. For more intense oxidation, first soak the metal in only vinegar. Following that, add hydrogen peroxide and salt to the vinegar as subsequently described.

Intensify oxidation with peroxide, if desired. The addition of hydrogen peroxide and salt to your vinegar will cause many iron alloys, like steel, to rust. This can add color, character, and realism to your patina. For every four parts white vinegar in your container, add one part hydrogen peroxide and one half part salt to the solution. For example, if you have four cups of vinegar in your container, you would need to add one cup hydrogen peroxide, and one half cup of salt. If you don't know the amount of white vinegar in your container, remove your metal for a moment and pour the vinegar into a measuring cup, then return it to its container.
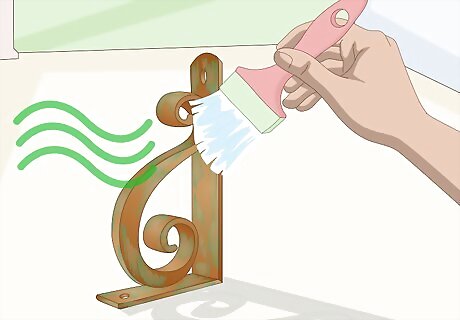
Allow your metal to dry and consider a sealant. For a truly natural look, you may want to leave your patinated metal without a coat of sealant. However, this kind of patina can be susceptible to flaking or fading. After your metal is fully dry, you can protect its patina with: A clear coat of acrylic finish. This will create a smooth, hard barrier between your patina and the forces that cause it to flake and fade. Waxes. For example, you might find regular beeswax or renaissance wax helpful for preserving the surface of the patina and its color.
Creating Patina with Chemicals

Determine the composition of your metal. Some metals are made up of a single component, like gold and copper, but others are combinations, called alloys, like brass and steel. Each one has unique properties, which means some chemicals will work and others won't. Calculate the density of your metal to help determine if it is one of the following common metals/alloys: Aluminum, or one of its alloys, which are often silvery-white. It is a light, common metal that shares a density of 2.7 g/cm³ ( .098 lbs/in³) with most of its alloys. Copper, or one of its alloys, which are usually reddish in color. Deoxidized copper has a density of 8.9 g/cm³ (.322 lbs/in³), copper nickel 8.8 g/cm³ (.318 lbs/in³), navy brass 8.6 g/cm³ (.311 lbs/in³), and silicon bronze of 8.7 g/cm³ (.314 lbs/in³). Iron, or one of its alloys, which are relatively lustrous and gray in hue. Cast iron has a density of 7.5 g/cm³ ( .271 lbs/in³), wrought iron shares the same density as steel at 7.8 g/cm³ (.282 lbs/in³), and stainless steel of 7.9 g/cm³ (.285 lbs/in³). Silver, or one of its alloys, are bright and shiny. Silver has a density of 10.5 g/cm³ (.379 lbs/in³) and nickel silver 8.4 g/cm³ ( .303 lbs/in³).
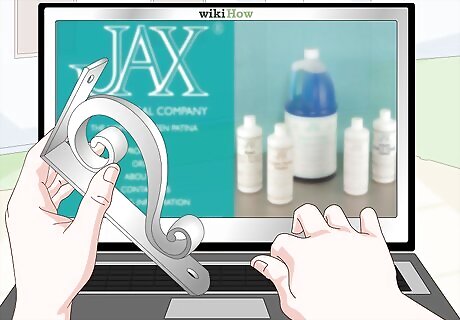
Identify the best chemical treatment for your patina. Now that you know the kind of metal you're working with, you'll need to research what kind of chemical treatment will work best for patinating that kind of metal. Some common treatments include: Jax Chemical Company's pre-mixed metal coloring solutions. Many of these are formulated to work well on copper, brass, and bronze. Baldwin's Patina, which is suited for copper and steel clays as well as brass, bronze, and copper metals. Liver on Sulfur (LOS), which works for many metals and alloys, with the exception of brass, gold, aluminum, and stainless steel.
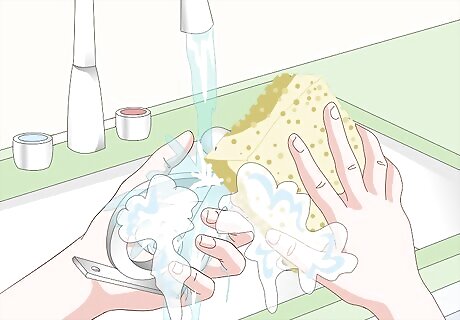
Prepare the metal for patination. Contaminants on the surface of your metal could negatively impact the end result of your patination. For most light to moderately dirty metals, briskly scrub it with dish soap and water, then air dry. For dirtier pieces of metal or a deeper, more thorough cleaning, soak the metal in degreaser overnight, rinse it clean with water, then allow it to dry. Handling the metal with clean gloves can prevent you from accidentally transferring oil from your hands to the metal and influencing the patination.
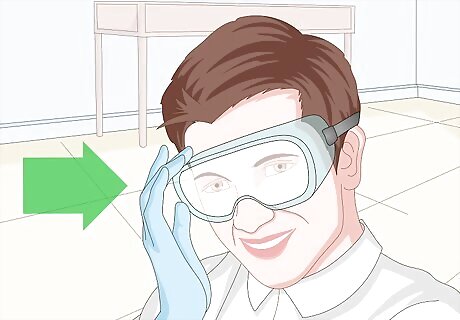
Follow safe handling procedures. Many of the chemicals used to create a patina give off dangerous fumes that can cause harm or death if they build up, so work in an area with good airflow. Read and follow the directions that came with your chemicals carefully to ensure the safest and best results. Generally, your bare hands should never come into contact with chemicals. Wear plastic or rubber gloves at all times when handling chemicals, or metal with chemicals on it. Keep chemicals from your eyes and mouth with protective eyewear and a mask. Many of these are poisonous, and can lead to irritation, illness, or worse.
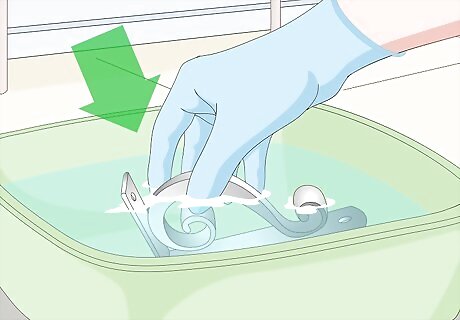
Prepare and apply chemicals carefully. Depending on the chemical treatment you've chosen for your metal, you may have to apply it directly to the metal's surface, prepare it in a container then dunk your metal, and so on. Follow your treatment's label instructions for best results. Many chemical treatments will change color depending on number of applications and/or soak time. Generally, LOS will yield yellow/gold on the first dunking, pink/red on the second, turquoise/purple on the third, and gray on the fourth. Some chemical treatments may need to reach a certain temperature to work best. LOS, for example, should generally be prepared in very hot water.
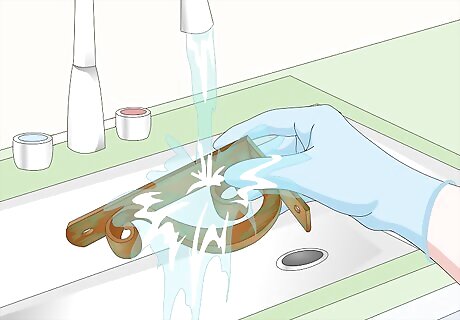
Handle treated metal safely and responsibly. There may be harmful chemicals still on your metal after you've applied the treatment. Frequently, this can be made safe by covering the metal completely with baking soda and then rinsing it clean. Gentler or more environmentally safe chemicals may only need a quick rinse with clean water before your metal is safe to handle barehanded. Harsh and specially formulated chemicals may require specific neutralizing agents to render the solution harmless.

Neutralize the chemical treatment, if necessary. Some chemicals will continue to be dangerous after preparation. These chemicals should indicate this on their label and provide instructions for neutralization and disposal. Your chemical may have come with a separate neutralizing agent, but in many cases, baking soda can be added to neutralize chemical solutions. LOS breaks down with exposure to light and air. Leaving your container of LOS open in a sunny, well ventilated area for a day will neutralize it. Any chemicals left out to neutralize over time should be kept safe from children and animals in a well-ventilated area.
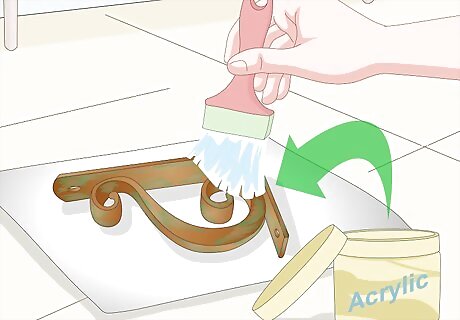
Seal your patina for protection, if desired. You can preserve the color and consistency of your patina while adding polish with a sealant, like a clear coat of acrylic, beeswax, or renaissance wax. However, for the most realistic look and continued patination, unsealed might be your best option.
Imitating a Patina with Oxidizing Paint

Purchase your project supplies. To imitate the patina effect, you'll need a special kind of paint that has tiny metal particles in it. This is called oxidizing paint or surfacer. This will react with a special patina solution to create that patinated look. For this project, you'll need: Containers (x2; for paint and sealant; optional) Degreaser (optional) Foam brush (x2) Gloves Metal (to patinate) Oxidizing paint & patina solution (often sold together) Paint stirrer Plastic/rubber gloves Sealant (spray-on recommended) Dish soap & water
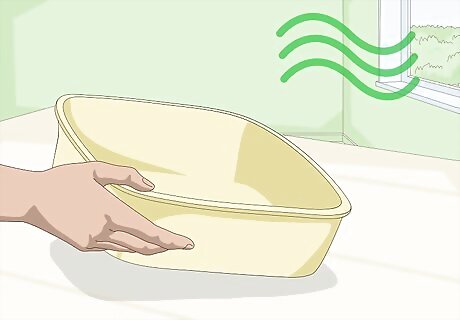
Ready your work area. Fumes from the paint and oxidizing solution you'll be using can build up in areas with poor airflow and cause injury or death. Choose a well ventilated work area and a flat, stable work surface for this project. Paint can sometimes spatter and spread where you'd rather it not. Lay down a tarp or some newspaper to catch unwanted paint droplets in your work area. Depending on the container your oxidizing paint and patina solution came in, you may be able to work straight from the container or you may want to pour these into separate containers. If you decide to use a separate container for your oxidizing paint, be sure to mix the paint with a stirrer thoroughly so it is consistent throughout before transferring the paint.
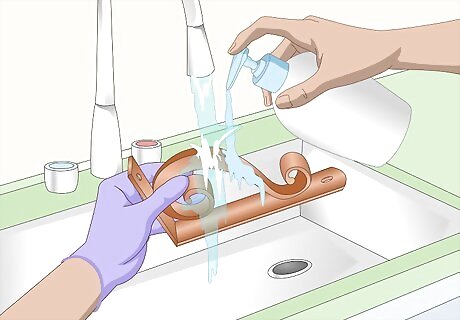
Prepare the metal. Dirt, oil, and other contaminants on the surface of your metal can negatively impact the outcome of the patina. A little bit of dish soap, warm water, and a good scrub will be enough to clean most metal. Allow it to air dry, then you're ready to apply the oxidizing paint. The most thorough cleaning will yield the best results. An overnight soak in a suitable degreaser will remove contaminants entrenched deeply in crevices. Wearing gloves will prevent you from accidentally leaving behind fingerprints, which can cause the patina to deform.
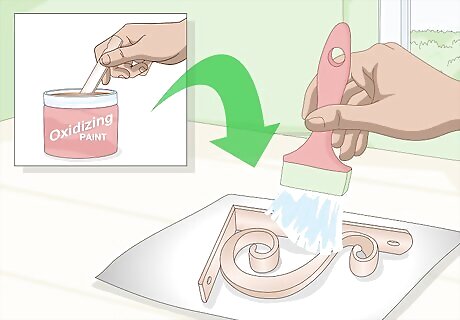
Mix and apply your oxidizing paint. The small metal particles in the paint can sometimes clump up and create inconsistencies in your patina. Take a paint stirrer and thoroughly mix the paint so it is smooth and consistent throughout. Then, use a clean foam brush to apply the paint to your metal. Each brand of paint will be different, so you'll have to follow your paint's directions for the best results. Generally, apply two thin coats of paint with one hour of drying time between coats. Depending on your surface, you may need a few coats before it is completely and evenly covered with oxidizing paint.
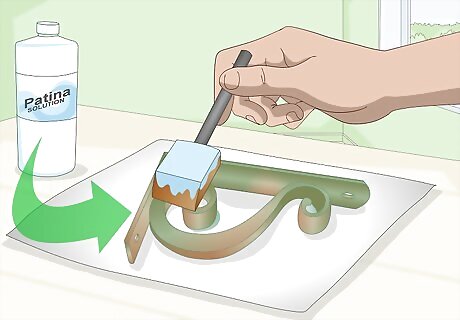
Add the patina solution. After the second coat, wait until the paint is tacky to the touch. Be sure to wear your gloves while checking tackiness. Then, take your clean foam brush and: Use liberal applications of the patina solution to create an intense effect. Be consistent, inconsistency will lead to patchy patination. Use incremental applications of the patina solution to gradually intensify the effect. This way, you're less likely to overshoot your ideal patina. Wait patiently for the color change. Many factors can influence the time it takes to oxidize and create a patina effect. Generally, color should change in 10 to 15 minutes.

Wait until it is dry, then adjust the patina as you see fit. At this point, you will be able to see how the paint interacts with the patina solution. Once the paint and solution are dry, you can reapply more paint and solution to modify the patina to suit your preferences. Much like paint can flake off or fade over time, so can your imitation patina. A thin layer of clear sealant will help prevent this from happening.



Comments
0 comment