views
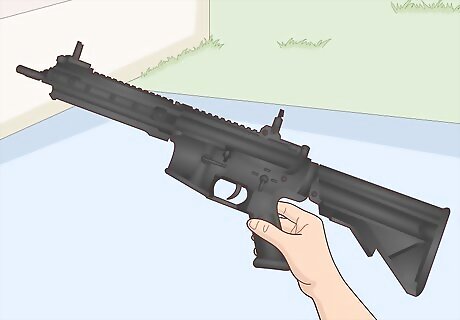
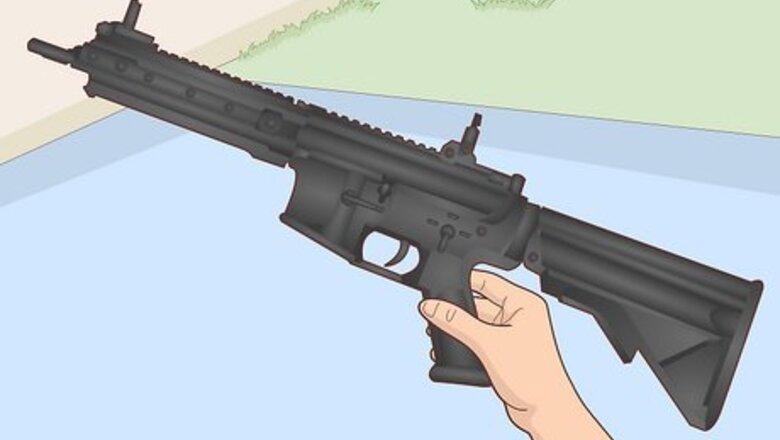
Decide on the gun you want painted. Not all airsoft guns look good painted. For example, G36s, MP5s, and other HK submachine guns generally looks their best in black. Some guns you might want to have painted are M16s, M4s, Sniper rifles, and SAWs.
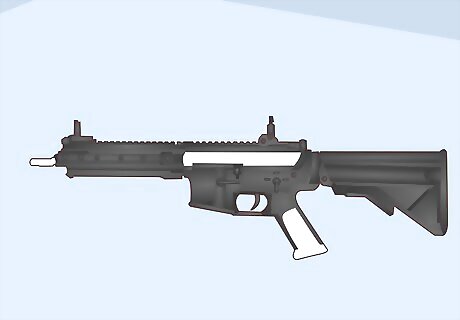
Decide what parts of the gun you want painted. Many designs are possible. For M4s and M16s and other variants of those weapons, the entire gun being painted is preferable, while as for SAWs and snipers, only plastic parts or "furniture" should be painted.
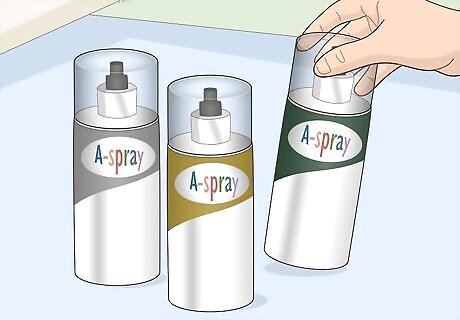
Choose your colors and design. (if you want digital camouflage... check the bottom under Tips) When at the store, make sure you are buying spray paints and that every single color you get is flat. If you get shiny, your gun will come out pretty darn badly...
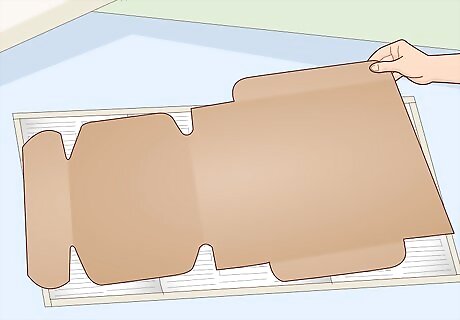
Prepare your gun. You want to prepare your gun so that it will not be harmed when you paint it. Do this after you have chosen a suitable place to paint. You will want to get masking or painting tape and lots of newspaper and place them on the ground making a "table" big enough for your gun and plenty of room for extra painting. Then get maybe a couple cardboard boxes or other strong, but recyclable thin constructs to lay your gun on during painting.
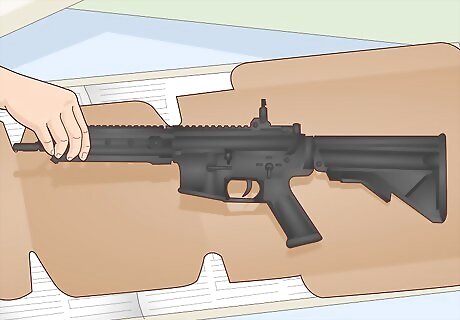
The layout. After laying out plenty of newspaper and taping it down so that it won't move, get your cardboard box and turn it upside down, making sure that your gun can rest on it without wiggling. Then put on glasses, and prepare to make your gun beautiful!
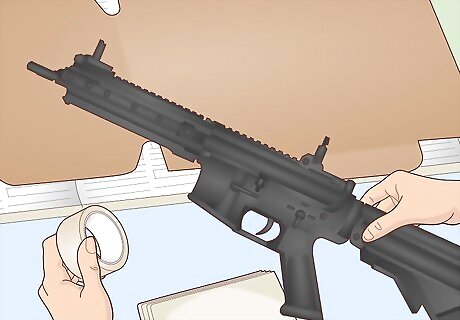
Remove it from the cardboard box and get more tape, newspaper, paper-towels, and tissue: you're going to need it.
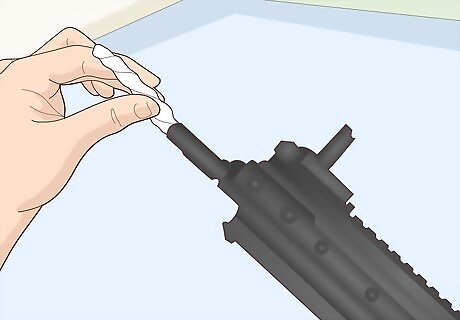
Plug your barrel. Take tissue, and roll it (about two inches in height) and make sure you roll enough to get at least 4 mm once rolled. Place this in the barrel of your gun (make sure you have no battery, mag, or BBs in the gun. Also make sure you take off the sling, scope, and every other removable-without-screws part of your gun). Make sure, even if the tissue sticks out, that it won't fall out. Next take paper-towel and lay it over the mag-opening and tape it in place. Now cover any other holes in your gun (like on the M4, the open-ejection-port). Try to make it neat, because whatever is covered will not be painted, so in order to not have random streaks of paint-less gun present, you will only want to plug the holes.
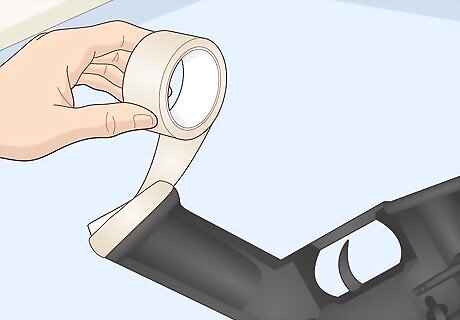
Cover the parts you don't want to paint completely with paper towel (don't tear holes in it) and masking tape. Don't use any other type of tape, as it may ruin your gun.
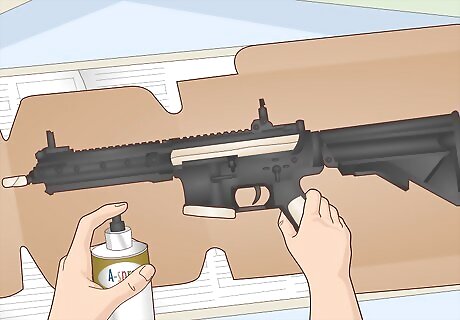
Lay your gun back on its cardboard box and prepare your paints and everything you will need nearby. Take your lightest color (ie: tan) that you will be using, and holding the can pointed down or at a downward angle at about 8 inches (20.3 cm) from the gun, lightly spray your gun. Never hold you gun any closer. The coating should be light and may have patches untouched by the paint. If this is the case, DO NOT keep spraying in the same spot, NOR hold it closer. Just a really light coat for now. You can always come back and finish it. Spray the light color basically everywhere you want your gun to be painted, even if other colors will be added later. Now, depending on the weather, you will want to wait 20 minutes to 2 hours for the paint to completely dry. (if its hot and sunny outside, carefully take your gun outside, taking care not to touch any painted part, even if it looks dry, and leave it, with its box in the sun for about 20 minutes.)
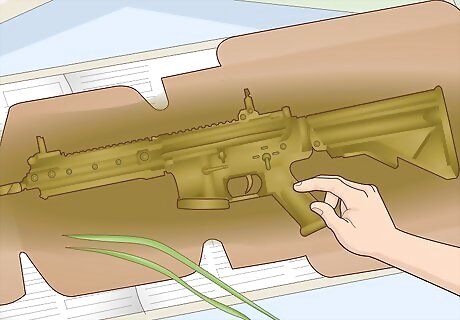
Come back when you're sure its dry, and, taking a blade of grass, tap the painted parts of the gun in inconspicuous locations to see if its really dry. Now tap a more prominent area, and one that has more paint. If its dry, lightly tap it with your little finger. If it's not sticky, tap it just a little harder. If it's still not sticky, lightly rub your fingers over the painted parts. If they feel smooth, then its dry. If its sticky, wait just as long as you waited last time, or you will regret it later. If it is ready, carefully pick it up and take it back to the garage. Now take the same color and go over an missed spots using the same caution. Some parts may take up to 5 times to successfully paint before they look their best. Still do not hold the can closer than 8 inches (20.3 cm), nor hold it longer. If you hold it longer than 5 seconds on any part at one time, you probably ruined your gun.
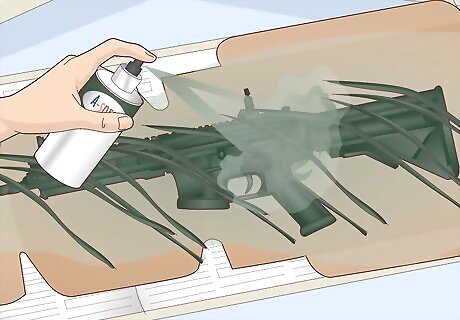
Repeat this process over and over. Once you finish the lighter colors, go to the darker ones, covering up the lighter ones as necessary. Never start another color until you have taken the steps in #10 to ensure its completely dry.
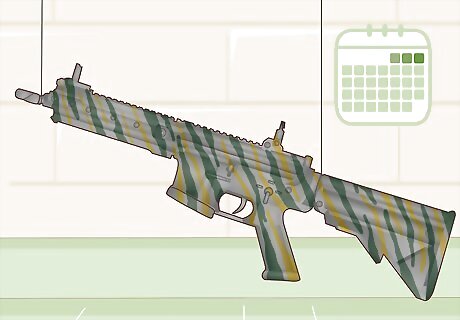
Leave it to dry for a few days. Make sure its dry where you let it dry (ie: your room). DO NOT remove taped sections or the barrel plugs.
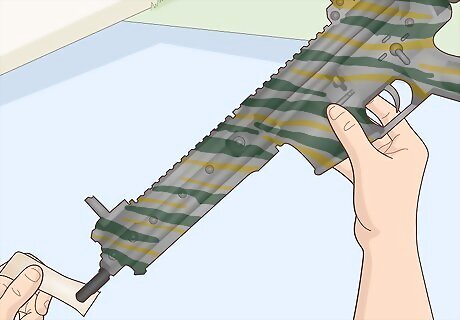
Remove the tape and, when removing the barrel tape, remove it from your gun, pointing down, so that dry paint doesn't fall into the inners of your gun.




Comments
0 comment