views
Creating Your Shop Page
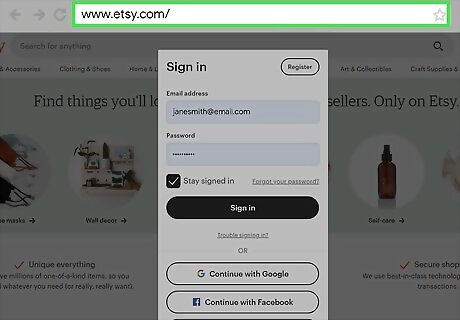
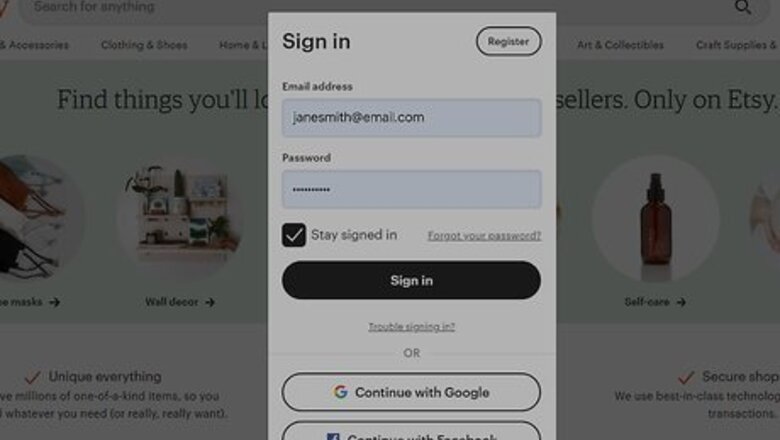
Sign in or create an account on Etsy. If you’ve shopped on Etsy before, you probably already have an account. Simply click Sign In at the top of the screen and use your email address and password to log in. If you don’t already have an account, click the Register option to start your free account. You do not need to make separate accounts for buying and selling on Etsy.
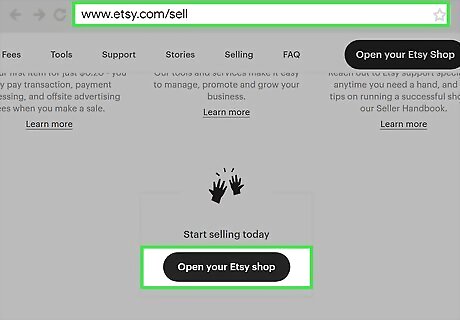
Click “Open your Etsy shop” on the site’s Sell page. If you’re on the Etsy home page, open the “Sell on Etsy” option in the top right corner. On the next page, scroll down until you see the button that says “Open your Etsy shop.” Click on it to start entering your shop’s information. You can access the Etsy sell page here: https://www.etsy.com/sell. You have to create an Etsy shop from a desktop browser, but you’ll be able to edit it later using the mobile app.
Choose the language, country, and currency for your shop. Select the default language you’ll use to describe items in your shop from the drop-down menu. Then select the country where you’re basing your shop from. While customers will see prices in their local currency, choose the type of currency you’re using to price out your items. Make sure you choose the same currency that you would use at your local bank, or else you might have to pay conversion fees.
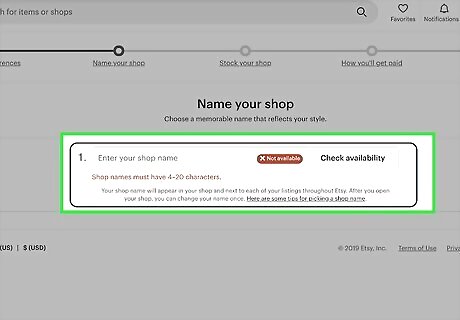
Give your shop a descriptive and creative name. Your shop name should give your customers an idea of the style and product you’re selling. Brainstorm a few words related to the products you’re selling and the vibe you’re going for to see what fits best. When it doubt, you can always use your name for your shop as well. Make sure you keep the name between 4–20 characters without spaces. Type your name into the Etsy search and Google to make sure the name isn’t taken before you submit it. For example, if you want to sell hand-carved kitchen products, you might consider names like RedwoodKitchen, CarvedCutlery, or JacksCustomUtensils. You can always change the name of your shop later on. It will help if you build a brand and brand strategy when you choose what items you’re selling and what name you choose. Research your shop name to see if it translates into anything that’s offensive or has negative connotations since you might have customers from around the world.
Listing Items
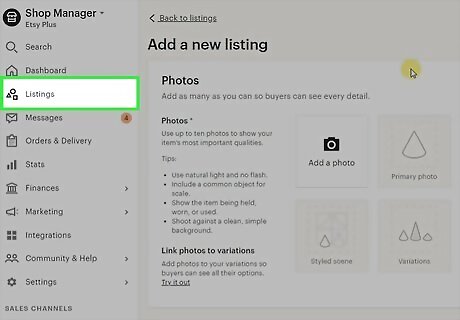
Click on the “Add a listing” icon to start your first product. When you reach the “Stock Your Shop” section for opening your shop, you won’t be able to move on until you add at least 1 listing. Find the box on the left side of the screen with a plus sign (+) inside it. Click on the box to start the page for your first product. You can only sell homemade crafts, vintage items older than 20 years, and craft supplies on Etsy. While making an Etsy account and shop is free, you will get charged $0.20 USD for each product listing. The listing will last for 4 months or until it’s sold. If you don’t sell the product after 4 months, you can renew the listing for another 4 months or remove it from your shop.
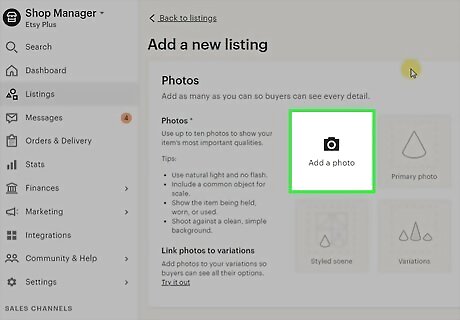
Upload multiple well-lit photos of the item. You’re more likely to sell a product when you add images to the post, so make sure they’re clear. Set the product on an empty, flat surface near natural light if you’re able since it will give you the best lighting. Take pictures from multiple angles so customers get a better idea of how it looks. You can also include shots of someone using or wearing the product to make your listing more engaging. You can post up to 10 pictures for each item. Try to include a picture of the product with other common household items so buyers know how big or small it is. If you’re selling variations in colors or sizes, be sure to include images of the different products as well. You can even add a 5- to 15-second video showcasing your product. However, you can’t have sound in the video.
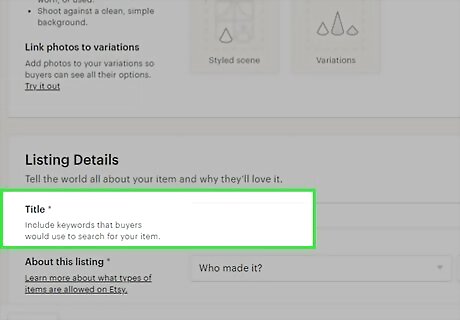
Give your item a descriptive title. Choosing a generic name for your item will make it hard to find when buyers search for it. Instead, include the color, material, use, and technique you used to make the product. Think about what keywords you would use to describe your product and include them close to the beginning of the title. You have up to 140 characters for your title, so make the most out of them! For example, if you’re selling a homemade tote bag, avoid titles like “The Johnson Tote” since it doesn’t give the buyer any idea of what to expect. Instead, you might go with something like “Personalized Tan Burlap Tote Bag with Floral Print - Hand-Stitched and Reusable.” You cannot add more than 3 words written in all capital letters. You may always change the name of your product later on. Look up similar products to what you’re selling to see how other sellers have named their shop items.
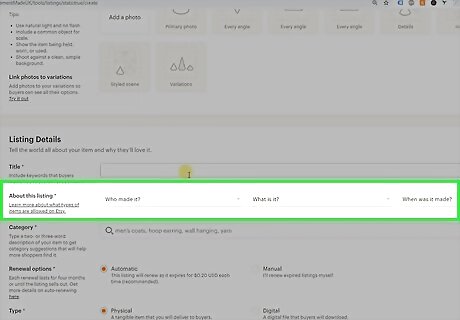
Write a longer product description to give more details. You always want to start off with the most important information so it doesn’t get cut off. Give additional information about the materials, the sizes, and any other customizations you’ve done. Keep your paragraphs short and use some bullet points to make the description easier to read. For example, if you’re selling a hand-carved serving spoon, you might say, “We carved our 10-inch serving spoon from a single piece of high-quality oak. Since we shaped the handle so it perfectly fits in your hand, you don’t have to worry about losing your grip while serving up your favorite meals. Our spoon works great for delicious salads, casseroles, or whatever other delicious foods you’ve cooked up in your kitchen. When you’re finished using it, just wash it by hand with dish soap and soft washcloth.” Write down some potential questions buyers might have such as “How do I care for it?” or “Why should I choose this product?” and read through the description you’ve written to see if you answered them.
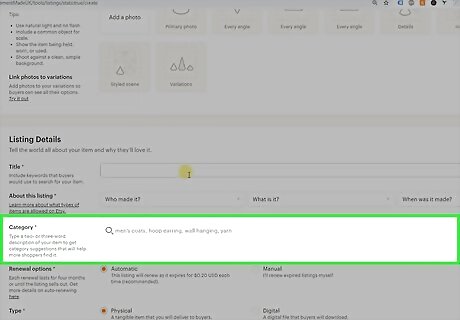
Add tags and categories to help customers find your product. Tags and categories help shoppers find your products when they’re searching the site. Pick the shop category that best fits your item since that’s where Etsy will sort your product. Then you can type in up to 13 custom keywords and phrases to use as tags. Your tags can be up to 20 characters long, so try and be descriptive with them. For example, if you’re selling custom cookware, you’ll probably choose the “Kitchen & Dining” category. When you add tags, try to be as specific to your product as possible. For example, if you’re selling a canvas tote bag, avoid tags like “tote bag,” “bag,” or “canvas” since they are really generic. Instead, add a single tag for “canvas tote bag.”
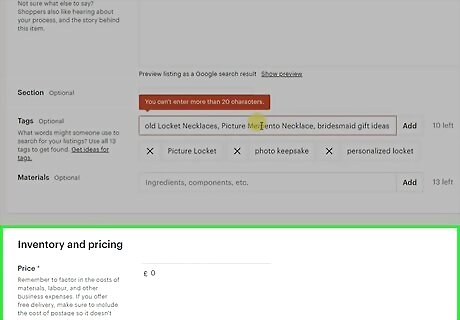
Price your item competitively. It can always be difficult to set prices because you want to make money without overcharging. Calculate how much you spent on supplies and add $10 USD per hour you spent putting the item together to determine a price estimate. Then, take the cost of your supplies and multiply it by 3 for a second estimate. Add your estimates together and divide your answer by 2 to find a reasonable price. For example, if you spent $6 on supplies and 1 hour making the item, you would have 6 + 10 = 16. So your first estimate is $16 USD. For the second estimate, multiply the cost by 3. The equation is 6 x 3 = 18, so the second estimate is $18 USD. Add your estimates together, so 16 + 18 = $34 USD. Finally divide the total by 2, so 34 / 2 = $17 USD. Don’t forget to add the sales tax to your price if your state or country has them.
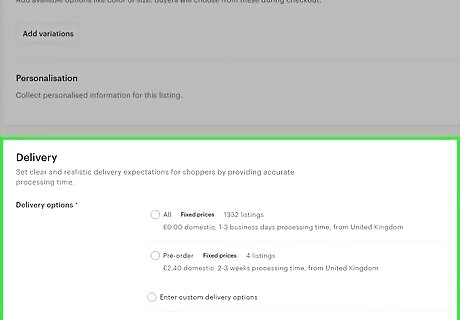
Type in the item’s shipping information. On the listing page, type in the ZIP code where you’re sending the product from and select the timeframe for how soon you’ll ship it. You can also select whether you want to only ship domestically or if you’re able to send products worldwide. Then type in the item’s weight and the size of the item once it’s packed in a box so Etsy can calculate the shipping costs for you. The buyer pays the shipping cost, but you can also include the price of shipping with the cost of the product to get priority listings.
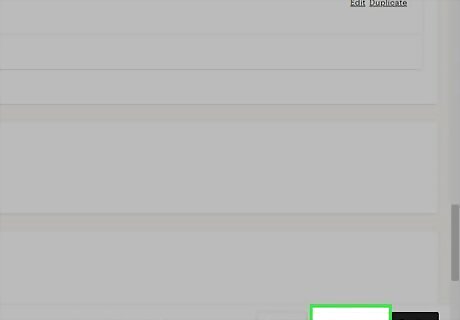
Click the Save button to add the product to your shop. After you’ve typed in all of the product’s information, click the “Save and Continue” button in the bottom right corner of the screen. After that, you can keep adding more products or move on to the next steps. While you only need 1 product to open your shop, Etsy recommends adding 10 or more so you’re more likely to get discovered. Since you haven’t finished all the information for your store yet, your items aren’t visible to the public yet. They will automatically become visible when you finish entering payment information for your store.
Setting Payments and Billing
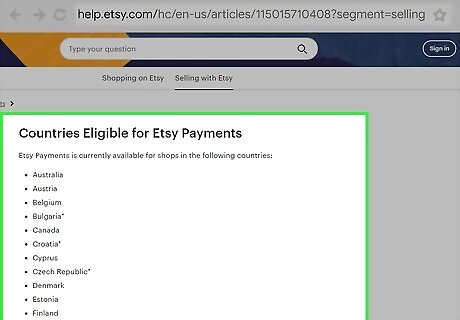
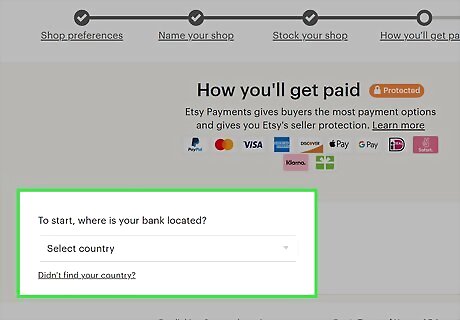
Enroll in Etsy Payments to give your customers the most purchasing options. Etsy Payments allows buyers to use a variety of payment options, such as credit and debit cards, PayPal, Apple Pay, and many more. If you have a bank account, have a credit or debit card, and live in an eligible country, all you have to do is enter your banking information and your home address. Etsy will make a small deposit into your account that you’ll have to verify before you get paid. You can find a full list of eligible countries here: https://help.etsy.com/hc/en-us/articles/115015710408-Countries-Eligible-for-Etsy-Payments?segment=selling. You have to use Etsy Payments if you’re eligible. It may take 3–5 days to see the deposit in your account.
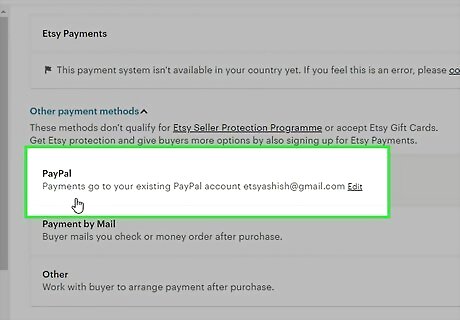
Choose PayPal if Etsy Payments aren’t offered in your country. Even if you aren’t eligible for Etsy Payments, you can still run your store through PayPal. Create a PayPal account if you don’t already have one. Go back to Etsy and enter in your PayPal account information to connect your profile so you can still receive money for your products. Buyers will use their PayPal accounts to send money directly to your personal or business PayPal.
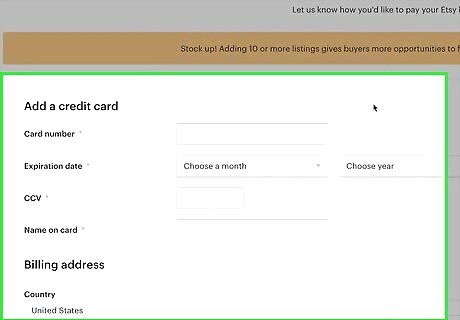
Provide a credit or debit card so you can pay off listing and sales fees. Even though Etsy doesn’t directly take cuts from your profits, you’ll still have regular fees when you list items, make a sale, and accept an Etsy Payment. Typically, you’ll pay $0.20 USD per listing, 5% of the product’s sales price, and 3% + $0.25 USD for payment processing. Enter your credit card information so Etsy can charge fees as they accumulate on your account. If you make money selling items, your profits will cover any fees you have on your account, so you may not get charged on your card.
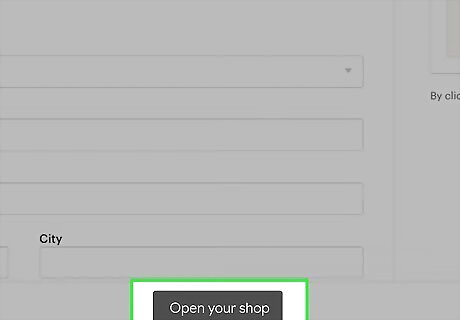
Click “Open Your Shop” to make your store page public. After you enter all of your information, locate the “Open your Shop” button in the bottom corner of your screen. Once you click it, buyers can access your products and store page so you can start selling!
Customizing Your Store Page
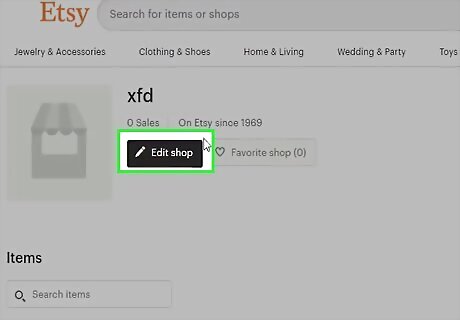
Click the pencil icon in the Shop Manager to edit your store’s information. Whenever you want to make changes to your store page, find and click on the icon in the top left that looks like a shop stand. Hover over the name of your shop and tap on the pencil icon that appears to start editing.
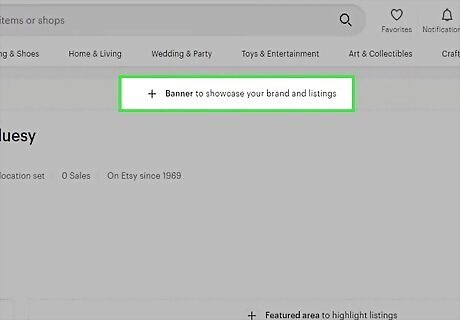
Upload a banner image and shop icon. Your banner is the first image buyers will see at the top of your store page. Click in the small pencil icon in the banner’s bottom right corner and select an image to use for the banner. You can use product photos or have a logo for your shop. Then click on your shop icon on the left side of the screen and upload the image. Use a simple graphic or a logo that showcases your shop’s personality. Your banner image should either be 1,200 x 213 pixels or 1,200 x 400 pixels. Shop icons should be 500 x 500 pixels. You can also upload a picture of yourself as the shop owner so your customers can see who they’re buying from.
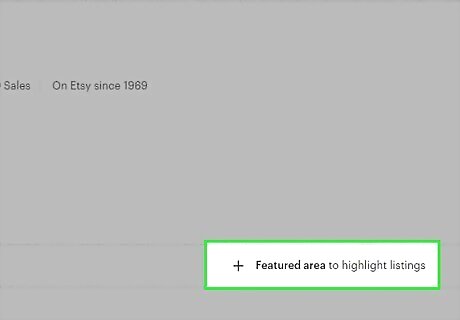
Add featured items in your shop to promote different products. If you have items that you really want to sell, you can feature them at the top of your profile so they’re more visible. Click on “Listings” in the Shop Manager menu and choose up to 4 items you want to display. Select “Manage” to rearrange the items if you want them in a different order. While you can add more than 4 products to your featured section, only 4 will display. If a featured item sells, then the next product in the queue will appear on your page.
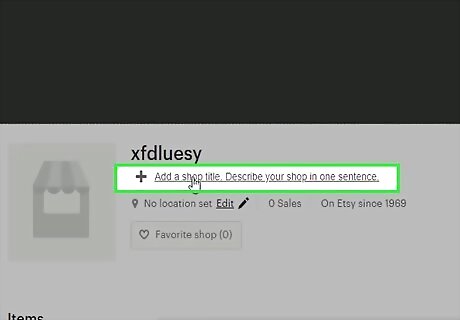
Write your store’s description in the About section. The About section is a great place for you to connect with your buyers and explain your store’s story and mission. Describe how you got started with the products you’re selling and talk about the things that make you stand out from other products. You may also talk about yourself so your buyers know who you are and feel more connected with you. You can also add images or videos to your About section.
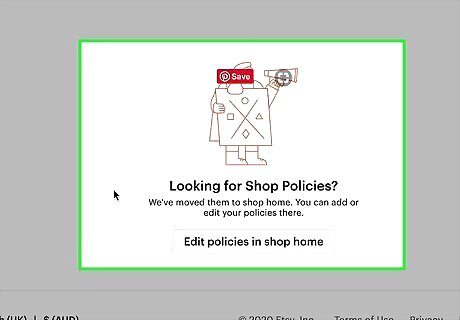
Edit the rules for shipping and returns in the “Shop policies” section. Scroll down to the section labeled “Shop policies” and look through the options that are available. You can adjust the policies for shipping, payment, returns, and exchanges. Tell your buyers exactly how long they can expect for shipping and what they must do if they have any issues with their orders. Choose whatever options work best for you from the dropdown menus before saving them. Due to COVID-19, you may not want to accept returns to avoid getting sick.
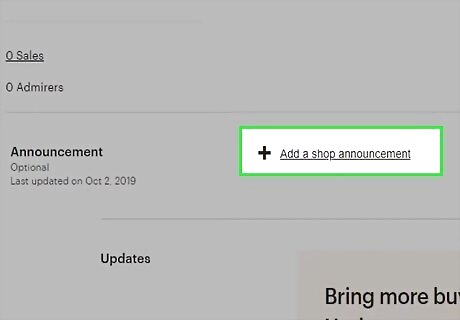
Put in announcements when you need to alert your shoppers. Announcements work great if you’re making big changes or taking a break from your shop. Scroll down to the Announcements section on your shop and click the Add button. Write your announcement with clear and concise language so your buyers fully understand what you’re saying. When you’re finished, press Save to submit it. For example, you might write an announcement like, “Hello everyone! As a friendly reminder, we will not be accepting orders for the next week since we are moving. We’ll be back very soon!” You can always go back and edit announcements if you need to.
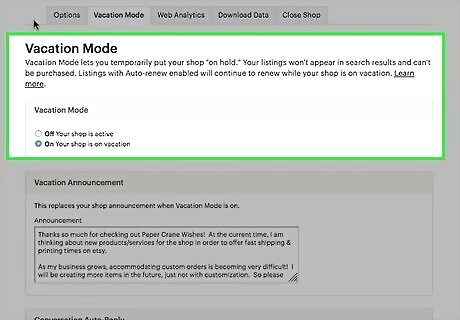
Change your shop to Vacation Mode if you need to take a short break. We know running an online store can get exhausting, but Etsy lets you temporarily close your store if you’re too busy with other things. From the Shop Manager, click on “Settings” and select “Options” from the menu. Tap on the “Vacation Mode” tab and turn it on. You can add a custom announcement to update your customers on why you’re closing your store. Whenever you’re ready to open your shop again, just go back to the same menu and turn Vacation Mode off. This setting works well if you’re traveling, sick, or if you just need to catch up on past orders.
Promoting Your Items
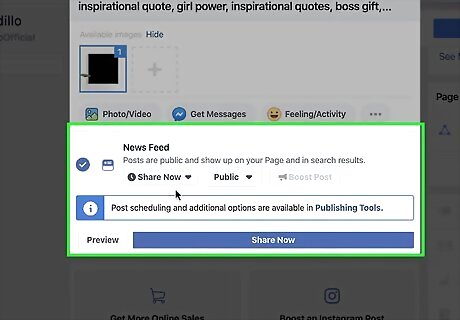
Share your Etsy shop on social media to gain more customers. Showcasing your shop and the items you’re selling on social media can help boost traffic to your store without spending any money. Create social media pages and accounts for your shop so you can post regular store updates and showcase new items that you’re offering. You can write posts, share images, or make product videos. Just make sure you use the same tone and language across all of your social media accounts so your brand feels cohesive. Facebook works great for sharing videos to a wide range of audiences. Post to Instagram to show your products in use and to reach younger customers. Pinterest works well if you’re sharing trendy products or when you want to share inspirational boards.
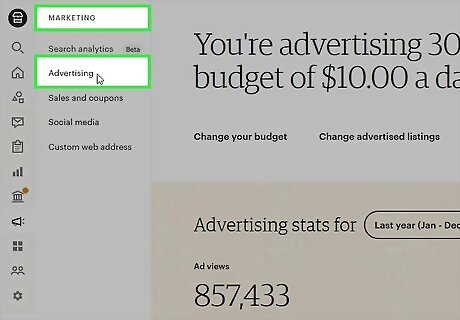
Set up Etsy Ads to promote your items on the site. Etsy allows you to promote your items when customers search for a product. From the Shop Manager, click on “Marketing” and select “Advertising” from the list. Set a daily budget for your ad, which is how much you’ll spend to promote your product. Once you set the budget, click “Start advertising” to run your ads. You can even choose specific item listings if you want to promote a certain item more than others. You only have to pay if someone clicks on your advertised products, and the price per click varies depending on the item.
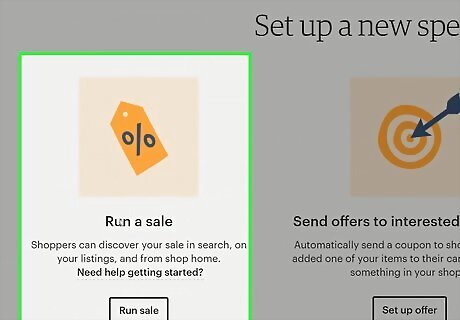
Run a sale if you want to drive more traffic to your shop. Sales work well if you want more people to find your shop or if you have items that aren’t selling well at their price point. In the Shop Manager, click on “Marketing” and then select “Sales and Coupons.” Choose “New special offer” and then tap on “Run a Sale.” Specify the percent discount, the minimum order quantity or total, and how long you want it to run. You can run a sale for up to 30 days. Etsy runs site-wide sales as well. All you need to do is create the same type of sale while the site-wide one is running.
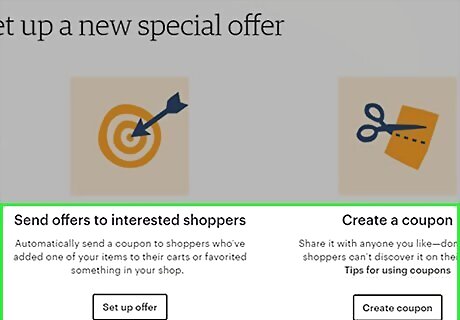
Offer coupons to customers who haven’t followed through with a purchase. Sometimes, customers will add your products to their cart or favorites without actually buying the item. To encourage them, try sending them a coupon code. From the Shop Manager, select “Marketing” and then click on “Sales and Coupons.” Select “Set up offer” from the list and choose either “Abandoned cart shoppers” or “Recently favorited shoppers.” You can choose a percentage or fixed amount off their order, or even offer free shipping.




Comments
0 comment