
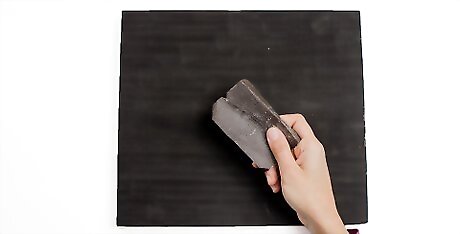
Mixing the Paint
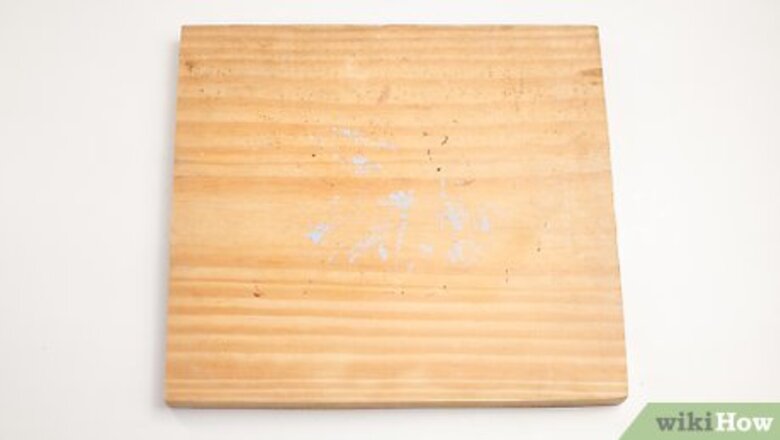
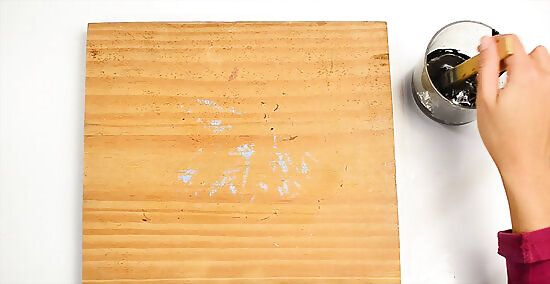
Choose a flat, smooth surface to turn into a chalkboard. Flat objects, such as wooden plaques, work the best. You can also paint curved surfaces, such as terra cotta flower pots. If you want to make a magnetic chalkboard, try a sheet of galvanized steel, but make sure that it is magnetic first. Avoid surfaces with lots of carved details, as they will be difficult to write on later. This paint will give you a smooth, matte surface that you can write on, just like a real chalkboard. It is not the same as regular chalk paint, which will only give you a chalky texture.
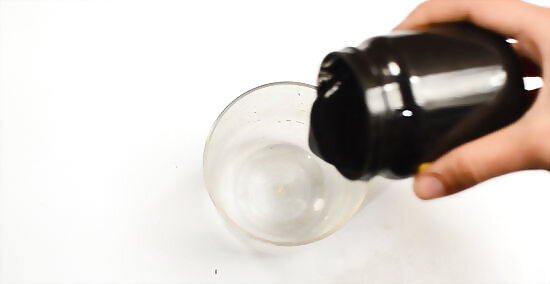
Pour out as much latex paint as you need to cover your surface. Homemade chalkboard paint dries quickly, so you can't store it like other types of paint. Pour enough paint for 1 coat into a can or bucket; you will prepare a second batch later. You can use any color of paint you want, but black or dark green will give you the most chalkboard-like finish. Use 1/2 to 1 cup (120 to 240 mL) of latex paint for small projects. Use 1 gallon (3.8 L) (3.8 L) of grout for larger projects.
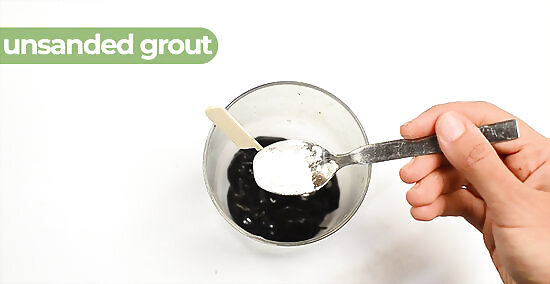
Stir in unsanded grout using a 1 to 8 ratio of grout to paint. For example, if you used, 1/2 cup (120 mL) of latex paint, add 1 tablespoon of unsanded grout. Stir the mixture with a paint stick so that no streaks or clumps of grout remain. You can find unsanded grout in hardware and home improvement stores. Do not use sanded grout. Work in a well-ventilated area and be careful not to breathe in the grout.

Pour the paint into a tray if you'll be using a paint roller. You can apply chalkboard paint busing a foam paintbrush for small surfaces, or you can apply it using a paint roller for large surfaces. If you are using a foam brush, leave the paint in its can or bucket. If you are using a roller, pour the paint into a paint tray. Small surfaces include plaques, mason jars, and tags. Large surfaces include walls, bulletin boards, and headboards.
Applying the Paint
Apply a single coat of paint. Use a foam paintbrush for smaller surfaces, and a paint roller for larger ones; you can used a foam paintbrush for curved surfaces, such as flower pots, as well. Work from 1 side of your surface to the other. Do not worry if the paint looks thin; you will be applying a second coat later.
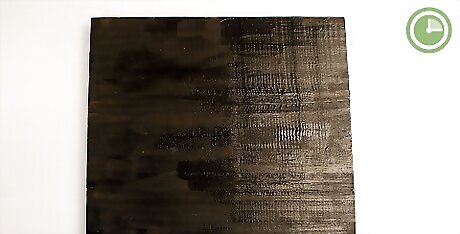
Let the paint dry for a few hours. How long this takes depends on how dry or humid it is where you live. Paint will dry faster in dry climates and slower in humid climates. As the paint dries, it will take on a more chalky finish. Discard any leftover paint from when you applied the first coat; this type of paint does not store well, even in closed containers.
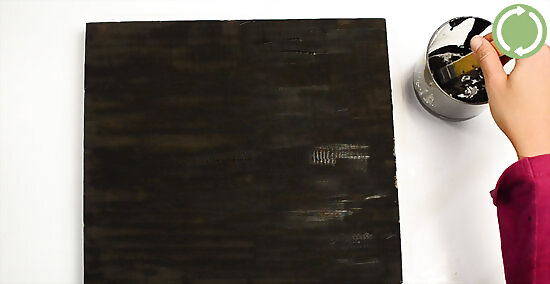
Prepare and apply a second coat of paint. Prepare a second batch of paint using the same 1 to 8 ratio of unsanded grout to latex paint. Apply the paint with a foam paintbrush or a paint roller, just as before.
Let the paint dry and cure for 3 days. This is very important. Just because paint feels dry to the touch does not mean that it is dry underneath and ready to use. Leave your project alone for 3 full days. If you use it too soon, the paint may peel off or turn tacky. Do not seal the paint with wax or acrylic sealers, or you won't be able to use it as a chalkboard.
Finishing and Priming the Surface
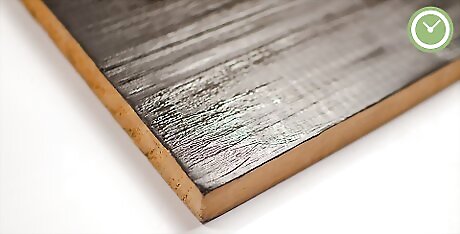
Sand the surface, if desired. If the paint has visible streaks in it, you can lightly sand the surface with 150-grit sandpaper. Do not get carried away, however, or you will sand the paint off too. Wipe the sanding dust off with a tack cloth when you are done.
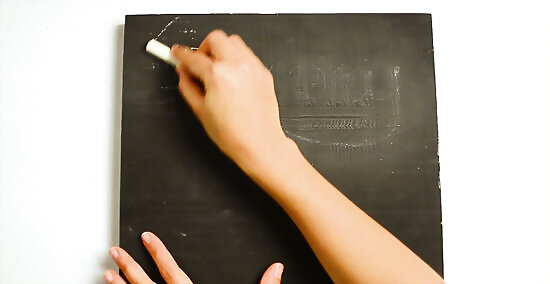
Rub chalk over the painted surface. This is known as "priming" or conditioning," and it will make it easier to erase things later on. Simply take a piece of chalk, hold it on its side against the chalkboard, and rub it over the entire surface.
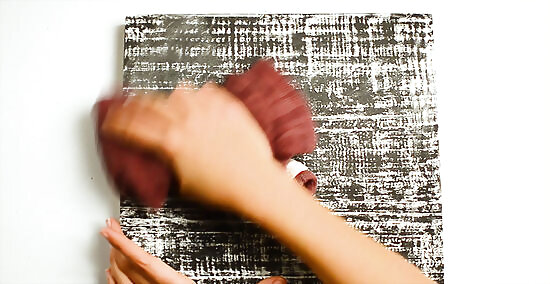
Wipe the chalk off with a dry cloth. This completes the priming or conditioning process. The surface will turn a little lighter than before, which is normal. If you don't prime your chalkboard, the first message that you write on it may leave behind a "ghostly" image after you erase it.

Use the chalkboard, but avoid getting it wet. You can wipe it with a damp cloth when necessary, but do not soak it in water. Remember, this is still a painted surface, so the paint will dissolve if it is let in water for too long.


Comments
0 comment