
Using Paper for Simple Experiments
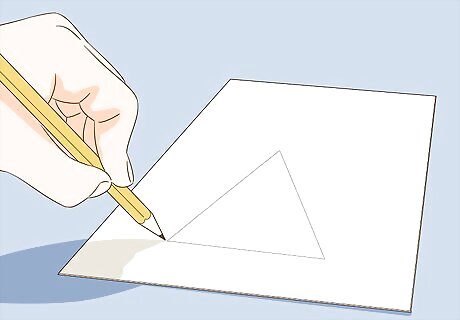
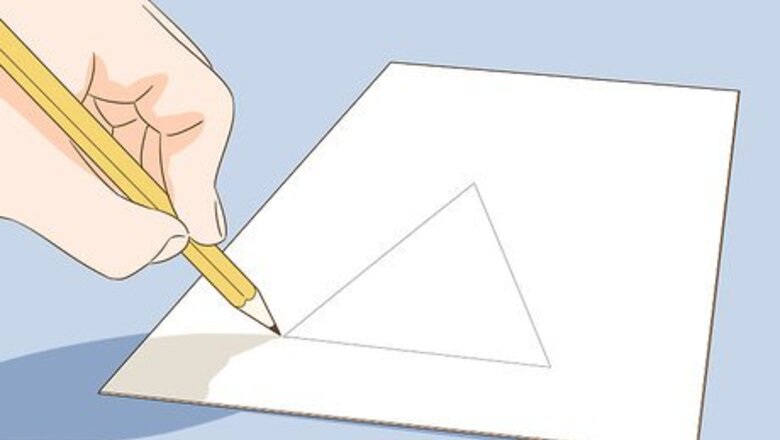
Draw a triangle onto thick paper, then cut it out. Use a ruler to draw a 4 cm (1.6 in) line onto your paper to make a base for a triangle. Next, place your ruler perpendicular to the line at the halfway mark and trace a 5 cm (2.0 in) line to make an upside down "T." Then, use your ruler to draw lines connecting the top of the upside down "T" to each side of the base line. Finally, cut out the triangle with a pair of scissors. For instance, you might use a manila folder, index cards, poster board, cardstock paper, or an old cereal box. Use colorful paper or decorate your cutout to make your wind vane look nice. It's okay if your measurements are estimated. You'll use this triangle as an arrow point.
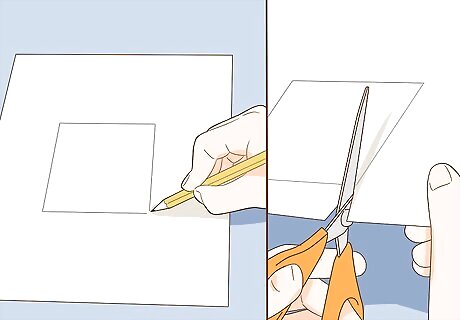
Draw a square onto thick paper, then cut it out. Make your square about 7 cm (2.8 in) long on each side, with your sides roughly even. It’s okay to estimate the measurements, but it’s best to draw your square larger than the triangle. Then, use a pair of scissors to cut out the square, which will be the other end of your arrow. Try cutting out the corner of your paper so 2 sides of your square are already done for you. Use your ruler to measure 7 cm (2.8 in) on 1 side of your paper and draw a line. Then, measure 7 cm (2.8 in) on the bottom of your paper and draw a line that crosses your first line to create a square. Use your scissors to cut out the square.
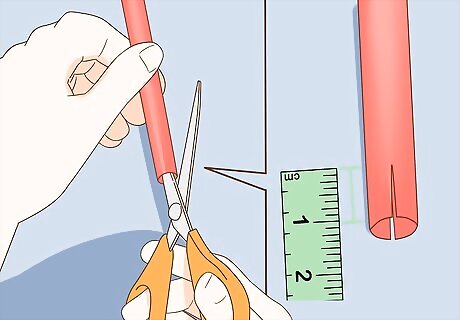
Cut a 1 cm (0.39 in) slit in each end of a drinking straw. Hold your scissors parallel to the straw. Then cut an even slit through each side so that your arrow pieces will slide onto the ends of the straw. Although they don’t need to be exact, your slits should be about 1 centimetre (0.39 in) long and directly opposite each other so you can stick the paper in them. The slit should go through both of the side walls on each end of the straw. If you have a drinking straw that bends, cut off the bendy part. Then, cut slits in the remaining straight section.
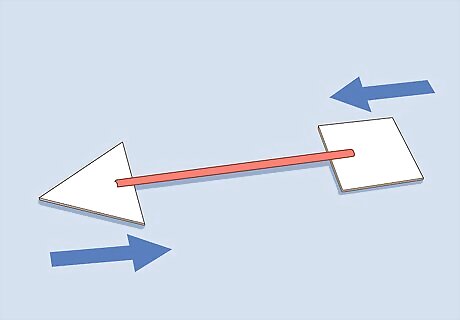
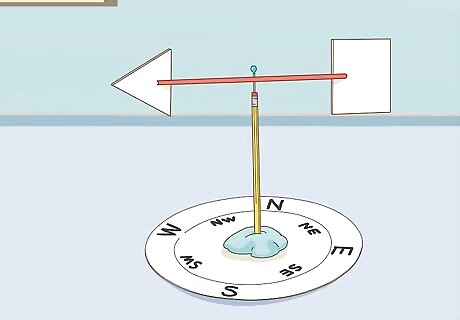
Stick the triangle and square into the slots on the straw to make an arrow. Put the triangle on one end of the straw with the point facing out. Then, slide the square onto the other end. When you’re finished, your straw will look like an arrow. If the triangle and square won’t stay in place, put a dab of glue onto the paper before you slide it into the straw. Hold the paper in place for about 1-2 minutes to let the glue dry. Alternatively, you can tape the triangle and square in place.
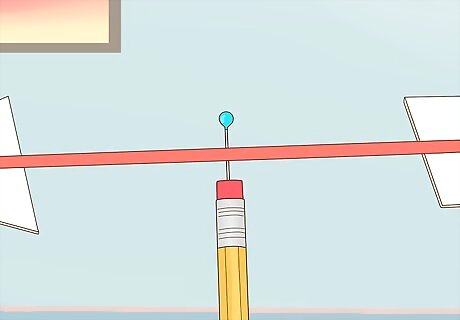
Put a pin through the center of the straw and into the pencil eraser. Find the center of the straw, then push the point of a straight pin through it. Keep pushing until the pin exits the bottom of the straw. Then, push the point of the pin into the center of your pencil’s eraser. Be careful when handling the stick pin because it could poke you. If you're having trouble getting the pin to go into the eraser, ask an adult to help you. Make sure the straw doesn't touch the eraser. The straw needs to spin freely in order for your wind vane to work. If the straw won't spin when you blow on the paper square or if it falls over, remove the pin and reposition it. Try sticking the pin closer to the center of the straw. If this doesn’t help, trim the paper on the side of the arrow that’s falling over. For instance, you might make the square smaller.
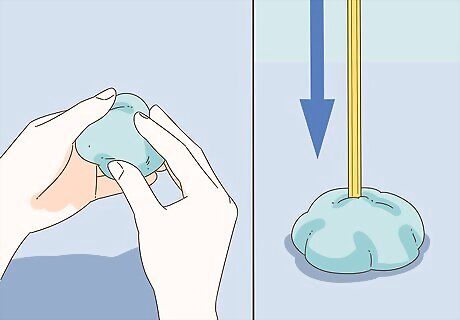
Use a big piece of soft clay as a quick and easy base. Roll the piece of clay into a ball. Then, press the point of your pencil into the clay. The clay will act as a weight to keep your wind vane in place. If your pencil keeps falling over, make your clay ball bigger.
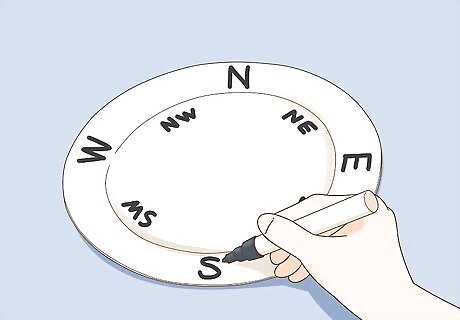
Write the 4 primary and 4 intermediate directions on a paper plate. Write North (N) at the top of the plate. Then, go clockwise and write East (E) on the right side, South (S) on the bottom, and West (W) on the left side. If you’d like, add Northeast (NE) halfway between North and East, Southeast (SE) halfway between East and South, Southwest (SW) halfway between South and West, and Northwest (NW) halfway between North and West. Use abbreviations to mark the directions so that they’re easier to fit on the plate.
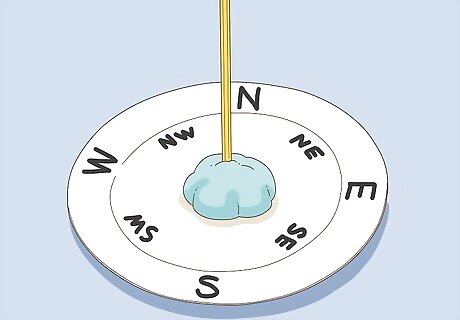
Push the clay ball into the center of plate to keep it in place. Press the bottom of the clay ball onto the center of the plate. Then, use your fingers to push down the edges of the clay to root it in place. This will keep your wind vane in the center of your plate while you use it to measure the direction of the wind. If you like, you can add more clay around the base of the ball to help keep it in place.Variation: As another alternative, put the pencil through a foam cup to keep it in place. Turn the cup upside down, then poke the straw through the bottom of it. For added support, fill the cup halfway with rocks or sand, put a lid over it, then use masking tape to secure the lid.
Take your wind vane outside to find the direction the wind is blowing. Use your compass to find the direction of North, then point the North side of your weather vane in the correct direction. Stand away from walls and large objects that could block the wind. Next, watch for your wind vane to start spinning. It will point in the direction the wind is coming from. Remember, if you move the container, you'll need to use a compass again so you can line the North side of the wind vane in the right direction.
Constructing a Cardboard and Clay Wind Vane
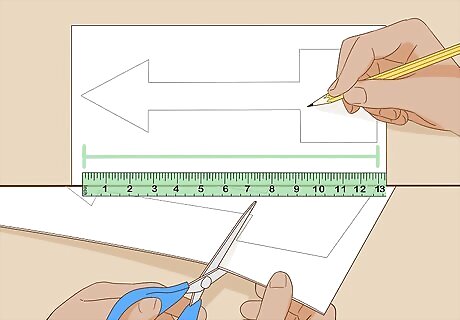
Draw a 13 cm (5.1 in) long arrow on a piece of cardboard and cut it out. Do your best to make the arrow as even as possible, but don’t worry about making it perfect. Make 1 side of the arrow a triangle point and the other side a square. Draw the square bigger than the triangle. Then, use your scissors to cut the arrow out. Use colorful or painted cardboard if you want your wind vane to look nice.
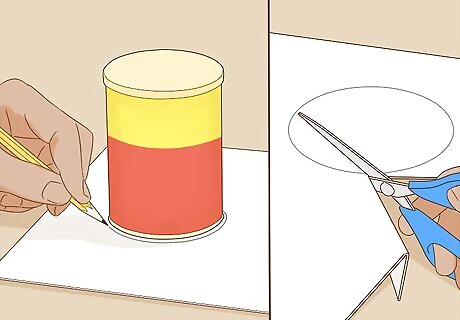
Trace the circumference of a can and cut around the circle. Put a coffee or soup can down on top of your cardboard, then use a pencil to trace around the rim. Next, cut outside the line of the circle so that the cardboard piece is larger than the rim of the can. Any medium, large, or extra large can will work for this project. However, a coffee or soup can will be easiest to use because they're big enough and are open at the top.

Poke a pencil-sized hole in the middle of your cardboard circle. Use your scissors to carefully poke a pencil-sized hole in the middle of your cardboard circle. It’s okay if the hole is a little smaller than the pencil, as it will widen when you push the pencil through it. Be careful as you do this because it's easy to slip and cut yourself. It's best to ask an adult to help you make the hole.Variation: If you want your wind vane to be personalized or artsy, paint or decorate your circle at this time. Use craft paint or markers to add color to your circle. Alternatively, glue a piece of colored or printed paper to the circle.
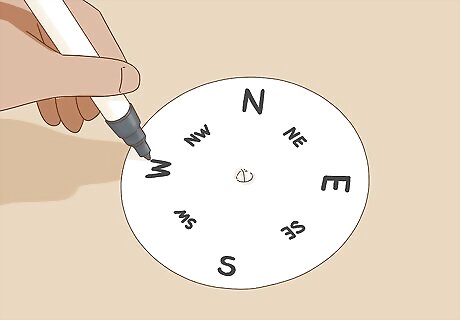
Write the 4 primary and 4 intermediate directions on your circle. Start with North (N) at the top of the circle. Moving clockwise, write East (E) on the right side of the circle, South (S) at the bottom of the circle, and West (W) on the left of the circle. Then, go back and write Northeast (NE) exactly halfway between North and East, Southeast (SE) halfway between East and South, Southwest (SW) halfway between South and West, and Northwest (NW) halfway between North and West. To make things easier, abbreviate the directions by using their initials.

Push the eraser end of an unsharpened pencil through the circle. Insert the end of the eraser through the hole in the cardboard, then push the pencil down through the hole. Go slowly so that the hole in the cardboard doesn’t widen too much.
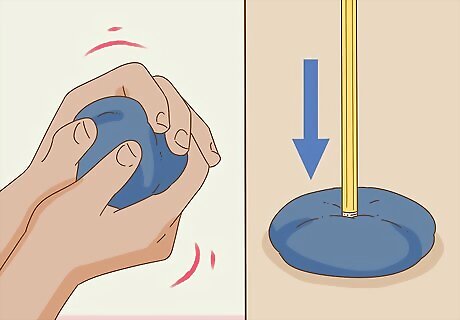
Roll a small piece of clay into a ball, then push it onto the eraser. Use your hands to mold the clay into a ball. Next, press the eraser into the clay ball. Mold the clay around the eraser so it stays in place. The clay will act like a weight that holds the pencil upright while you’re using your wind vane.
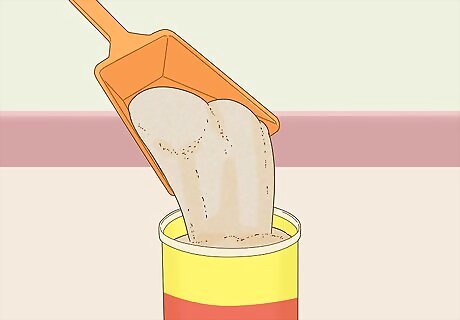
Add sand or gravel to your can to keep it in place. Add enough sand or gravel to fill up about half of the can. This will make the can sturdy so it stays in place while you use the wind vane. You can use any heavy items to weigh down the can. For instance, marble or coins would also work.Tip: If you want your wind vane to look nice, paint or decorate your can before you put the sand or gravel into it.
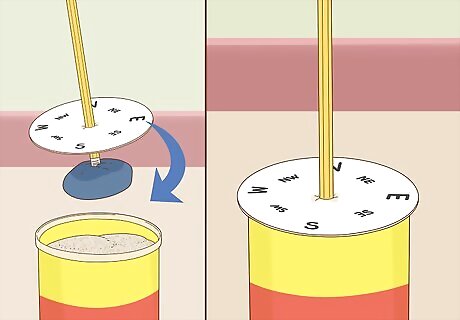
Put the clay ball on the sand or gravel, then lower the circle onto the can. Hold the top part of your pencil, near the unsharpened end. Then, lower the clay ball end into the can until it reaches the sand or gravel. Next, use your free hand to slowly lower the cardboard circle until it rests on the rim of the can. If you want, you can push the clay ball down into the sand or gravel to make it extra sturdy.
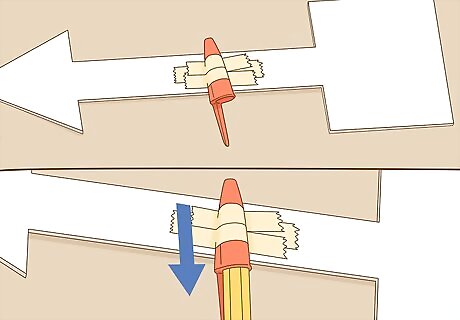
Tape a pen cap to your arrow and slide the cap over the pencil's eraser. Lay the pen cap vertically over the center of the arrow. Then, apply 3-4 strips of masking tape over the pen cap to hold it in place. Finally, set the pen cap over the top of the unsharpened pencil to complete your wind vane. The arrow should be able to spin horizontally. Make sure the pen cap feels secure on the arrow. Your arrow should spin freely, so don’t put any tape or glue onto the pen cap when you put it onto your pencil.
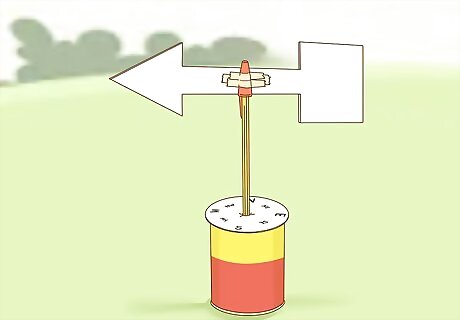
Bring your wind vane outside to find the direction of the wind. Use a compass to find the direction of North. Then, adjust your wind vane so that the North end is facing the right direction. Next, watch the wind vane to see which direction the wind is blowing. The arrow will point in the direction the wind is blowing from. If you move around while using your wind vane, don't forget to use your compass to make sure your wind vane is position correctly.


Comments
0 comment