
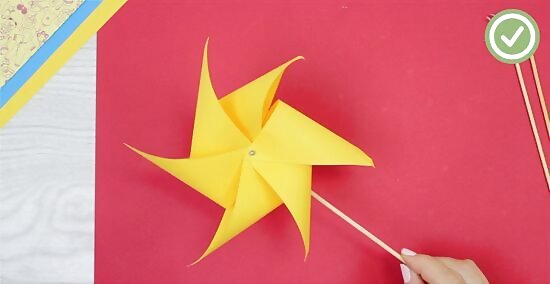
Simple Pinwheel
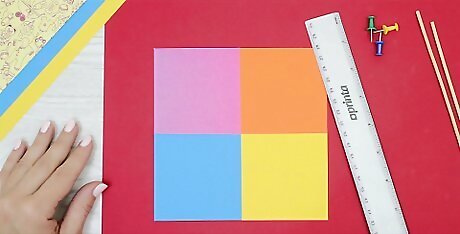
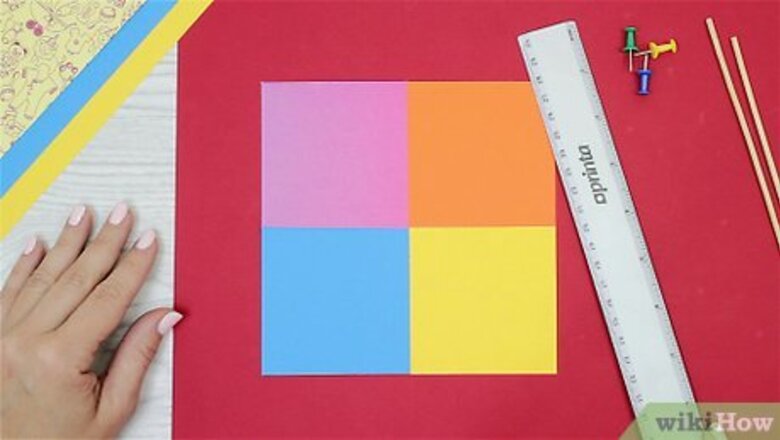
Start with a square sheet of paper. You can use any size of paper you want, but something around 6 inches (15.24 centimeters) will work the best. Choose something colorful; double-sided scrapbooking paper will work the best because it has a design on both sides. Alternatively, you can use recycled toilet paper rolls. Use shipping paper and paint and color it. You can even reuse any old paper box for arts and crafts.
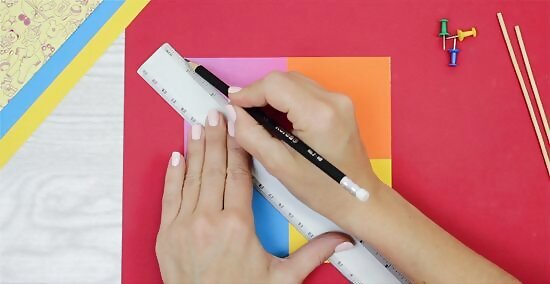
Trace four diagonal lines from the corners of the square toward the center. Place a ruler on the paper so that it goes from the top left corner to the bottom right corner. Use the ruler as a guide to trace a neat line. Repeat this step for the top right corner and the bottom left corner. You can also fold the paper corner-to-corner twice to make an X instead.
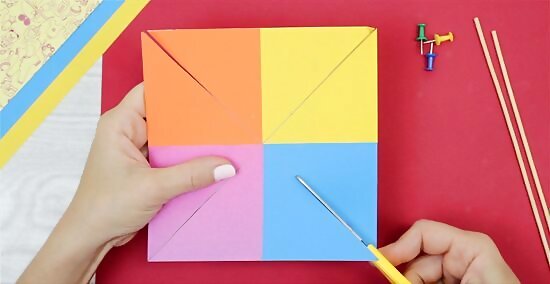
Cut partway across each line. Stop when you are ½ to 1 inch (1.27 to 2.54 centimeters) from the center. Do not cut all the way to the center, or your pinwheel will fall apart.
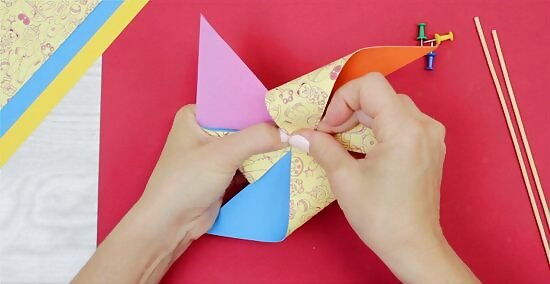
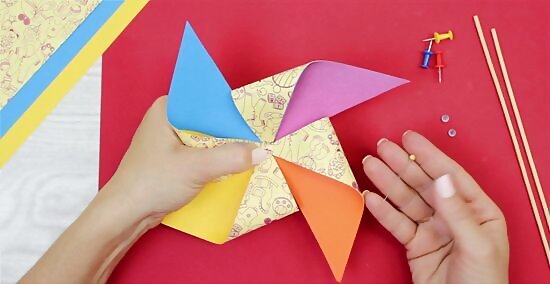
Bring every other corner to the center. Your paper will have short, stubby corners and long skinny ones. Make sure that you are only folding the long, skinny corners to the center. Also, make sure that the corners all overlap in the center. Do not fold the paper. You want it to remain curved.
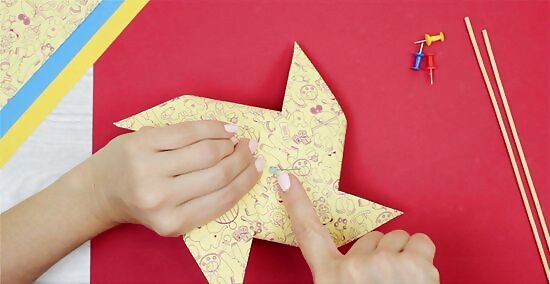
Stick a pushpin through the center. Make sure that you catch all four corners, and that the pin goes out the middle of the paper. Rotate the pin in the paper to widen the hole.
Add a few small beads onto the end of the pin. You will only need 1 to 3 beads. Make sure that they are all the same size and shape. These beads will help lift the pinwheel away from the dowel and allow it to spin. Avoid using plastic pony beads; they are too big.
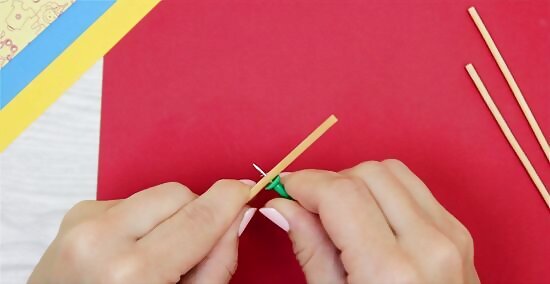
Make the pilot hole in the dowel. Use a thumbtack to make the hole, about ½ inch (1.27 centimeters) down from the tip. Press a thumbtack into the dowel until it sticks, then lightly strike it with a hammer. Pull it out when you are done. Soak the dowel in warm water for a few minutes first; this will help prevent it from breaking.
Press the pinwheel into the dowel. If the pin is loose, take it out, add a bead of glue into the hole, then push it back in again. Give the pinwheel a test spin, then pull the pin out further, if needed. If part of the pushpin is sticking out of the back of the dowel, you will need to fold it down with a pair of pliers.
Fancy Pinwheel
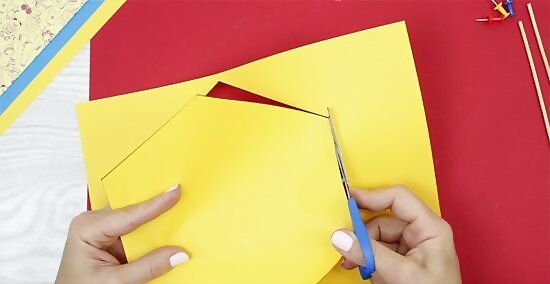
Cut a hexagon shape out of paper. Draw or print a hexagon directly on the paper you will be using. Cut the hexagon out using a pair of scissors or a metal ruler and a sharp blade. Scrapbooking paper works especially well for this, especially the double-sides kind.
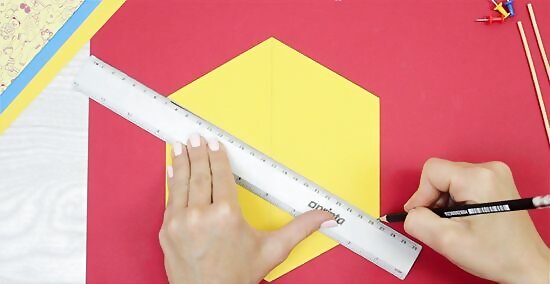
Connect all of the corners so that they meet in the center. Use a ruler and a pencil to trace lines from corner-to-corner on you hexagon. When you are done, you will have a * shape in the center.
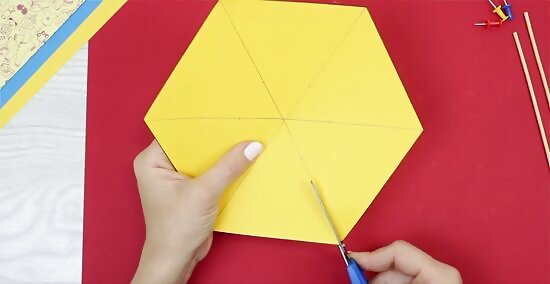
Cut partway along each line. Stop when you are about a third of the way from the center. Do not cut across the lines all the way to the middle, or the hexagon will fall apart.
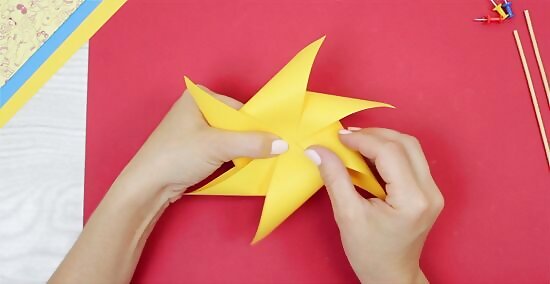
Fold every other corner to the center. Start at the top, and work your way around in a circle until you are back where you are started. Make sure that the corners overlap in the middle of the pinwheel. Do not crease or bend the paper, however; you want to keep those nice curves!
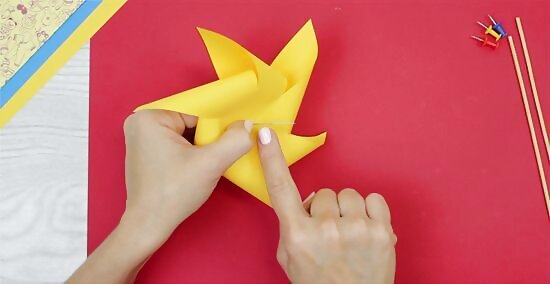
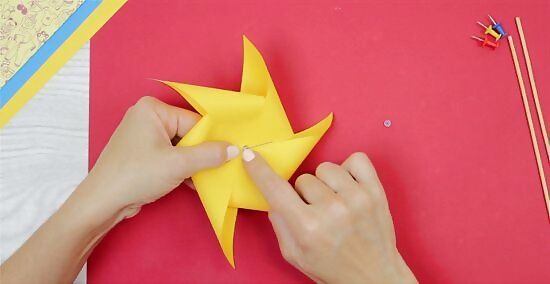
Push a pin through the center of the pinwheel. Make sure that you catch all of the folded-over corners. Have the tip of the pin come out the back of the pinwheel. Wiggle the pin a little to help widen and loosen the hole.
Add a couple of beads onto the pin. You only need 1 to 3 beads. These will help lift the pinwheel away from the dowel and allow it to spin. Avoid using large beads, like pony beads, however.
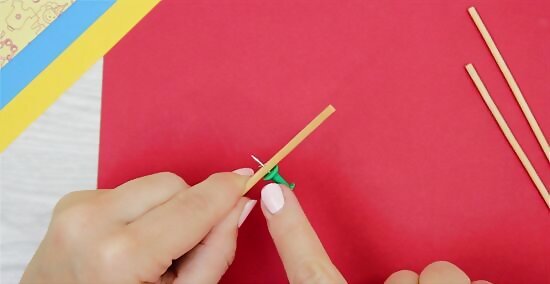
Make a pilot hole in the top of the dowel. Use a thumbtack to punch a hole in the dowel, ½ inch (1.27 centimeters) away from the tip. If you need to, use a hammer to help drive the thumbtack into dowel, then pull the thumbtack out.
Push the pinwheel into the dowel. Give the pinwheel a test spin. If it gets stuck, pull the pushpin out a little further. If the pushpin comes out of the back of the dowel, bend it down with some pliers or a hammer. If the pin is too loose, pull it out, add some glue into the hole, then push it back in again.
Decorative Pinwheel
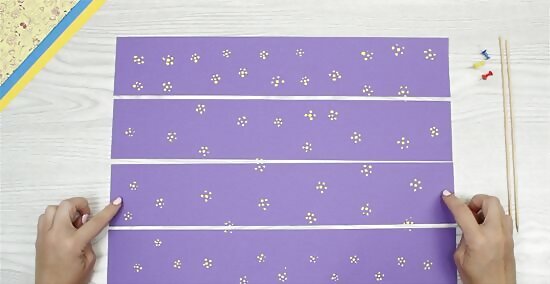
Cut a sheet of patterned scrapbooking paper into four strips. Get some 12-inch (30.48-centimeter) square scrapbooking paper. Use a metal ruler and a craft blade to cut the paper into four, 3-inch (7.62-centimeter) wide strips. Some scrapbooking paper has a white strip along the bottom edge for the price and label. You should trim this off first. These pinwheels are meant to be used as decorations on gifts, walls, or ornaments. They do not spin like regular pinwheels.
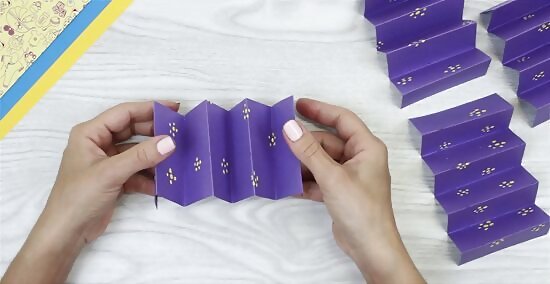
Fan-fold the strips widthwise. Take your first strip, and fold the narrow edge over by ½ to 1-inch (1.27 to 2.54 centimeters). Use that as a fold as a guide for the rest of the paper. Repeat this step for the remaining three strips.

Consider adding a design to one of the long edges. Fold your strip back up so that it looks like a closed fan. Cut an angle into one of the narrow edges. Work one strip at a time, otherwise, the paper will be too thick to cut neatly. You don't have to do this step. This will simply give the pinwheels a more ornate edge.
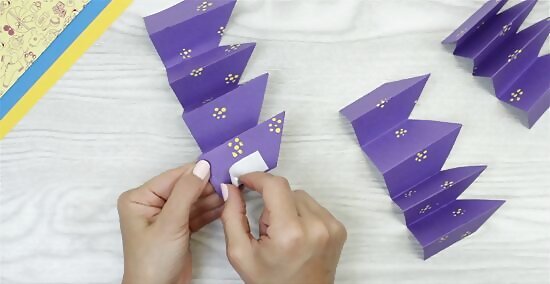
Attach the pieces together to make a longer strip. Place a strip of tape against one of the narrow ends of your first strip. Place it against the narrow end of the next strip, then press them together. Keep connecting the strips until you have one long strip. If both ends of the strips are folded in opposite directions, they will make a V or ^ shape. Trim off one of the ends until both are folded in the same direction.

Attach the first and last strips together to make a disk. Run some glue or a strip of double-sided tape along one of the narrow ends. Bring the other narrow end towards it, and press the two together.

Flatten the disk. If the disk won't lay flat, you will need to glue a support to the back. Flip the disk over so that the back is facing you. Choose a dowel, straw, or skewer that is the same height as the disk. Hot glue your chosen stick down the center of the disk, right between two ridges.
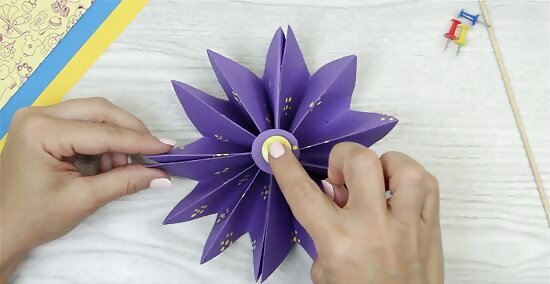
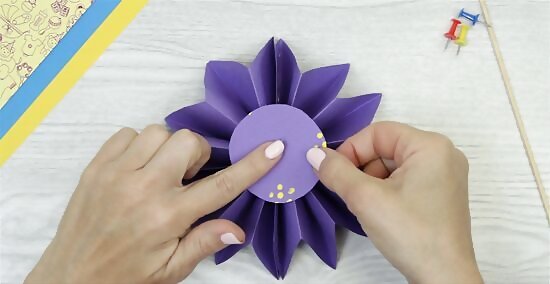
How glue an embellishment to the front of the disk. For a fancy look, you can cut a small circle out of coordinating paper, then glue it to the front to cover the hole. For a more rustic touch, you can use a large button instead.
Cut a circle cut from cardstock to the back of the pinwheel. This will make it easier to secure the pinwheel to walls, gifts, and other items. It would be best if you use a matching color, but you can use a different color as well. Use a cup, jar, or lid to trace the circle.
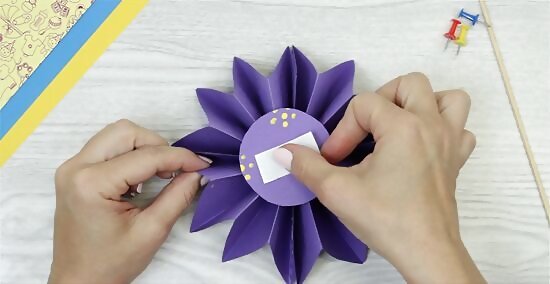
Use double-sided tape to secure the pinwheel. Place a few strips of double-sides tape onto the back of the pinwheel, right over the cardstock circle. Secure the pinwheel to your desired gift of banner. If you are securing the pinwheel to a wall, consider using double-sided, foam mounting tape instead. Alternatively, you can string several pinwheels together to make a banner.
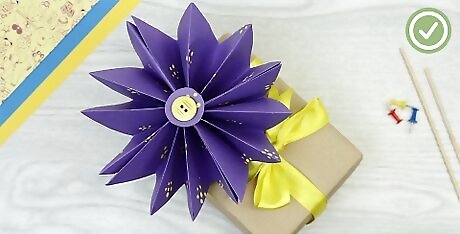
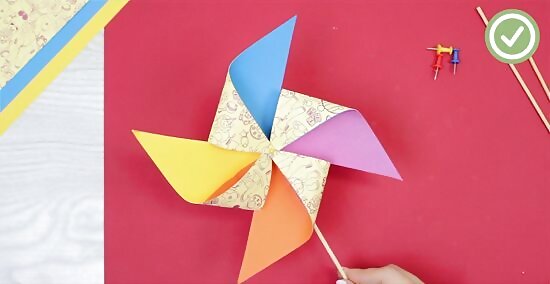
Finished.


Comments
0 comment