
Drying in an Oven
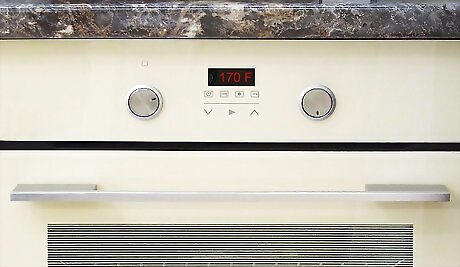
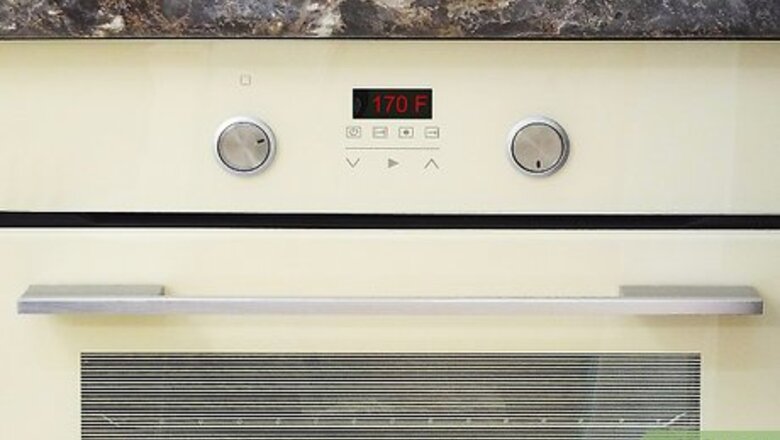
Preheat the oven to the lowest setting. Drying fruits requires a slow, low-heat setting, so set your oven to the mildest temperature possible. Temperatures ranging from 170 °F (77 °C) to 200 °F (93 °C) will work.
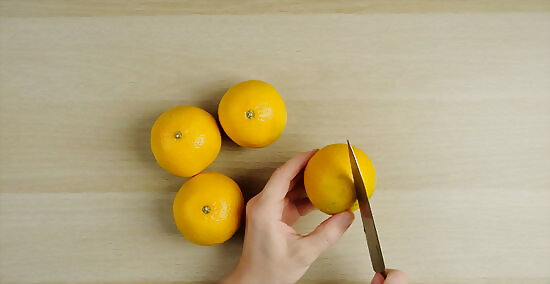
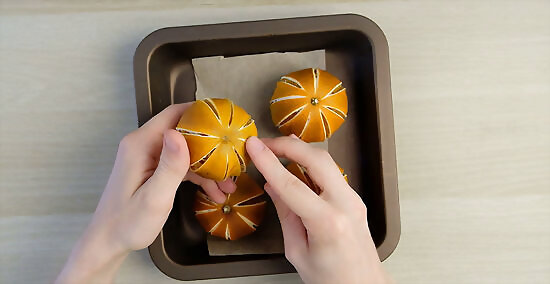
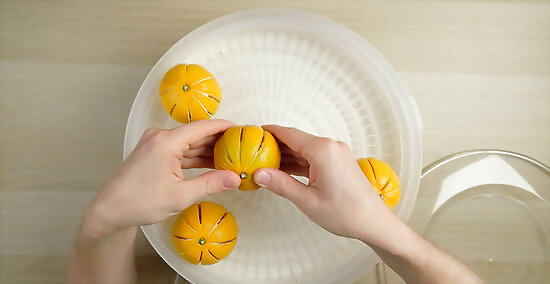
Hold an orange between your thumb and pointer finger to cut 4 slits. Your fingers should be placed at the top and bottom of the orange. Using a sharp knife, cut the peel into quarters from top to bottom, leaving a pinky-sized space at both ends so the orange stays intact. The slits should be about ⁄4 inch (0.64 cm) deep. You can also place the orange on a cutting board and hold it firmly to make the slits.
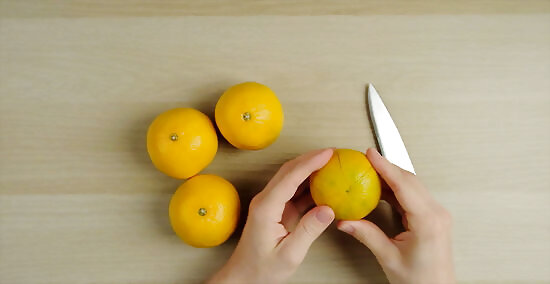
Slice 4 more slits at the halfway point between each quarter. You should now have a total of 8 slits all around the orange. Don’t worry if your slices aren’t all equal. The drying process will change the shape of the oranges a little anyway, and mismatched slits can look even more charming and rustic. Repeat this slicing process for each orange.
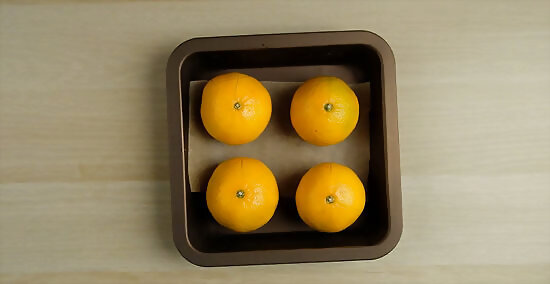
Place the sliced whole oranges on a baking sheet and slide it into the oven. You may want to layer the baking sheet with wax paper in order to avoid any sticking. Make sure they’re not touching after sliding the sheet into the preheated oven so they don’t stick together.

Leave them in the low-heat oven for a total of 10 to 16 hours. The juicier and larger the food, the longer it takes to dry out. It probably won't take a full day, but be prepared to leave them in there for long time depending on the size of the oranges and the power of your oven. If you need to use your oven for something else during this time, it’s okay to take them out for an hour, just remember to let the oven cool to the lowest heat setting before putting them back in.

Check them for even drying every 4 hours. If you notice some parts are drier than others, check to make sure that all slits go down to the pulp and cut shallow slits a little deeper if necessary. Rotating them on occasion will also help them dry more evenly.
Remove them from the oven and let them cool on the baking sheet. When the oranges are done, they’ll feel hard, leathery, and have a slightly orange-brownish hue. The pulp inside the slits should appear dark orange or maroon with no signs of moisture. If they feel spongy or sticky, put them back in the oven and check on them in another 4 hours. Don’t worry about over-drying the oranges, so if you’re not sure, leave them in for a little longer. Allow them to cool completely before handling, which will probably take a couple hours.
Using a Dehydrator

Preheat your dehydrator to the manufacturer’s recommended setting. Depending on the power of your dehydrator, certain foods may take less or more time, so refer to the manufacturer’s manual to find the recommended fruit temperature settings and estimated drying times. If you don’t have the manual or are unsure, set the temperature anywhere between 125 °F (52 °C) and 140 °F (60 °C).
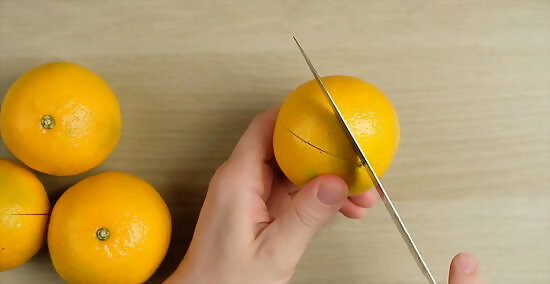
Hold an orange between your thumb and first finger to cut 4 slits. Your fingers should be placed at the top and bottom of the orange. Using a sharp knife, cut the peel into quarters from top to bottom, leaving a pinky-sized space at both ends so the orange stays intact. The slits should be about ⁄4 inch (0.64 cm) deep. It’s okay to go into the pulp a little, but avoid going too deep. You can also place the orange on a cutting board and hold it firmly to make the slits.

Slice 4 more slits at the halfway point between each quarter. Notice where you made the first set of slits and make another slit down the middle of each for a total of 8 slits all around the orange. Don’t worry if your slices aren’t all equal. The drying process will change the shape of the oranges a little anyway, and mismatched slits can look even more charming and rustic. Repeat this slicing process for each orange.
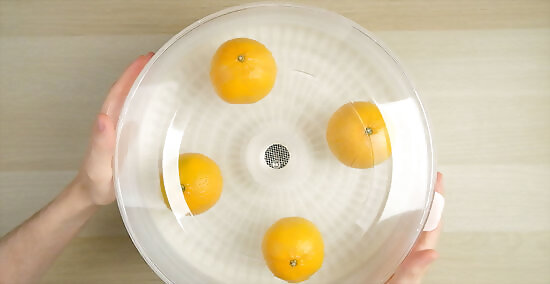
Place the oranges on the dehydrating tray so they’re not touching. Evenly space out the oranges on the tray because fruits dried while touching will tend to stick together during and after dehydrating. If your dehydrator has sliding trays, double check that the oranges haven’t rolled together after inserting.
Check on the oranges every 4 to 6 hours. They won’t be done yet, but take a look at them to ensure the cuts are deep enough to allow even drying. This is also a good time to rotate the dehydrator tray to ensure uniformity. If you need to make a few deeper cuts, it’s okay to take them out and put them back in.

Leave them in the dehydrator for a total of 8 to 12 hours or longer. Because they're so juicy, whole oranges can take anywhere from 8 to 12 hours (or more) to fully dry in a dehydrator, so be patient! As they dehydrate, you’ll notice slight discoloration or browning of the peel as well as a beautiful citrus smell! Don’t worry about over-drying the oranges, so if you’re not sure, leave them for a little longer.

Remove from dehydrator and let them cool on the tray. Fully dried oranges should feel hard, leathery, lightweight, and have a slightly orange-brownish hue. The pulp inside the slits will appear dark orange or maroon and there should be no signs of moisture. If they feel spongy or sticky, put them back in and check on them in another 2 to 4 hours. Allow them to cool completely for a couple hours before handling.


Comments
0 comment