
Open the cover of auto level by unscrewing the top, bottom, left and right screws. If you only want to collimate (adjust accurately the line of sight) auto level, then you have to adjust only top and bottom screw.
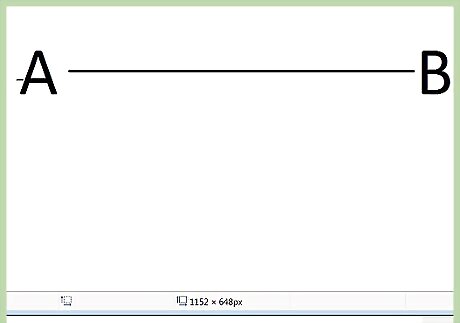
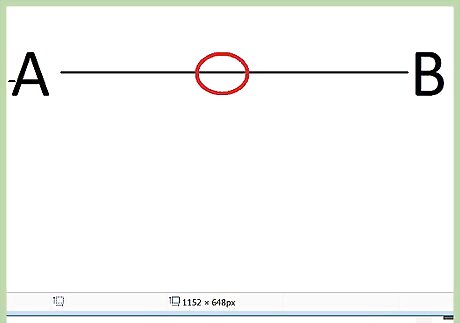
Set the auto level in the center of 2 staff (having approx length of 60m) and get the reading of Backsight (BS)-point A and foresight (FS)-point B. Ensure that the instrument is well leveled before reading. This difference of BS and FS you get by doing this is without collimation and the reading should be taken as benchmark for adjustment.
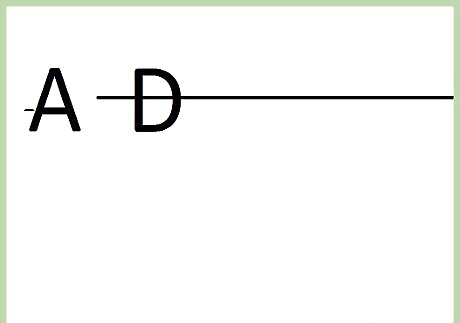
Shift the auto level to point D which is L/10 (L is the length of point A to point B).
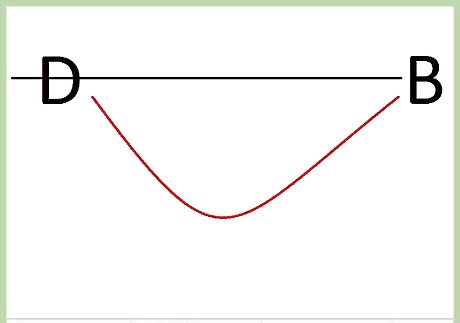
Read the nearest staff and write down the value. Add this value with the difference of BS and FS which you got in the step 2.
Now use screw to loose and tighten bottom and up screw. Adjust slowly- if you loose top screw then tighten bottom screw and read the staff to get the “Actual value”. This way your calibration is complete and you get the perfect value or a value that has a difference of 1 mm.
After your auto level calibration is done, get back the alignment. Go back to center of point A and B. Check the reading again. Now you should get the perfect reading.


Comments
0 comment