
The Muro has a bunch of features such as 20 brushes (some free, others require payment), layers, and different filters. You can use the dA Muro with a WACOM tablet. Note that in order to use Muro, you must be a member of DeviantArt but joining is free.
Starting with the Muro
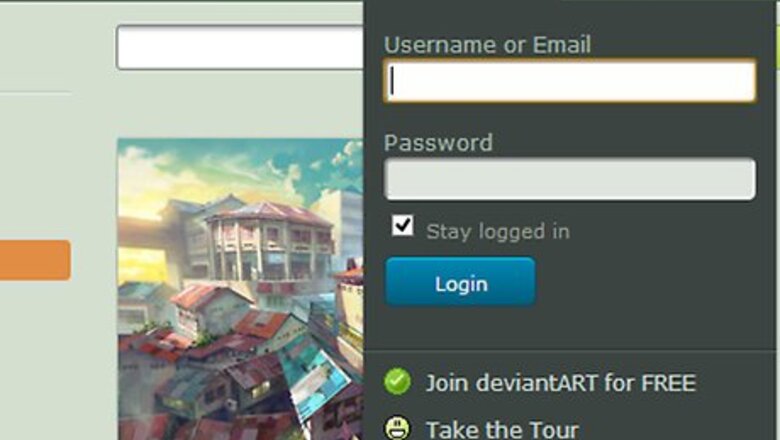
Sign up for DeviantArt. To use Muro you must first become a member if you haven't already done so. Signing up is easy and free. Click on the join button which will take you to a quick and simple form. From there you will need to fill in your name, email and password.
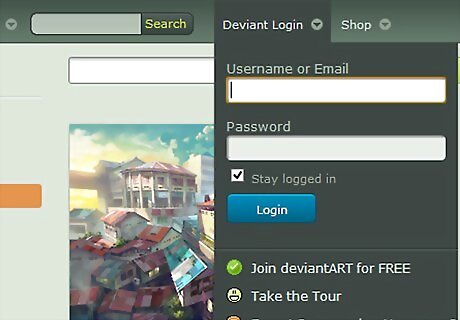
Go to the Muro application. There should be a submit button on the middle top of your browser. Hover over that and a there will be a drop-down menu. From there click Draw with dA muro to go to the free Muro application. It's recommended that you use Google's Chrome if you want optimum performance with the Muro, since this browser currently has the best HTML 5 compatibility. If you use other browsers, just be aware that they may crash.Use the deviantArt Muro Step 2Bullet1.jpg
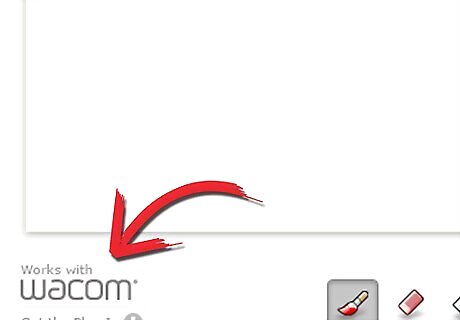
Install the plug-in. When you first start up the Muro, in the bottom left hand corner you'll see the WACOM logo. This will indicate that it's compatible with any WACOM tablet. Underneath this logo, it will ask you to install the plug-in. This allows you to use the pressure sensitivity along with your tablet and gives you the best performance.
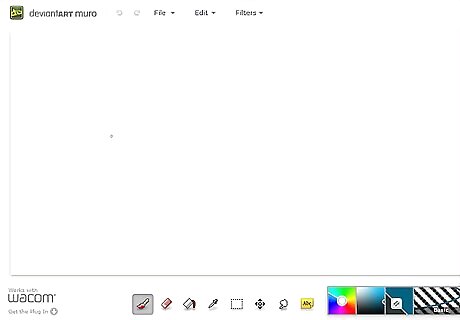
How to use the dA Muro interface
Know how to use the reverse and forward arrow. These are two, small, light-grey arrows on the top of the Muro browser. When you click these they will undo and redo your mistakes. Test it out by painting a streak on the canvas and then clicking the undo and redo buttons.
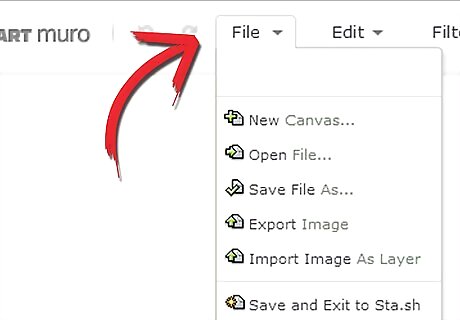
Click on the "file button" to open up the drop down menu. Here are the options within the dropdown menu: New Canvas: When clicked, this gives you the option to choose from a few preset sizes and a customizable height and width of the canvas in pixels. You can also choose between a black, white or transparent background.Use the deviantArt Muro Step 5Bullet1.jpg Open File: When clicked, you can reopen any saved files you worked in the Muro before.Use the deviantArt Muro Step 5Bullet2.jpg Save File: Use this button to save the file. Save File as: Use the button to save the file.Use the deviantArt Muro Step 5Bullet4.jpg Export Image: Use this to export your image as PNG.Use the deviantArt Muro Step 5Bullet5.jpg Clear Canvas: This button clears the canvas. Be careful as this will erase your entire work.Use the deviantArt Muro Step 5Bullet6.jpg Reset Brushes: Clicking this button will reset the settings on all your brushes.Use the deviantArt Muro Step 5Bullet7.jpg Autosave ON/OFF: Click this button to enable the autosave.
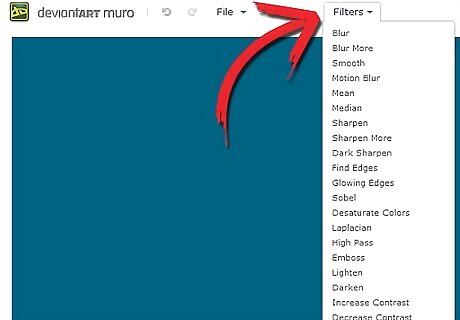
Click the third button to add a filter to your artwork. There are 22 filters to choose from; play with the filters to get some neat effects in your artwork. Be sure to save your work before you use the filters, just in case something goes wrong.
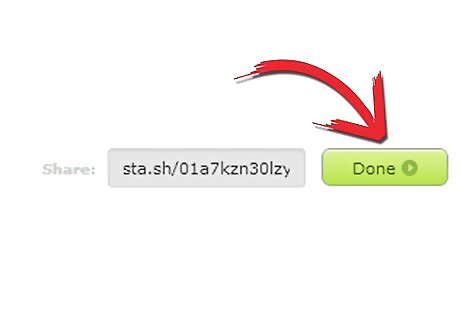
Save your work. Whenever you finish creating your work of art you can always save it to DeviantArt. To do so click the done button which will save it to your stash. After that you can either view it in your stash or submit it straight to your DeviantArt account for others to view. When you click the submit button you'll need to fill out a quick and simple form. Here is where you rate whether the drawing is mature content or not (for adult viewers), create your title, write a description of your drawing, add tags and then the category the drawings fits in.
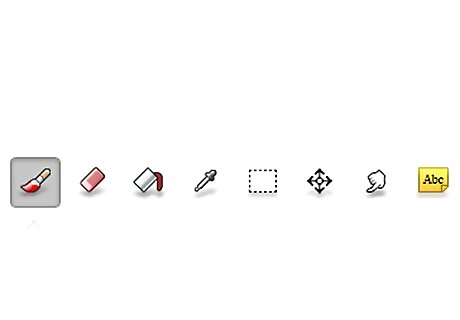
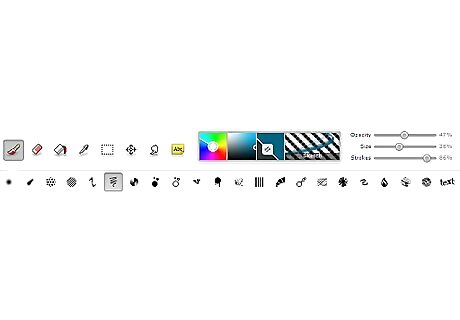
Find the tools at the bottom toolbar. In this toolbar you can find all of the drawing tools: Draw tool: This is the drawing tool or brush.Use the deviantArt Muro Step 9Bullet1.jpg Eraser: This will erase any part of your artwork.Use the deviantArt Muro Step 9Bullet2.jpg Flood Fill: With this tool you can fill any areas in your artwork or the canvas.Use the deviantArt Muro Step 9Bullet3.jpg Eye dropper: With this tool you can use choose any color from your artwork and use the same color again.Use the deviantArt Muro Step 9Bullet4.jpg
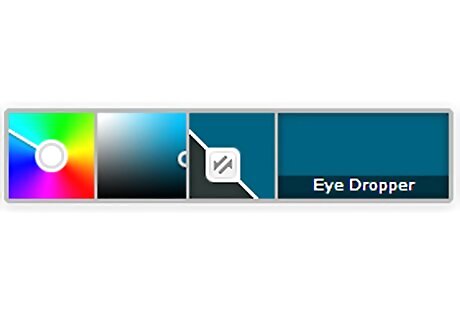
Choose the color with this tool to your right. In the first square you can pick the color, in the second square you can choose a shade of the colour, and in the third square you can see the color that you chose with the eye dropper tool.
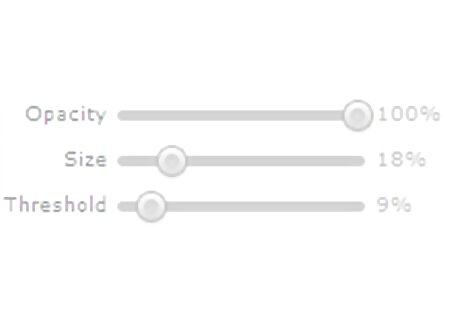
These slides are the settings of the brushes. Not every brush has the same settings, so take some time to experiment with the varied settings. The opacity is how transparent you want your brush colour to be, the size is how large/small you want your brush to be and the third option changes for each brush you use.
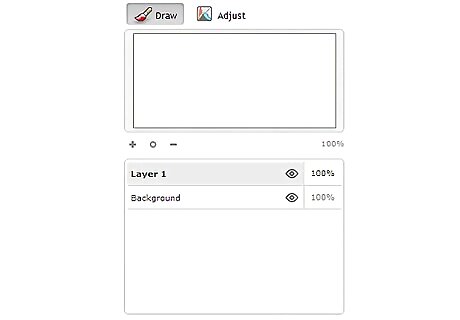
If you choose to use the Pro setting, the layer setting will appear at the right of your screen. In the box at the bottom you can add a layer by clicking on the plus sign, to delete a layer click on the minus sign. The circle next to the title of the layers hides and shows the layer. Use the opacity slider to control the opacity (see through) the layer should be. The visible button will delete any visible layers when clicked on. Above the layers you can find the viewfinder. With this tool you can see the image in preview. With the plus and minus signs, you can zoom in and out. The circle brings you back to the original zoom. The percentage gives you how much percentage it's zoomed in or out.Use the deviantArt Muro Step 12Bullet1.jpg
Realize that there are currently 20 brushes available in Muro. Seven of them are free, the other ones you need to purchase with DeviantArt points (or you can get them as a gift from someone else). The free brushes available are: Play with the settings of the brushes to achieve different effects.Use the deviantArt Muro Step 11.jpg With the basic brush you can draw.Use the deviantArt Muro Step 13Bullet2.jpg Use this brush to paint or color in large areas in your artwork.Use the deviantArt Muro Step 13Bullet3.jpg This brush gives you an interesting line effect as shown in the example at the right.Use the deviantArt Muro Step 13Bullet4.jpg Create a smoke effect with the brush and play with the opacity to achieve better results.Use the deviantArt Muro Step 13Bullet5.jpg The drippy brush gives the effect of dripped paint.Use the deviantArt Muro Step 13Bullet6.jpg Use the scatter brush to get scattered circles, and use this brush for a grungy effect or as background.Use the deviantArt Muro Step 13Bullet7.jpg The sketch brush looks like a sketch; use this brush for any sketch work.Use the deviantArt Muro Step 13Bullet8.jpg


Comments
0 comment