views
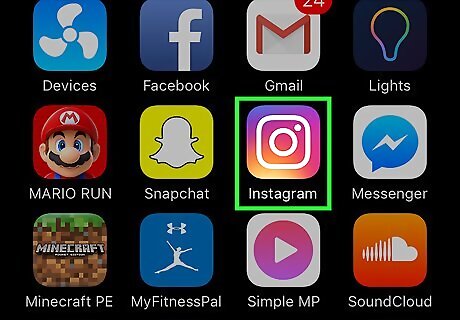
Open Instagram. It's an orange and pink app with a white camera icon, typically located on your home screen (iPhone/iPad) or in the app drawer (Android). If prompted, enter your Instagram username and password, then tap Log In.
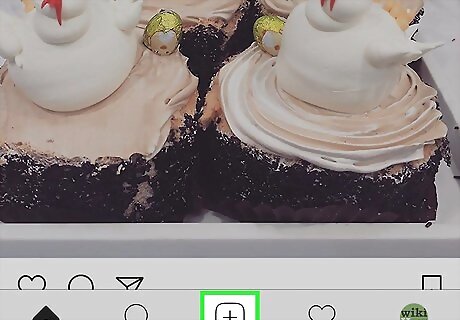
Tap the New Post button. It's the square with a plus sign (+) at the bottom-center part of Instagram.
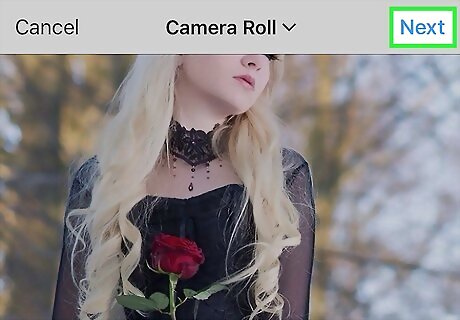
Select an image and tap Next. It's at the top-right corner of the screen.
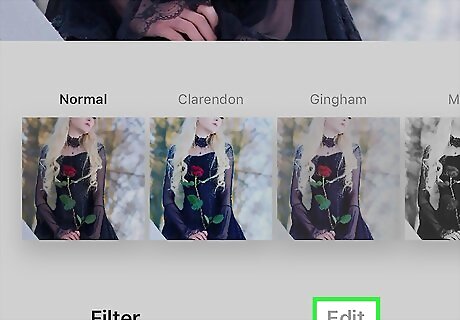
Tap Edit. It's at the bottom of the screen.
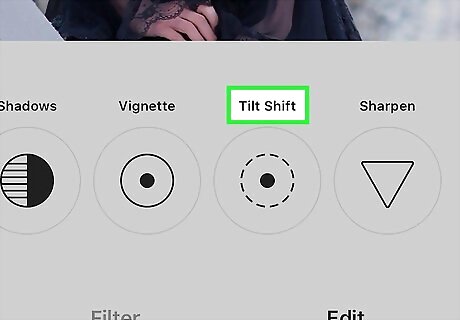
Scroll right and tap Tilt Shift. It's the next-to-last editing option.
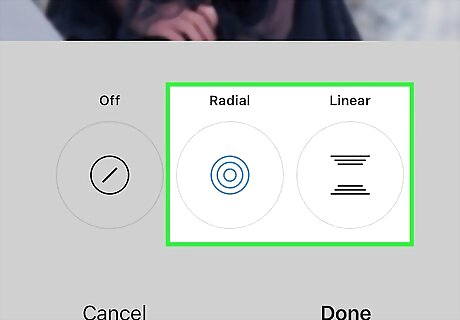
Select a blur effect. Choose one of the two options and then edit as desired. Radial: This selection adds blurring at the corners of the screen, leaving a round area at the center that remains clear. Slide your finger across the photo to focus on the subject area. Pinch your fingers in or out to adjust the size of the blurring effect. Linear: This selection leaves a linear area of the photo clear while blurring everything else. Slide your finger across the photo to choose the subject area. Pinch your fingers in or out to adjust the size of the blurring effect. Tap and rotate your two fingers to rotate the linear area.
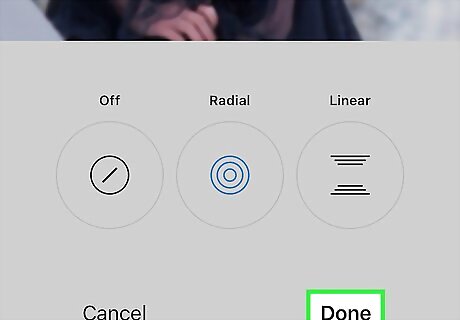
Tap Done. It's at the bottom of the screen.
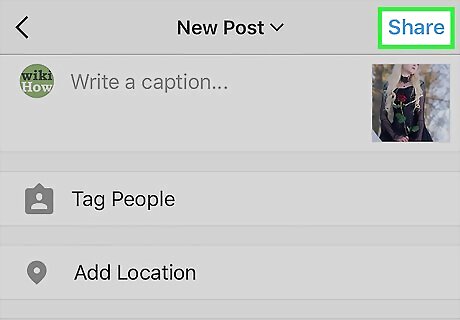
Share your photo. Type a caption into the text box, if desired, then tap Share. Your blurred photo will now appear in your Instagram feed.






Comments
0 comment