views
Building a Sticker Sheet
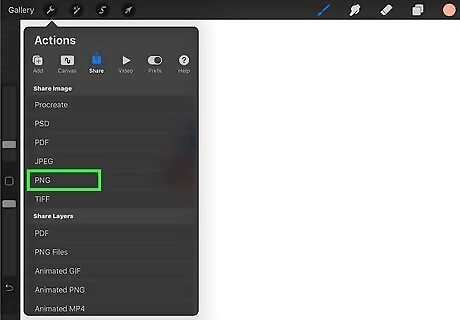
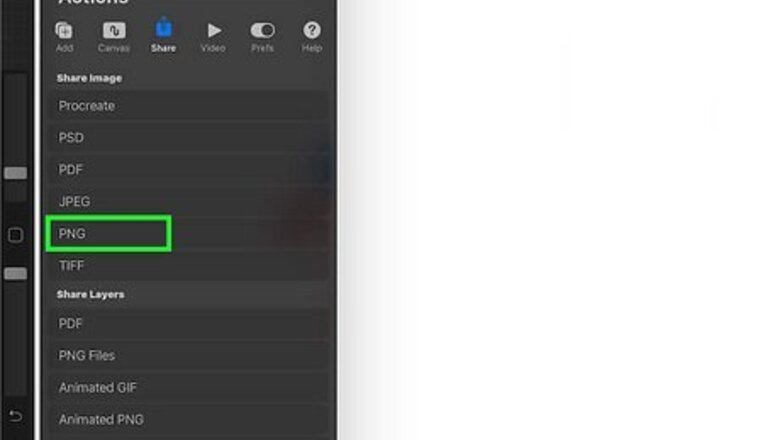
Gather the art you want to use. You can skip this step if you want to draw your stickers right onto the canvas. If you want to create a sheet of stickers containing art you've already made, the first thing you'll want to do is export each of the images you created with transparent backgrounds. Here's how: Open the first sticker image. Tap the Layers icon (the two overlapping squares at the top-right). Tap the checkbox next to the Background layer to remove it. Tap the wrench to open the Actions menu. Tap Share. Select PNG and select a destination to save to. Repeat for all other images you want to add to your sticker sheet. Choose the same export location as the first image to make it easy to import the images into Procreate.
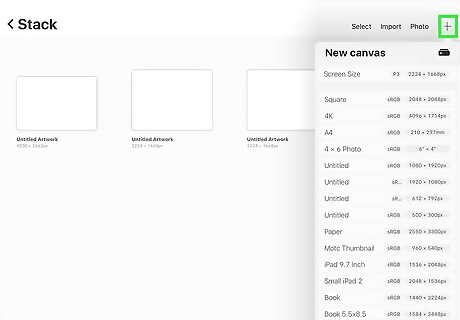
Open the New Canvas menu in Procreate. To do this, just open Procreate and tap the + at the top-right. A list of new canvas sizes will expand.
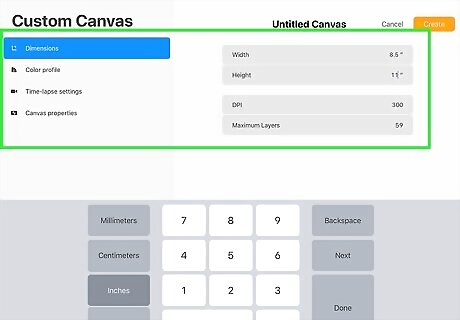
Set your canvas. The size and settings for your canvas depend on how you plan to create your stickers: If you want to print high-quality stickers, use CMYK as the color profile, and 300 DPI as the resolution. If your stickers are going to be digital, choose RGB as the color profile. You can still use 300 DPI as the resolution, but you can also go lower (to about 150) if you are worried about file size. As for the dimensions, you'll usually want to choose the size of the paper you're printing to. If you're printing to a full-size sheet of sticker paper, make your canvas 2550 x 3300 (8.5 x 11"). But if you'll be cutting the stickers out with a Cricut cutter, your canvas can't be any larger than 9.25 x 6.75".
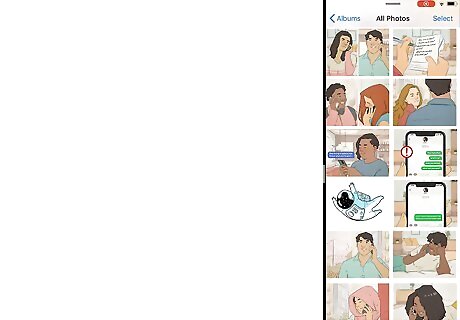
Open the Photos app in Split View. If you don't want to use Procreate art that you've already made, you can skip this step. This lets you see both the Photos app and your canvas on the screen at the same time. Here's how: Tap the three dots at the top of Procreate. Tap the Split Screen icon (which looks like a screen split in two). Procreate will move to the side and the Home screen and Dock will come into view. Open the Photos app. The two apps should now be side-by-side.
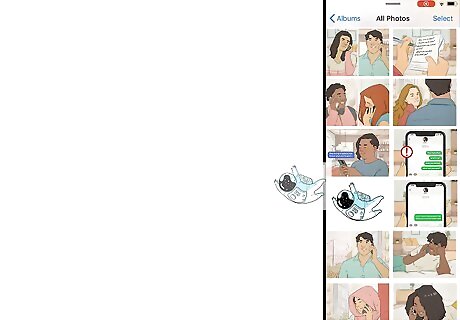
Drag sticker images from Photos to the canvas. You can drag each sticker one-by-one, or select all images at once and drag them together. If you just have one image that you want to repeat on the sticker sheet, just drag it over. You can then duplicate the layer to place multiple instances of that sticker onto the same page—just tap the Layers icon at the top-right, swipe right on the layer with your image, and then select Duplicate.
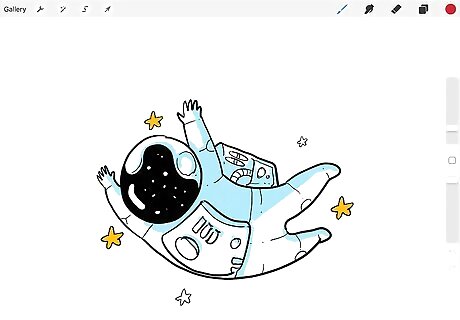
Draw your sticker art. If you want to draw your images right onto the sheet, now's the time! Just choose your favorite drawing tool in Procreate and start sketching. When you're ready to add color, it might be useful to create a new layer for each color. This can help you keep your color scheme uniform if you want to adjust colors that appear in more than one sticker at a time. Leave a little space around each of the images you draw so that you can cut around them (if printing to sticker paper) or create sticker outlines (if printing for Cricut or making digital stickers).
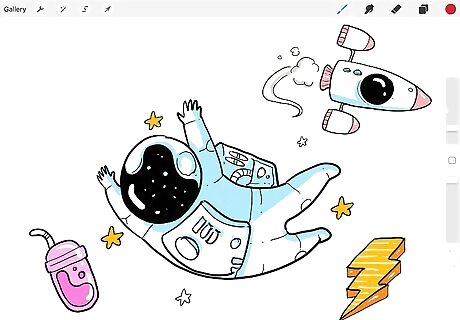
Arrange the stickers on the sheet. You can resize and arrange the stickers however you'd like, but make sure you leave enough room to cut the stickers out from the sticker sheet if you're printing them out. Once you're finished, you can create outlines around your stickers, or just save and print them as they are. To move a sticker, select it with the Selection tool so you can drag it anywhere on the sheet. If you're going to be distributing your stickers as a single sheet, change the sizes and orientations of some or all of the stickers to keep the sheet cohesive and fun.
Outlining Your Stickers
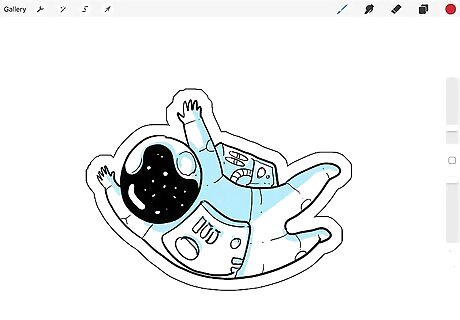
Decide whether you need to add outlines. Outlines are not always required—if you're printing your stickers in a sticker-printing app like Sticker App, the app should be able to add white outlines around your stickers automatically. But if you're making digital stickers or printing to use with a Cricut, you'll want to create borders.
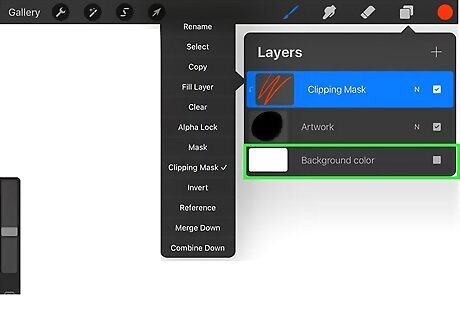
Make the background transparent. Now you're ready to make borders around your stickers! To make the background transparent, just tap the Layers icon (the two overlapping squares) and tap the checkbox next to "Background" so the layer disappears.
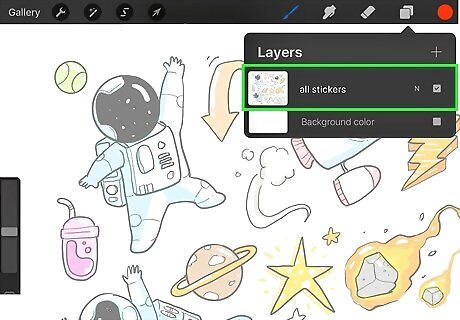
Combine the stickers onto one layer. The key here is to do it in such a way that you don't destroy all of your layers if you make a mistake. Here's how you can combine the layers safely: Swipe down on the screen with three fingers and select Copy All. Swipe down with three fingers again and select Paste. Tap the Layers icon—you'll see a new layer called Inserted Image along with your existing layers. Tap and hold the checkbox next to the Inserted Image layer—this hides all of the layers except for the Inserted Image layer. Swipe left on the Inserted Image layer and select Duplicate. Now you have two layers that are identical.
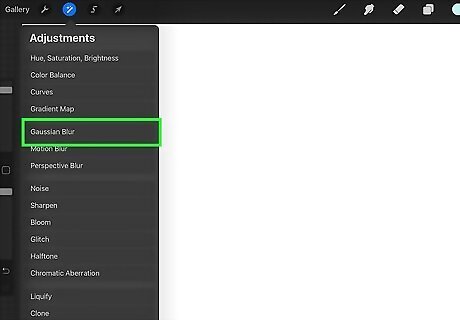
Add 10% gaussian blur to the current layer. Here's how: Tap the Adjustments menu (the magic wand) and select Gaussian Blur. Select Layer. Slide the stylus or your finger until the percentage at the top is between 8 and 10%.
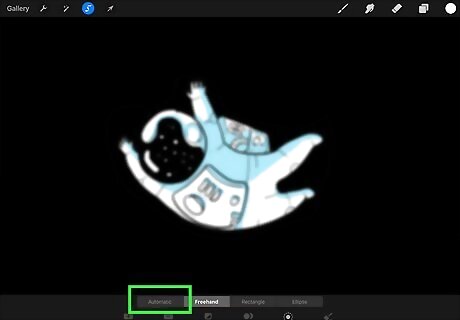
Go to the Selection tool and select Automatic. Automatic is the first option on the toolbar at the bottom.
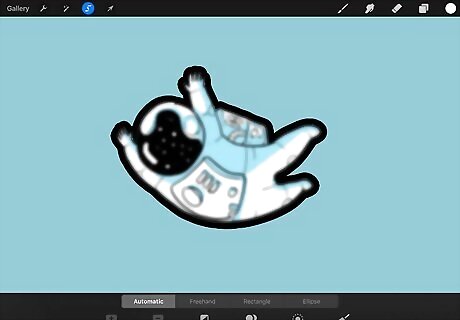
Adjust the outline to the desired size. Here's how: Tap and hold a blank part of the canvas (not on one of your drawings). Drag the stylus or your finger to the left—as you drag, you'll see a black outline grow around your stickers. Keep dragging until the outline is about the size you'd like the white outline around your stickers to be.
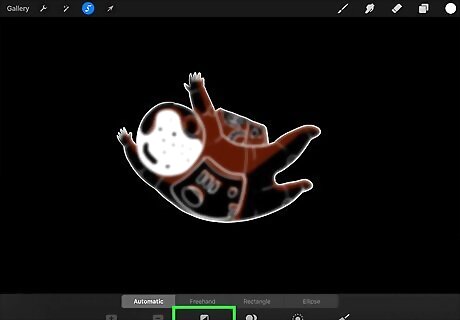
Tap Invert at the bottom. It's the third icon on the bottom bar. You'll now see some blue lines around each sticker—these are selection lines, which will be the white outline around each sticker.
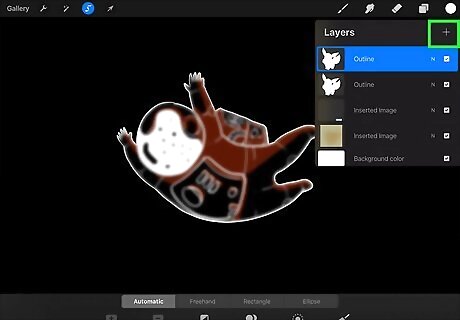
Create a new layer. To do this, just tap the Layers icon at the top-right and select the +.
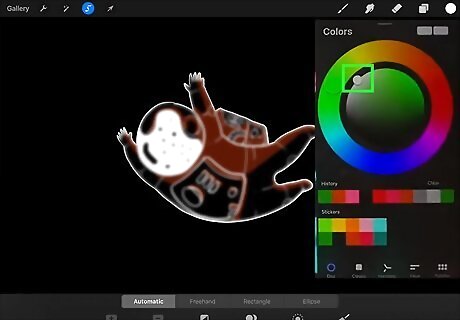
Tap the color tool and choose white. To select plain white, just double-tap close to the white edge on the color selector.
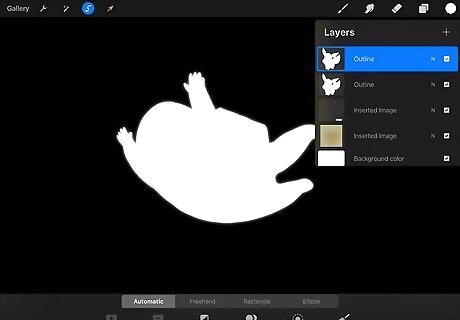
Fill the new layer with white. To do this, just re-open the Layers panel, tap the new layer to bring up the menu, and select Fill Layer. Now you'll just see white blobs where you're stickers should be—this is normal!
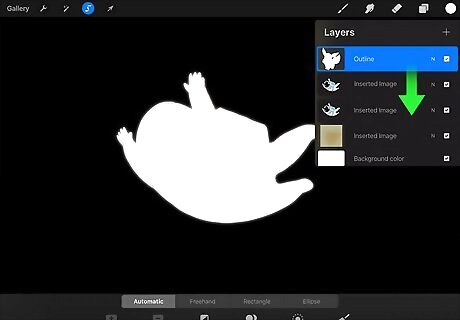
Move the new layer below the two Inserted Images layer. To move the layer, just tap and hold it on the Layers panel and drag it below both of the layers called Inserted Images.
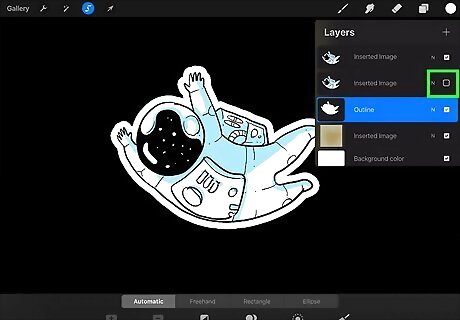
Deselect the layer with the gaussian blur. To do this, just tap the checkmark next to the layer in the Layers panel—now you should see clear stickers with white borders on a black background. The black background is just transparent—it won't be black in the end.
Saving and Printing
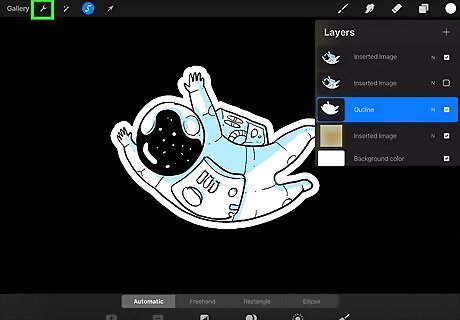
Tap the wrench icon. This opens the Actions menu. For digital stickers, you may want to crop each sticker out of the sheet to create individual files for each sticker. This isn't required, as most e-planners (including GoodNotes) can separate stickers from sticker sheets. If you're going to use a Cricut to cut out your stickers, just continue with these steps—once you save your sticker sheet, you can upload it to Cricut Design Space, which you'll use to print the stickers.
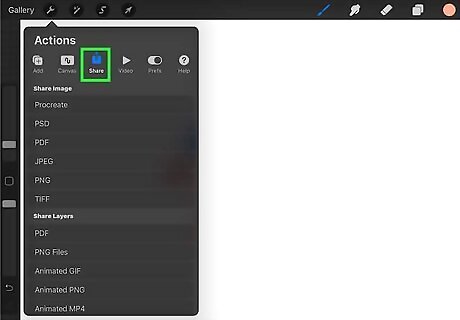
Tap Share. This opens the Sharing menu.
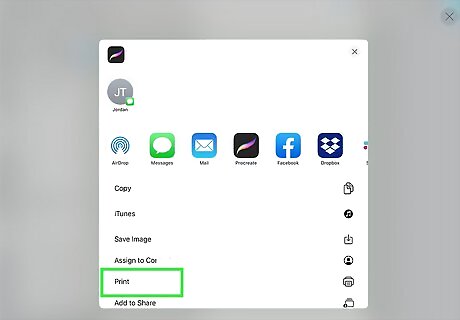
Print directly from your iPad (optional). If you want to print the sticker sheet right now, you can choose Print from the menu to send the stickers to your AirPrint-compatible printer. Print to plain sheet of paper (not sticker paper) first for a test run.
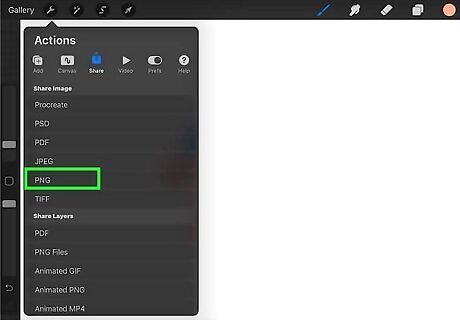
Select PNG as the format. This format allows you to retain excellent quality while also retaining the transparency of the background.
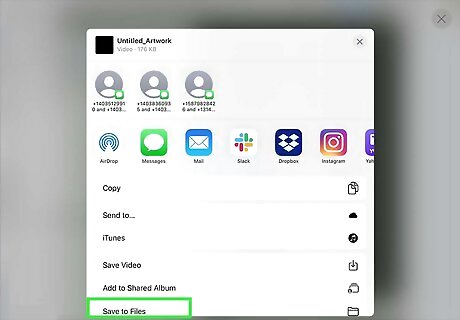
Select a saving location. Once you choose the folder you want to save the stickers to, you're all done! If you're using a Cricut, you can just import the file into Design Space. You'll have a chance to clean up the image and prepare it for printing right in the app.
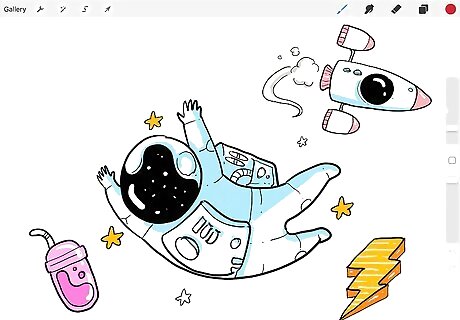
Finished. On to your next design!




Comments
0 comment