
Making a Basic Sweater Vest

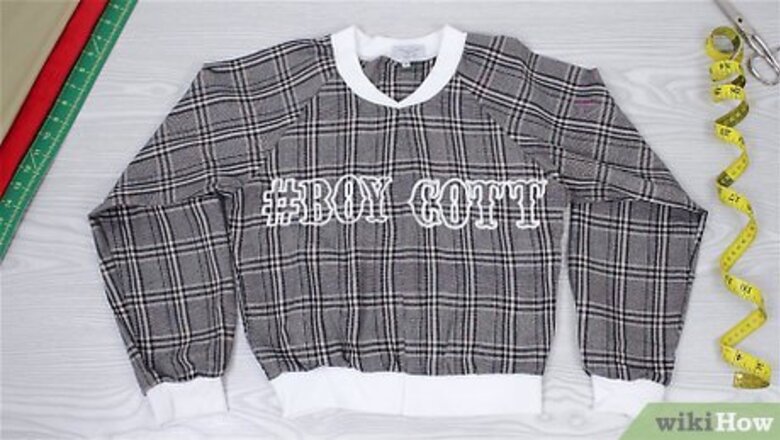
Choose a sweater that fits you well. The sweater can have a solid front or it can have a button-up front. It would be easier if the sweater has a V-neck, but don't worry if it doesn't; you can always add one.
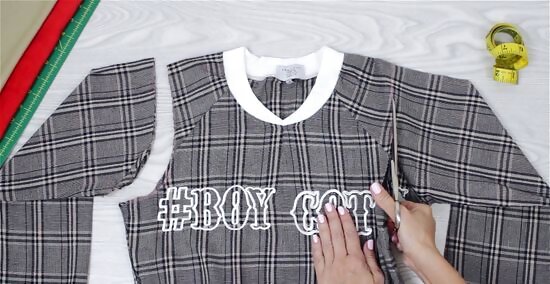
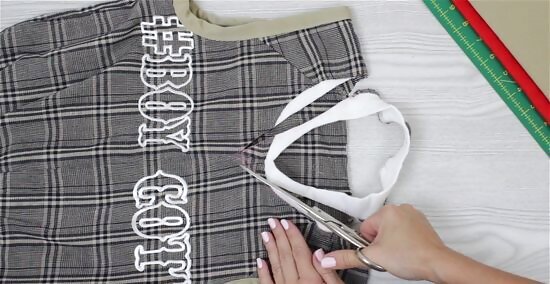
Cut the sleeves off. Use a pair of fabric scissors to do this. You can also extend the cut a little bit below the armhole, but do not extend it to the front or back, or it will be too big. Don't worry if the sweater starts to unravel a little.

Measure around the arm holes. Add both measurements together, plus 2 inches (5.08 centimeters) for the seam allowances. You will be using this measurement to cut the ribbing for the arms.
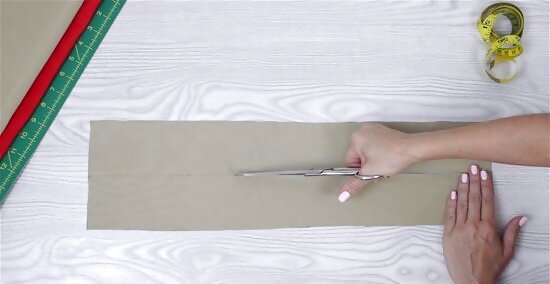
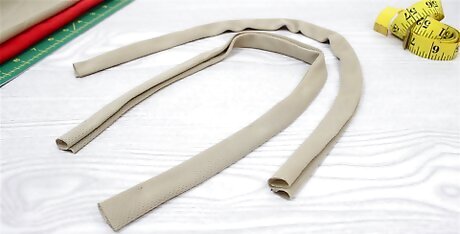
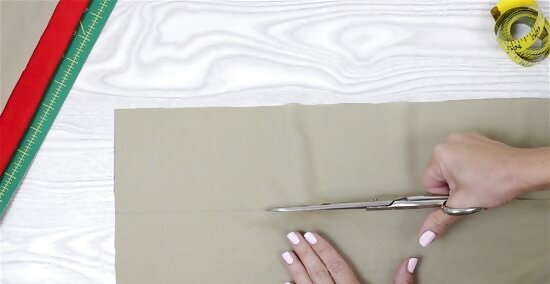
Cut a strip of ribbed fabric according to that measurement and 2 to 3 inches (5.08 to 7.62 centimeters) wide. The wider you cut the strips, the wider the ribbing will be on the arm holes. You can cut the material from a matching sweater or from cotton ribbing. The colors can match, or they can contrast for an interesting look.
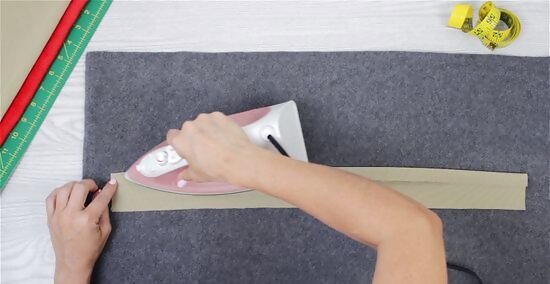
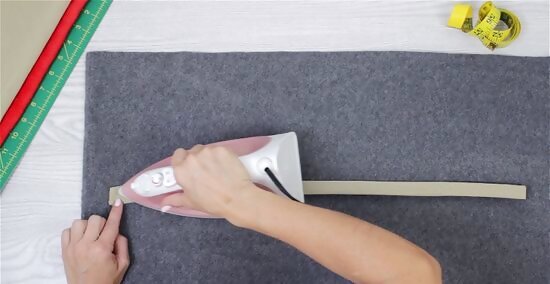
Fold the strip in half lengthwise twice to make a double-fold bias strip. Fold the strip in half lengthwise with the wrong sides facing in. Press it flat with an iron. Unfold the strip, then fold both of the long edges towards the center by ¼ to ½-inch (0.64 to 1.27-centimeter). Fold the strip shut, and press it flat with an iron once again. Make sure that your iron is set to a temperature appropriate for the material you are working with.
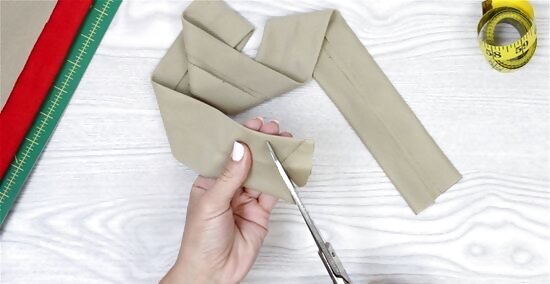
Cut the strip in half widthwise. Fold both of the ends towards each other. Cut the strip at the fold so that you end up with two, equal-sized pieces.
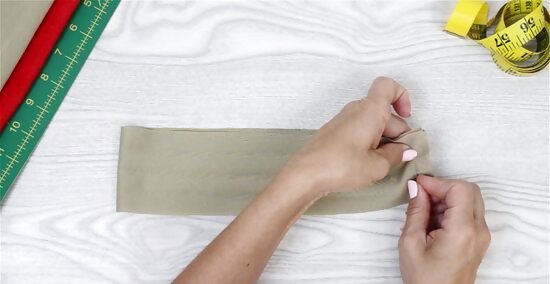
Sew the strips into two loops. Unfold both of the strips once so that the long, side edges are still folded towards the center crease. Fold the strips in half, widthwise, with the right sides together. Sew along the narrow edges using a ½-inch (1.27-centimeter) seam allowance.
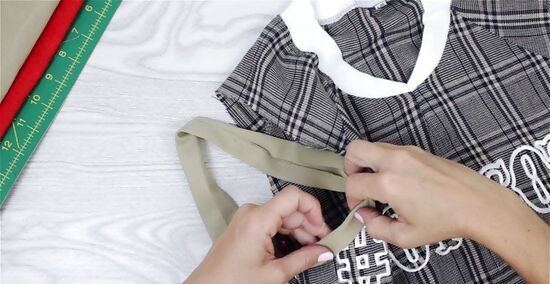
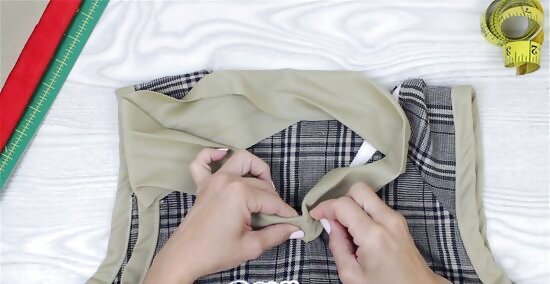
Pin the rings to each armhole, sandwiching the raw edges inside. Tuck each ring into each armhole until the raw edges align with the center crease. Fold the top edge down of each ring over the raw edge of the armholes, sandwiching them inside. Pin the rings in place. Align the ribbings' seams at the bottom, with the sweater's side seams.
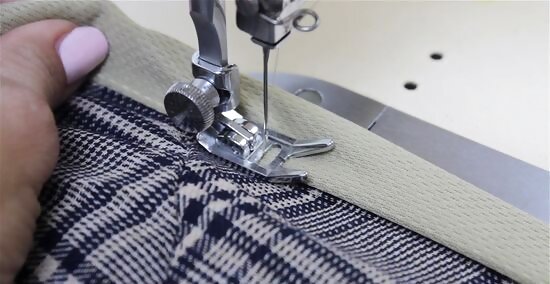
Topstitch the rings down. Choose a narrow, zigzag stitch and a thread color that matches the ribbed material. Sew around the ring and armhole, about ⅛ to ¼-inch (0.32 to 0.64-centimeter) away from the inside folded edge. Be sure to sew through all layers of fabric and the remove the pins as you sew. The stitch needs to be narrow, almost a straight line. Alternatively, you can use a stretch stitch.
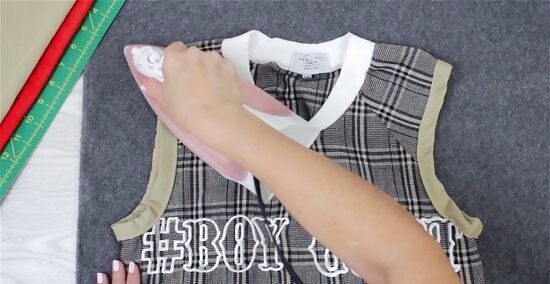
Press the armholes once more. Tuck the iron into the sweater, and iron the back armhole on each side. Flip the sweater over, and repeat this step, ironing the front armhole. This ensures that the ribbed binding layers nicely against your sweater. It also prevents creases from forming at the shoulder and armpit.
Adding a V-Neck Collar (Optional)

Draw a V-neck down the front of your sweater. You can eyeball it, if you'd like. If you want to be more precise, you can tuck the sweater inside an existing sweater vest, and use the existing vet's neckline as a guide. Put the sweater on and make sure that you are happy with the look. Use a dressmaker's chalk or pen for this.
Cut the V-neck. If your sweater has a ribbed collar, cut the ribbing off first, then cut the V-neck. This will help reduce bulk. If your sweater has a turtleneck, cut the turtleneck off at the seam first, then cut the V. Avoid cutting off too much material at the side and back of the neck hole.
Cut a strip of ribbed material long enough to pin along the new neckline. Be sure to add 1 inch (2.54 centimeters) to your measurement to allow for seam allowances. The strip needs to be 2 to 3 inches (5.08 to 7.62 centimeters) wide—the same width as the ribbing on the armholes. You can use the same color as you did for the armholes, or you can use a different color for something more unique. Make sure that the material matches, however!
Fold and press the strip twice to make a double-fold bias tape. Fold the strip in half, lengthwise, with the wrong sides facing in. Press it flat with an iron. Unfold the strip, and fold both of the long edges in by ¼ to ½ inch (0.64 to 1.27 centimeters) towards the center crease. Fold the strip back shut, and press it flat with an iron once more.
Cut a notch into each end. Unfold the strip once, so that the long edges are still folded towards the center crease. Cut a V-shaped notch into each end of the strip. Make sure that the notches are aligned. Cut one side first, then use it as a guide to cut the other.

Sew the notches together. Fold the strip in half widthwise, with the right sides together. Pin the V's together. Sew along the V using a ½-inch (1.27-centimeter) seam allowance, then remove the pins.
Pin the collar to the raw, cut edge of your sweater. Slip the loop you made into the neck of your sweater until the raw edge touches the crease. Fold the top edge down over the raw, cut edge of your sweater's neckline. Make sure that the point of the ribbing is aligned with the point of the collar. Pin the ribbing into place.

Topstitch the ribbing down. Use a thread color that matches your material and a narrow zigzag stitch. Sew around the collar, ⅛ to ¼-inch (0.32 to 0.64-centimeter) from the inside, folded edge. Remove the pins as you sew. The zigzag needs to be narrow, almost a straight line. You can also use a stretch stitch instead.
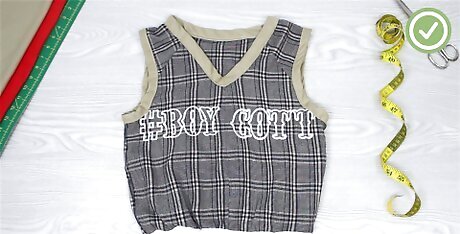
Done! You can now wear your sweater vest.


Comments
0 comment