
views
Light the Torch

Put on protective clothing, including long pants and shirt, welder's gloves and eye protection.
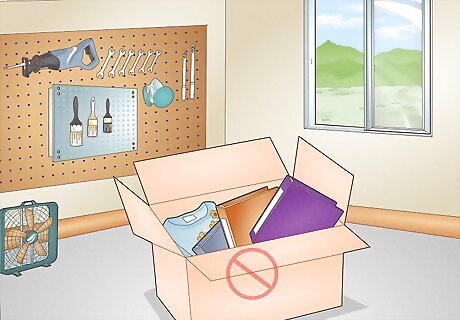
Work in an open space free of any flammable materials. Before igniting the torch, inspect the propane cylinder, hose, and connections for any leaks. Apply a leak gas solution detector. If a leak is detected, shut off the gas supply and fix the issue before proceeding. Perform the lighting process in a well-ventilated area to prevent the accumulation of propane gas.
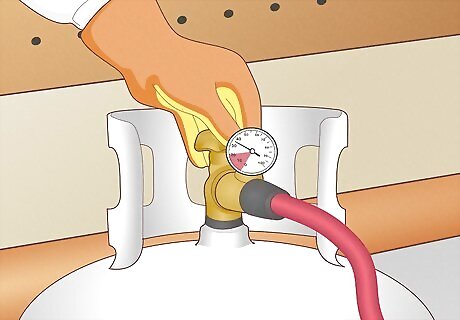
Turn on the fuel adjustment knob. The knob is located on the shorter of the 2 tanks on the torch. Turn the knob slowly, about 1/2 inch (1.3 cm), to release the gas. Slowly open the valve on the propane cylinder to allow gas to flow through. Use a striker or a spark igniter to ignite the propane gas.
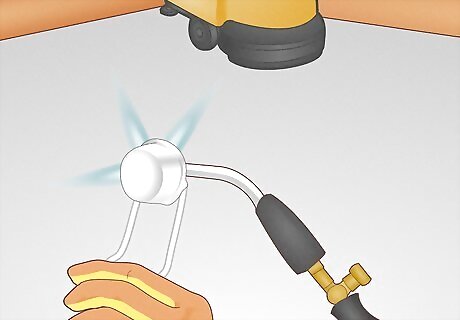
Light the torch. Tilt the lighter so that the fuel is trapped in the spark cup and slowly light the torch. Hold the striker near the torch nozzle or ignite the spark igniter according to the manufacturer's instructions. The flame should ignite and appear steady.
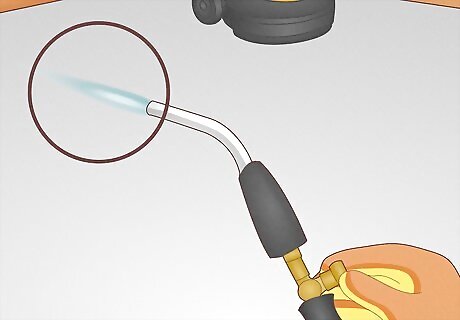
Adjust the flame size. Carefully open the oxygen valve a little bit at a time until you have the size flame you require. A steady flame will have well defined blue edges.
Use the Torch
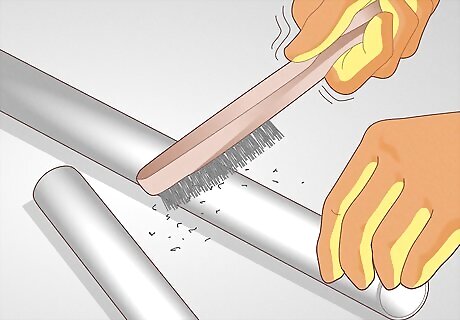
Clean the material to be welded. Check the material you are welding for rust or any other debris. Clean the material until it is smooth and free of dirt or debris.
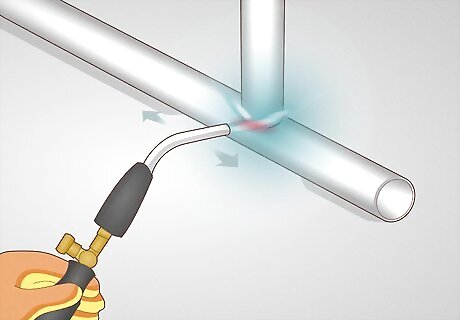
Apply the flame to your weld. Adjust your flame, and begin to carefully move the torch over the area to be welded. Move at an even pace in order to see your results. If you hold the flame too closely to the material for too long a period, you will create holes in the material. Not enough application will result in the piece not melting. Move your torch in short runs so that you are certain you are getting the result you need. Pay attention to the angle of the torch and the amount of flame, and adjust accordingly.



Comments
0 comment