views
Using a Cable Tester
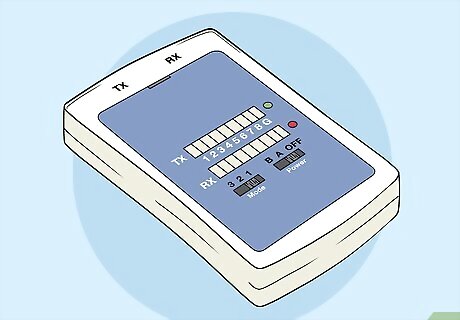
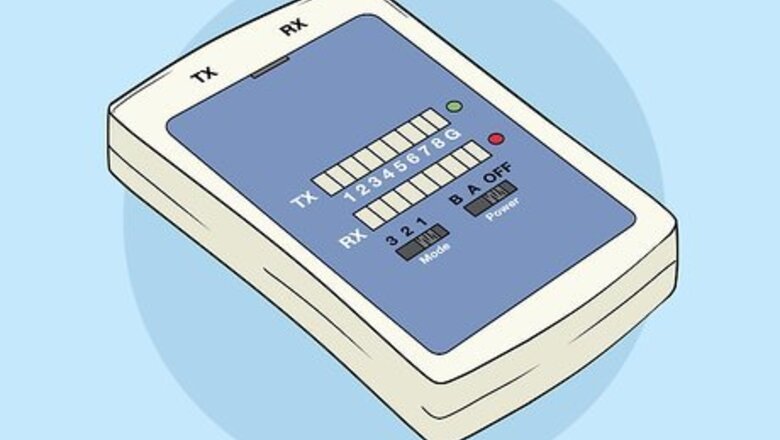
Get an ethernet cable tester. If your LAN cable doesn’t seem to be transmitting a signal, these testers can confirm if the cable is bad. Look online or in an electronics store for an ethernet cable tester. They usually come in 2 pieces, the main testing port and a receiver port. Read the instructions for any product you use. While cable testers are similar, different products may have different instructions. The cable tester may have both an insertion and receiver jack on one piece, meaning you don’t need a two-piece tester. Some other testers have both options, so you can run the cable into other rooms if you want to. Make sure there is a battery in the tester before you use it. Most take a 9V battery.
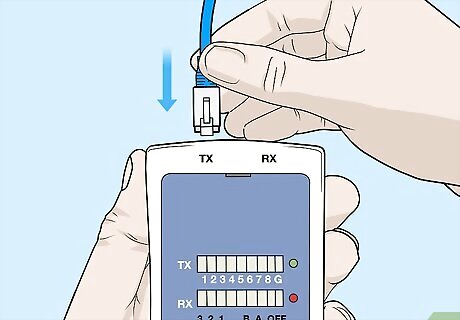
Plug one end of the cable into the TX plug on the tester. This is the insertion port. Plug either end of the cable into this port until it clicks. This indicates that the cable is fully-connected. It doesn’t matter which end of the cable you insert into each port. Both ends are identical.
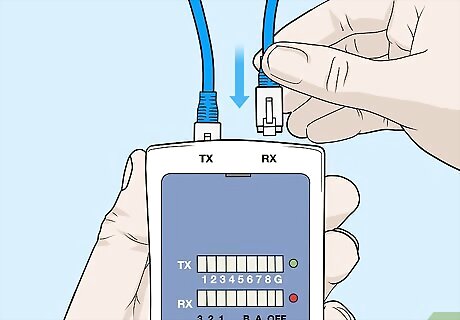
Plug the other end into the RX receiver jack. Again, insert the end of the cable until it clicks. This completes the connection so the tester can measure the cable’s transmission. If the tester has the TX and RX inputs on the same piece, then plug both in there. If the tester has a separate piece for the RX input, connect the cable there. If the tester has both options for the RX input, then you can choose which to use. Usually, a separate piece is for stretching the cable into another room to see if it transmits well over a distance.
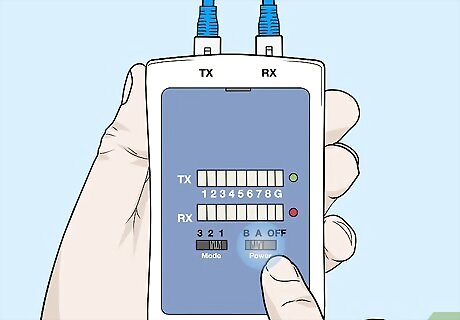
Turn the tester on and watch if any lights don’t activate during the cycle. Once the cables are connected, turn the tester on to begin the test. The tester will cycle through 8 positions and a ground connection, each represented by a light on the tester. Since the cable isn’t grounded, the ground position won’t light up. If all the other connections are good, then each position will light up. If any besides the ground don’t light up, then the cable is bad. Some testers may have a number of different modes or switches to choose from. Refer to the instruction manual for how to set the tester if it has multiple options. Remember when you remove the cable, press down on the notch near the plug to detach it. Don’t pull it out or you could damage the machine and cable.
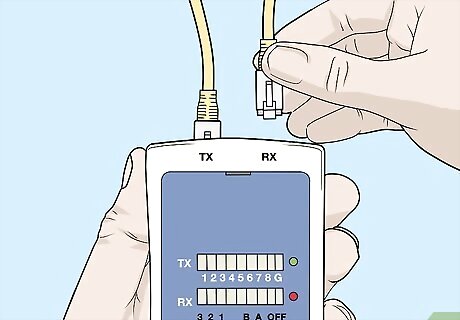
Replace the cable if any lights besides the ground don’t illuminate. If lights don’t illuminate, it indicates that the cable is not transmitting a signal. The cable is bad, so you’ll need a replacement. Remember that the ground position won't light up since the cable isn't grounded, so don't worry if that one doesn't illuminate.
Troubleshooting Without a Tester
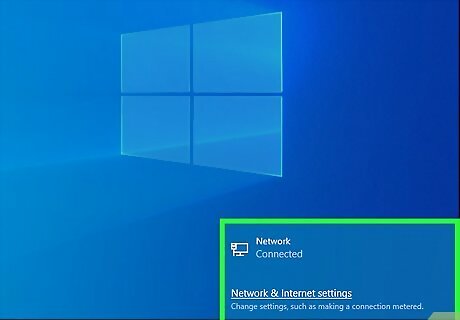
Check the connection signal on your computer or TV. The first indication that your ethernet cable may be faulty is a poor connection. If you’re using a computer, look on the lower righthand side of the taskbar for the connection bar. If the bar is low or you have no connection, then there may be a problem with the cable. If you’re using a TV, a “No Signal” message will probably appear when you turn it on. Remember that this only applies if the LAN cable is connected. If you’re using WiFi, then the problem may be with your router or modem. Confirm that your computer is signed onto the network first.
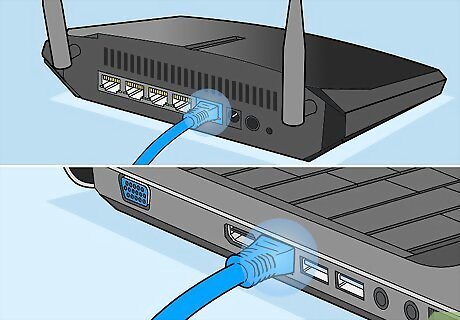
Confirm that your cable is fully plugged in to the computer and modem. If your internet is weak or absent, there may be a problem with the physical cable connection. First, check on the computer. Push the cable in all the way. If the cable doesn’t move, it was fully-inserted. If you hear a click, then the cable wasn’t plugged in entirely. Do the same for the modem. Your TV may also be connected to the router if it has an internet connection. Check behind the TV to confirm that the cable is plugged in properly.
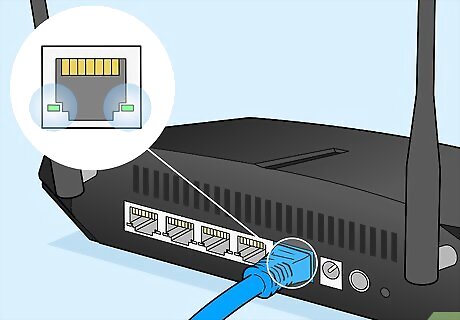
Look for a green light on the back of your modem. At the plug where the LAN cable connects, modems usually have a light indicating the signal strength. A green light indicates a good connection. Yellow or red lights indicate signal problems. If the light is not green, then check your connection or test the cable. The green light may flash. This also indicates a good connection.
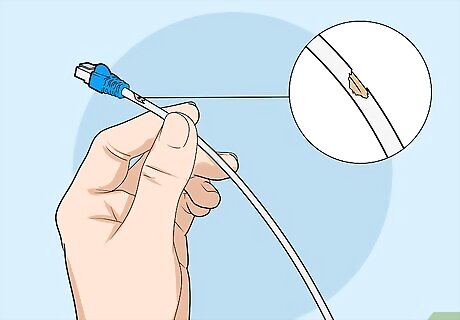
Inspect the cable for any physical damage. Rips, kinks, or sharp bends could damage the cable and connection. If you’re having connection problems, do a physical inspection of the cable. If you see any damage, then the cable probably needs to be replaced. LAN cables can usually bend around corners without much trouble. However, if the cable has a sharp fold, then it may have internal damage.
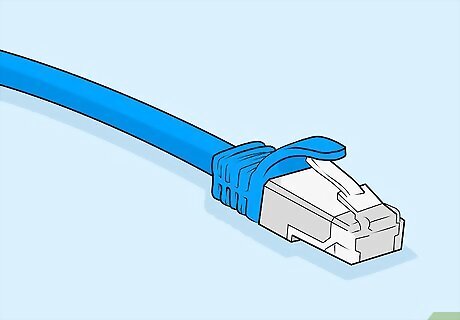
Use a new LAN cable and see if the connection improves. This can help you differentiate if the problem is your cable or modem. Take a new LAN cable and plug it into your modem and device. Then wait to see if the device establishes a connection. If you successfully connect, then the problem was probably the cable. If not, then it may be your modem. It may take a minute for the device to receive a connection when you plug the cable in. If it takes longer than 2 minutes, then there may be a problem with the modem. Alternatively, you could also plug the cable into another device. This will indicate if something was wrong with the first device.





Comments
0 comment