views
- Connect your second monitor to your computer using a display cable (e.g. HDMI).
- To change your display settings, go to Settings > System > Display.
- Go to the "Multiple displays" section to select a display type (mirroring or extending).
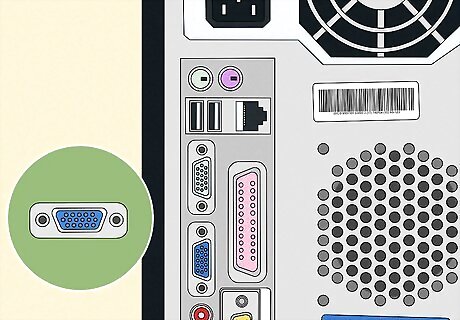
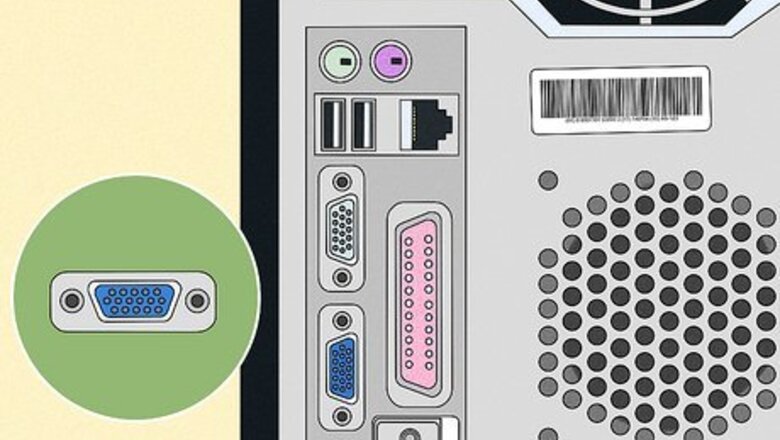
Make sure your computer can support a second monitor. While Windows 10's settings allow for multiple displays, not all graphics cards support more than one monitor at a time. You can quickly determine whether your desktop or laptop supports a second monitor by looking at the video output connections: Desktop — On the back of the desktop's tower, look for a free video output port. If you see one next to or directly above the port that's currently being used to connect your desktop to the primary monitor, you can use a second monitor. Laptop — Any laptop with a video output port (e.g., HDMI, DisplayPort, or USB-C) can support a second monitor.
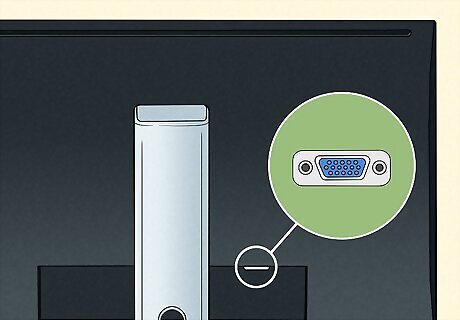
Determine the connection needed for the second monitor. Most modern computers and monitors use either HDMI or DisplayPort cables. If you have an older computer or monitor, you may find a VGA connector, which is a colored, trapezoid-shaped output. If you have a free video output connection which matches a connection on the back of your second monitor, it's best to use a cable that fits both connections. If your computer uses a different connection than your monitor, you can buy an adapter cable (e.g., USB-C to HDMI) or unit (e.g., VGA to HDMI).
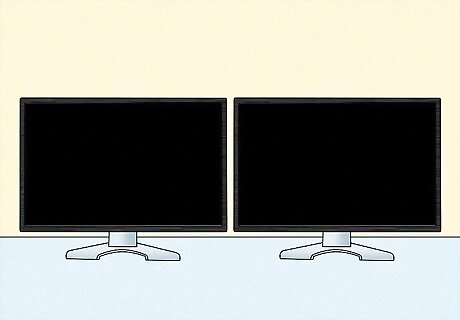
Place the second monitor. You can put your second monitor on either side of your main monitor. You'll be able to arrange the monitors later in the Windows display settings.
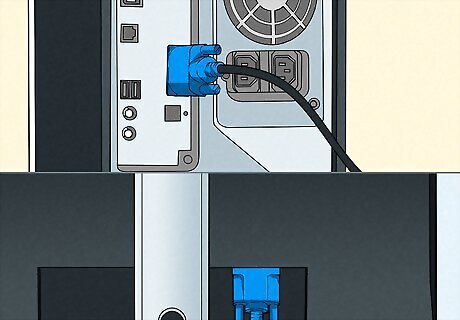
Connect the second monitor and turn it on. Plug one end of your video cable (e.g., HDMI) into your computer's video output slot, then plug the other end of the cable into your second monitor's video input slot. If you're using an adapter unit, you may need to plug both cables into the adapter and/or plug the adapter into a power source before you can connect the monitor to your computer. Once connected, press the monitor's "Power" button to turn it on. You may see your main display mirrored or extended onto the second display.
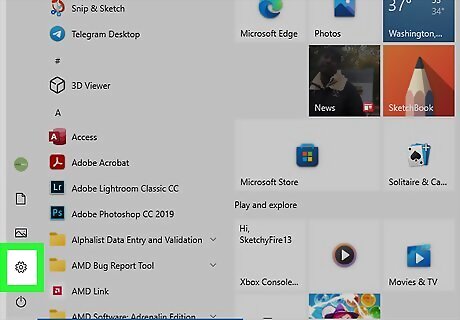
Open your Windows Settings. Click the Windows logo in the bottom-left corner of your computer's primary monitor, and click the Settings gear in the menu.
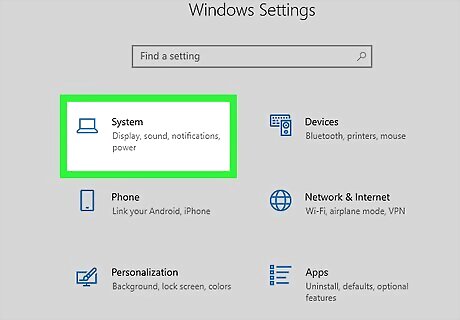
Click System. It's a laptop-shaped icon in the Settings window.
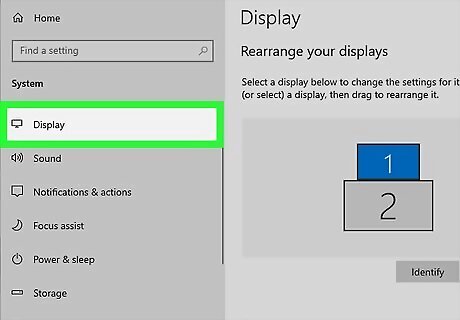
Click the Display tab. You'll find this in the left menu.
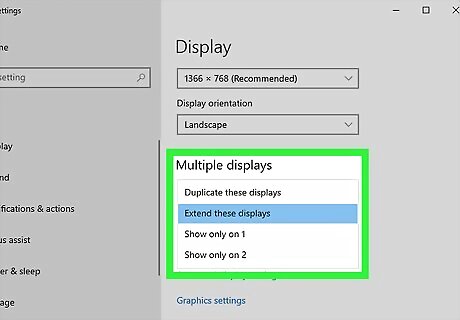
Select a display option from the "Multiple displays" menu. In most cases, you'll want to click Extend these displays to use the second monitor as an extension of your computer's main display, thus adding more room to your desktop. You can also select one of the following options: Duplicate these displays — Copies what's on your computer's primary screen to the second monitor. Show only on 1 — Blacks out the second monitor and displays only on your primary monitor. Show only on 2 — Turns off your primary monitor and displays only on your second monitor. If your second monitor is a TV, you may have additional options here.
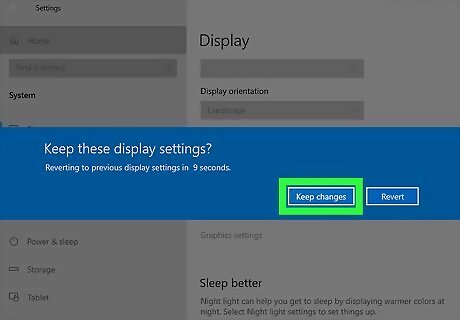
Save your changes. Click Apply, then click Keep changes when prompted. Doing so will prompt your computer to begin using the second display as indicated. If needed, you can rearrange your monitors to set your second monitor's location relative to your main monitor in the Display settings. Click and drag the second monitor (the box labeled "2") to the location you want relative to the main monitor (labeled "1"). Click Apply to confirm the change.
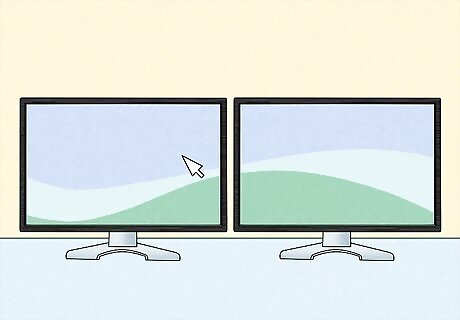
Use your second monitor. If you're extending your display, pushing your mouse to the edge of your primary display and then continuing will cause the mouse to appear on the second display. The edge you move your mouse to depends on how you've arranged your displays in the Display settings. If your second display is to the right of the main display, you'll move your mouse to the right edge to get to the second display. You've successfully installed a second monitor! Notice a stuck pixel on your LCD after getting things set up? Check out our expert guide to fixing stuck pixels.




Comments
0 comment