views
Ripping Audio from Videos on Streaming Sites
Know which sites this method covers. The app you'll use for this method allows you to download audio from videos that are hosted on any of the following websites: YouTube Facebook SoundCloud Vimeo Flickr Dailymotion Although 4K Video Downloader's FAQ page mentions support for Metacafe videos as well, it is currently not possible to download audio from Metacafe with 4K Video Downloader.
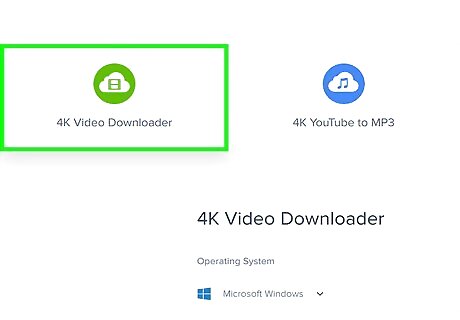
Download the 4K Video Downloader app. This app will allow you to download audio from videos on the aforementioned sites, and is free for Windows and Mac computers. To download the setup file, do the following: Go to https://www.4kdownload.com/download in your computer's web browser. Click 4K Video Downloader. Click Download to the right of your operating system. Select a save location and/or confirm the download if prompted.
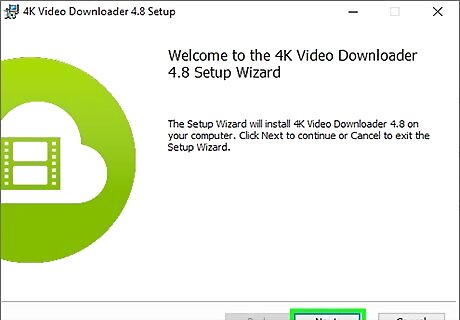
Install 4K Video Downloader. Once the installation file finishes downloading, double-click it and follow any on-screen prompts to install the 4K Video Downloader app onto your computer. If you're using a Mac, you'll need to click and drag the 4K Video Downloader icon onto the "Applications" icon before following the installation prompts. You may also need to verify the installation.
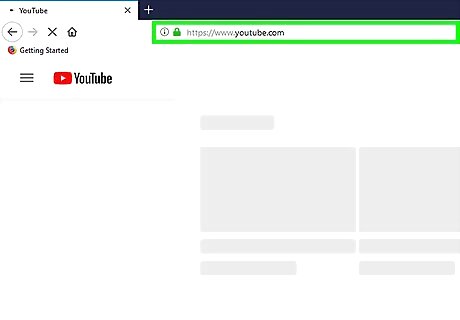
Open your preferred site. Go to the website on which the video you want to use is located. If you're downloading from SoundCloud, the item you want to download doesn't have to be a video. For example, if you want to download music from a VEVO video, you would go to YouTube.

Go to the video you want to use. Open the video from which you want to extract audio. If you're downloading from SoundCloud, you'll find the song you want to download and then open its page by clicking the song title.
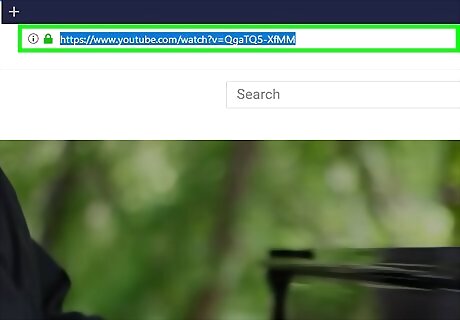
Copy the video's address. For most websites, you'll do this by clicking the address in the text bar that's at the top of your browser window and then pressing either Ctrl+C (Windows) or ⌘ Command+C (Mac). If you're using Facebook, you must right-click the video, click Show video URL, and then copy the URL that displays. 4K Video Downloader cannot download private videos.

Open 4K Video Downloader. Click or double-click the 4K Video Downloader app icon, which resembles a white cloud on a green background. Skip this step if it opened automatically after installing.
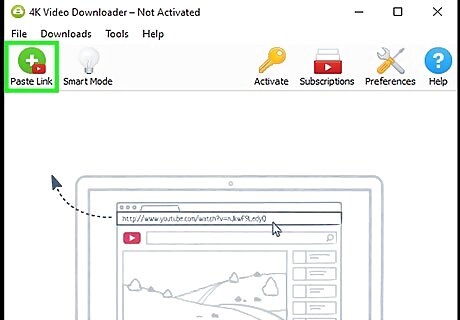
Click Paste Link. It's in the top-left corner of the 4K Video Downloader window. The app will begin looking for your video.
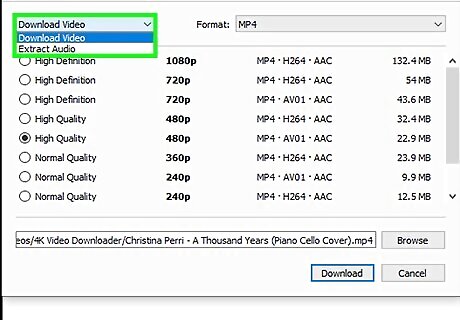
Click the "Download Video" drop-down box. Once 4K Video Downloader finds your video, you'll see this option appear in the upper-left side of the 4K Video Downloader window. Clicking it prompts a drop-down box. Skip this step and the next one if you're downloading from SoundCloud.
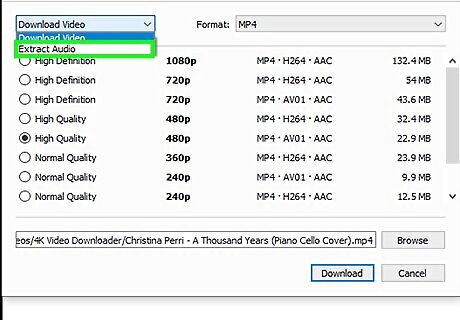
Click Extract Audio. It's in the drop-down box.
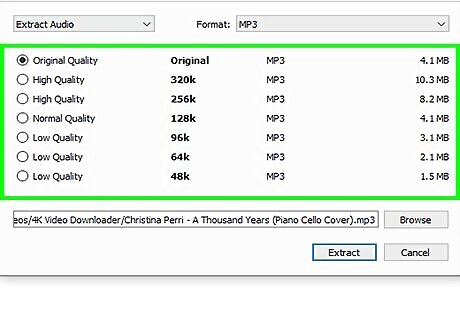
Select a quality if necessary. Check the box next to one of the quality options (e.g., "High Quality") to select it.
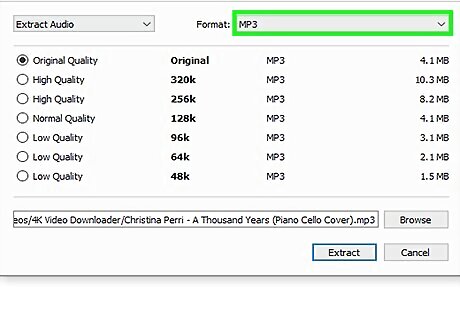
Select a format if you like. The default format (MP3) in 4K Video Downloader is the most commonly used video format, but you can choose a different format by clicking the "Format" drop-down box in the upper-right side of the window and then clicking the format you want to use.
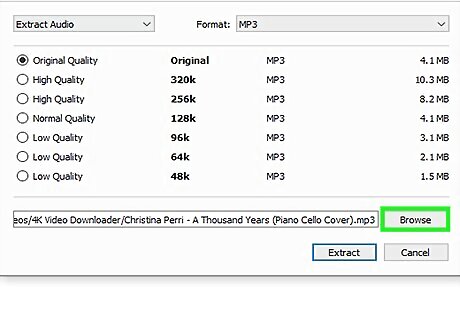
Select a download location. Click Browse to the right of the current download path at the bottom of the window, then select the folder you want to use (e.g., Desktop) and click Save. On a Mac, you'll click ⋯ to the right of the download path instead of Browse.
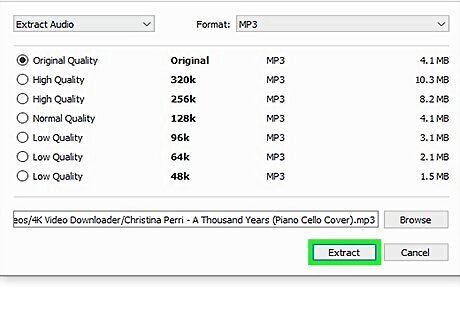
Click Extract. It's at the bottom of the window. Doing so prompts 4K Video Downloader to begin ripping the audio from your selected video. Once the ripping is complete, you'll be able to find the song's file in your specified save location. If 4K Video Downloader says that it's unable to download a file, try downloading again, or download another file on top of it. If the problem persists, just wait a day—4K Video Downloader typically resolves disputes around downloading copyrighted music within a few hours to a day's time.
Using Audacity
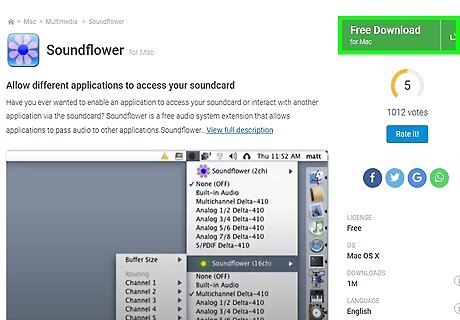
Install SoundFlower if you're on a Mac. Soundflower is an app that will allow you to record your on-screen audio. Go to https://github.com/mattingalls/Soundflower/releases/tag/2.0b2 in your Mac's web browser, then do the following: Click the Soundflower-2.0b2.dmg link. Double-click the downloaded file, then follow any on-screen prompts (including verifying the software). Click the Apple menu Mac Apple and click System Preferences.... Click Sound, then click the Output tab in the window that opens. Select Soundflower (2ch) and raise the volume, then do the same for Soundflower (2ch) in the Input tab. Click the Sound Effects tab, click the "Play sound effects through" drop-down menu, and click Line Out (or Headphones, or Internal speakers).
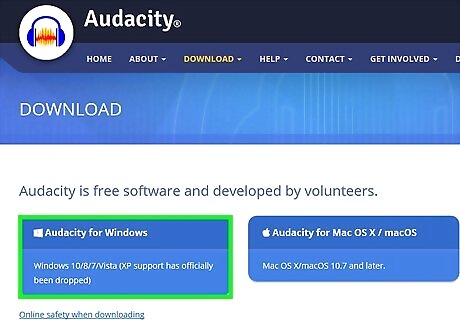
Install Audacity if you don't have it. Audacity is free to download and install for both Windows and Mac computers: Go to https://www.audacityteam.org/download/ in your computer's web browser. Select your operating system. Click Audacity 2.2.2 installer (Windows) or Audacity 2.2.2 .dmg file (Mac). Double-click the downloaded setup file. Follow the on-screen installation instructions.
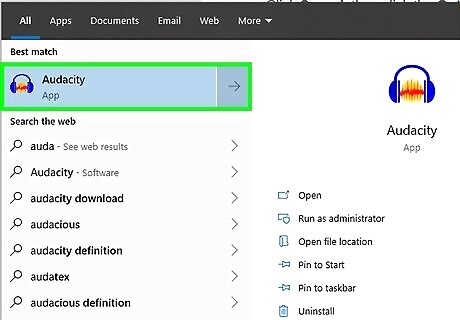
Open Audacity. Click or double-click the Audacity app icon, which resembles a blue pair of headphones around an orange sound wave.
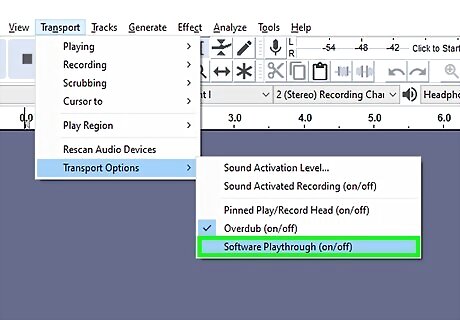
Enable Software Playthrough if you're on a Mac. Click the Transport menu item at the top of the screen, select Transport Options, and click the Software Playthrough option if it isn't checked. If this option is checked, it's already enabled.
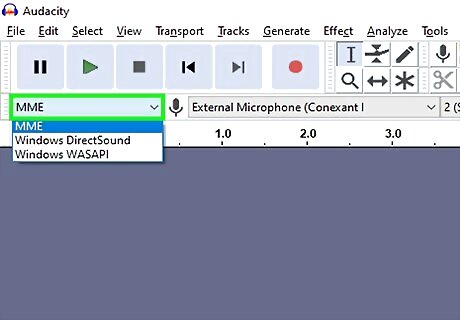
Click the recording style drop-down box. It's the MME drop-down box in the upper-left side of the recording section. A drop-down menu will appear. On a Mac, you'll click the drop-down box to the right of the microphone icon.
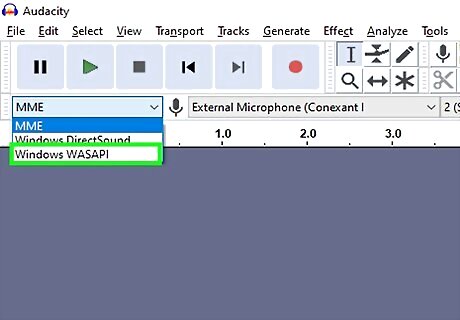
Click Windows WASAPI. This is in the drop-down menu. On a Mac, you'll click Soundflower (2ch) instead.
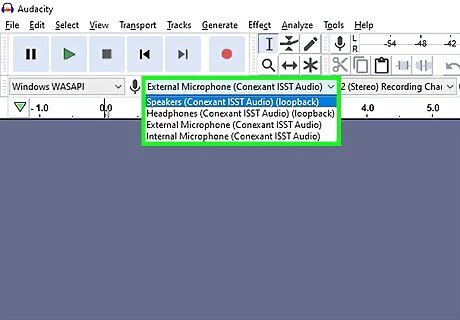
Click the input drop-down box. It's the drop-down box immediately to the right of the recording style drop-down box. Another menu will appear. On a Mac, this option is next to the speaker icon on the far-right side of the list of drop-down boxes.
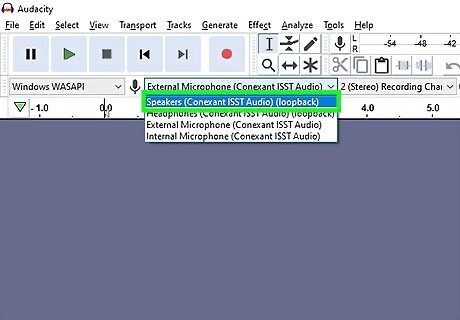
Click Speakers. This is in the drop-down menu. At this point, you're ready to begin recording with Audacity. If you're using headphones while doing this, you'll click Headphones (or similar) here instead. On a Mac, you'll click Built-in Output or Line Out here instead.

Go to the music you want to record. Open the website that plays the music you want to record. This can be any website from which your computer recognizes sound.
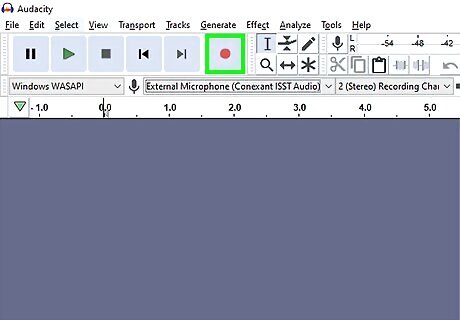
Begin recording in Audacity. Click the red "Record" circle at the top of the Audacity window to do so.
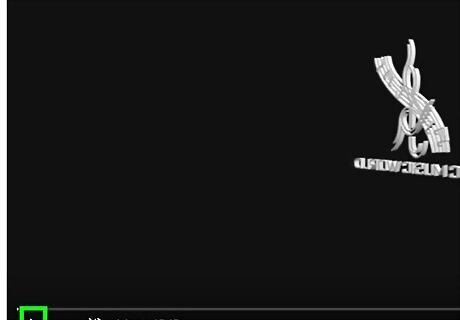
Play the music. Click the music's "Play" button to do so. Audacity will begin recording the music input.
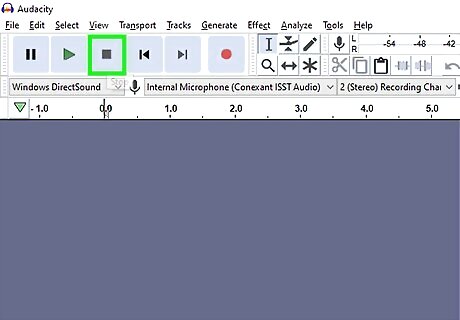
Stop the recording when the music ends. Click the black "Stop" square at the top of the Audacity window. The recording will stop.
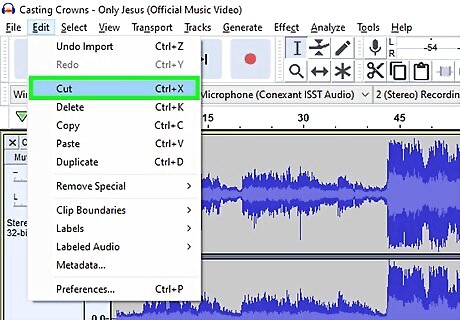
Trim the audio as necessary. To remove segments of dead audio from the beginning of the recording, scroll all the way to the beginning (left) of the recording in Audacity, click and drag your mouse across the section you want to delete, and press the Del key. On a Mac, click Edit and then click Cut instead of pressing the Del key.
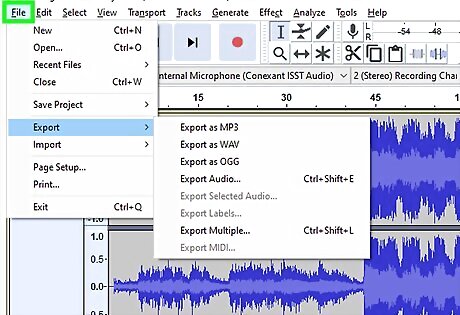
Click File. It's in the top-left corner of the Audacity window (or the screen on a Mac). A drop-down menu will appear.
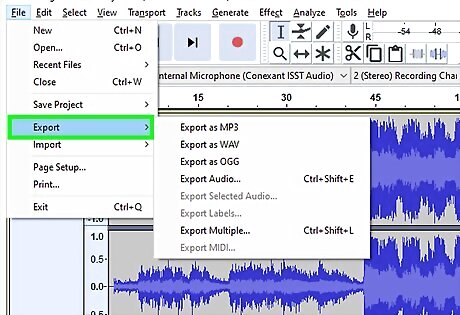
Select Export. This option is in the File drop-down menu. Doing so prompts a pop-out menu.
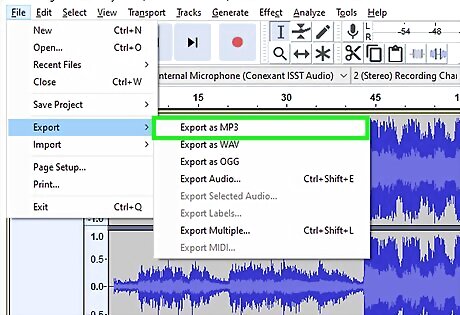
Click Export as MP3. It's in the pop-out menu. A "Save As" window will open.
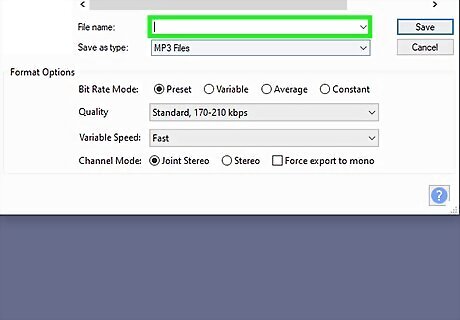
Enter the song's name. Type whatever you want to name your recording into the "File name" or "Name" text box.
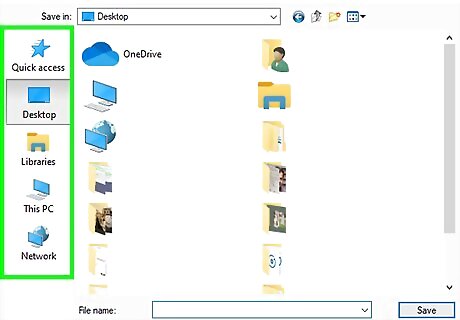
Select a save location. Click a folder in which you want to save the file (e.g., to save it on the desktop, you would click Desktop).
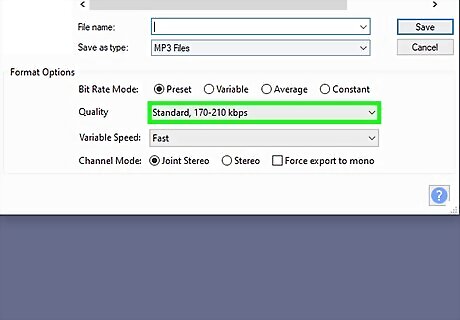
Select a quality if desired. If you want to raise your song's quality, click the "Quality" drop-down limit and click a better option that was selected (e.g., Insane). This will increase your song's file size as well.
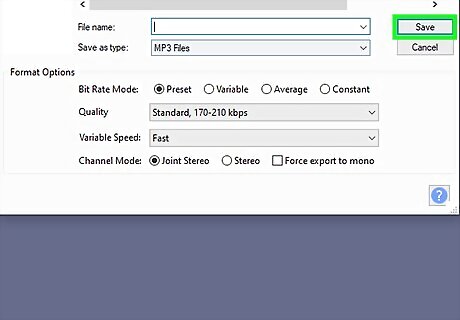
Click Save. It's at the bottom of the window.
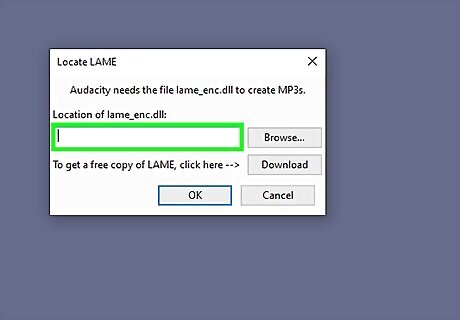
Enter your song's information if you like. In the window that appears, enter tags for your artist's name, album, and so on if you wish. The tags that you enter here will help the audio file be recognized by programs such as iTunes and Groove. You can skip this step if you don't want to assign tags to your song.
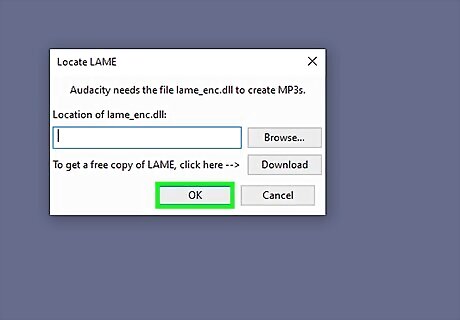
Click OK. It's at the bottom of the window. Doing so exports your recording to an MP3 file in your selected save location. This process can take anywhere from a few seconds to a few minutes depending on your chosen quality and your song's length.
Using Your Browser's Source Code

Understand when to use this method. If you want to download music that's playing in the background of a website or music from a video that auto-plays upon opening a website, you may be able to use this method to find and download the music file. If the music file you want to download is protected (as in the case of sites like SoundCloud), you won't be able to use your browser's source code. Try using 4K Video Downloader or Audacity if so.
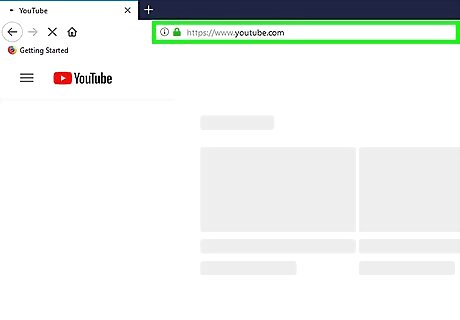
Go to the website you want to use. Open the website from which you want to extract the audio, and make sure that the website is fully loaded and the audio is playing before proceeding.
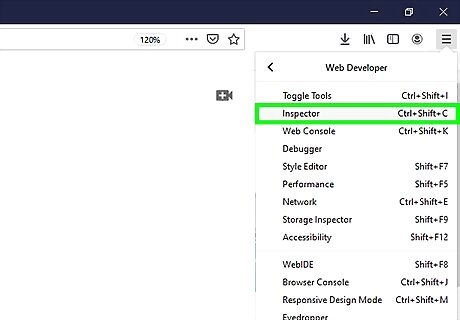
Open your browser's source code. This step will vary slightly depending on your browser: Google Chrome — Click ⋮ in the upper-right corner of the window, select More tools, and click Developer tools. Firefox — Click ☰ in the top-right corner of the window, click Web Developer in the drop-down menu, and click Inspector. Microsoft Edge — Click ⋯ in the upper-right corner of the window, then click Developer Tools in the drop-down menu. Safari — Enable the Develop menu item if necessary, then click Develop in the menu bar and click Show Page Source in the resulting drop-down menu.
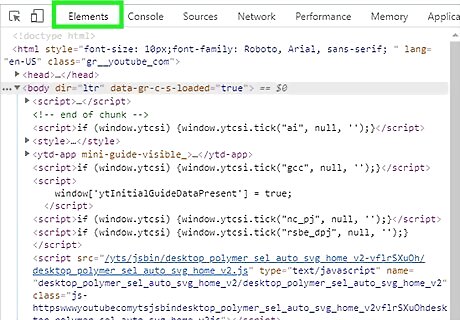
Click the Elements tab if necessary. You'll need to do this at the top of the Developer window on both Chrome and Edge. Skip this step on Safari and Firefox.
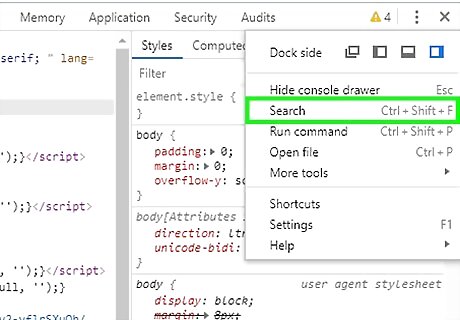
Open the "Find" search box. Click anywhere in the Developer window, then press Ctrl+F (Windows) or ⌘ Command+F (Mac) to do so.
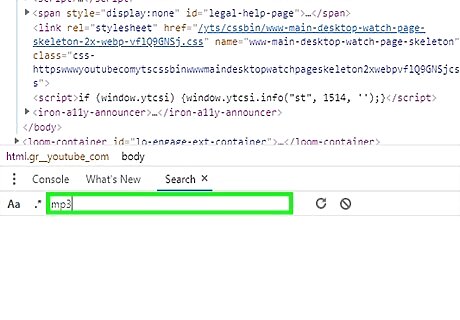
Enter an audio tag. The most commonly used audio type is MP3, so type mp3 into the "Find" window and press ↵ Enter to search for it. Other commonly used audio tags include M4A, AAC, OGG, and WAV.
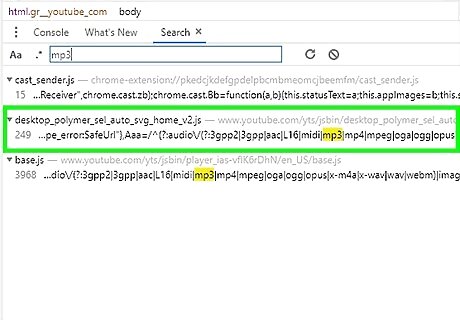
Look for the audio file's address. Scroll through the highlighted results until you see an MP3 file that has a full web address, including http:// or ftp:// at the beginning and .mp3 at the end. The address may be quite long. If you don't get any results for .mp3, try a different audio tag. You can also try a video tag such as MP4. If you still don't get results, the song is most likely hidden behind an embedded player or encrypted.
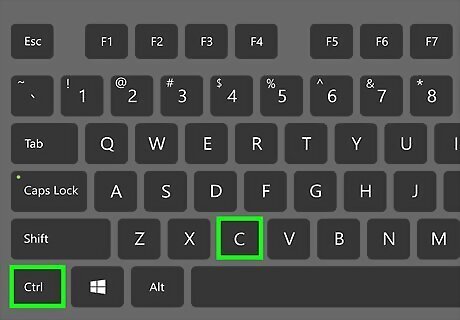
Copy an audio file's URL. Double-click the URL for the audio file that you want to download, then press Ctrl+C (Windows) or ⌘ Command+C (Mac) to copy it. Keep in mind that the website may have numerous different URLs for different audio files, so you might need to come back to this page and copy a different URL if the first one doesn't work.
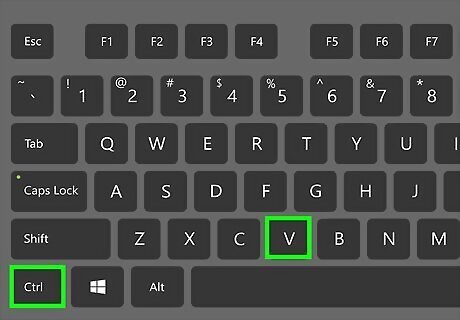
Enter the URL in the address bar. Click the address bar, then press Ctrl+V or ⌘ Command+V to paste in the song's address and press ↵ Enter to go to the song's page. If you receive a 404 error, the song is no longer hosted at the URL you entered. Try going back and copying a different URL, or use Audacity instead.
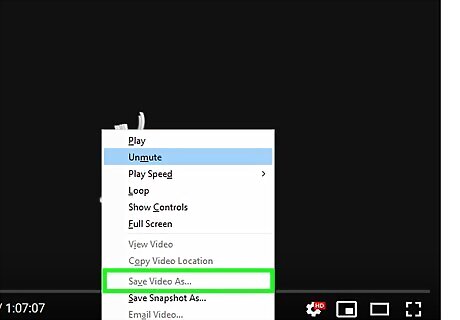
Download the music file. Once the song's page opens, right-click the song's box and then click Save as to download it as an MP3 or MP4 file. On Chrome, you might be able to click ⋮ in the lower-right corner and then click Download. If the song downloads as an MP4 file, you'll need to convert the MP4 into an MP3 file to complete this process.


Comments
0 comment