views
How do I completely hide screw holes in chipboard?
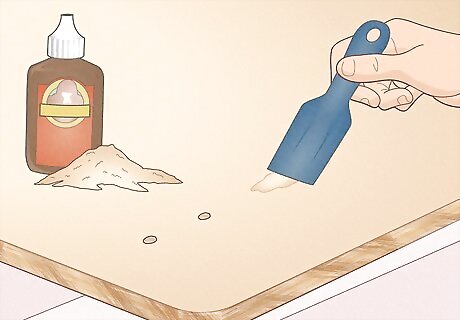
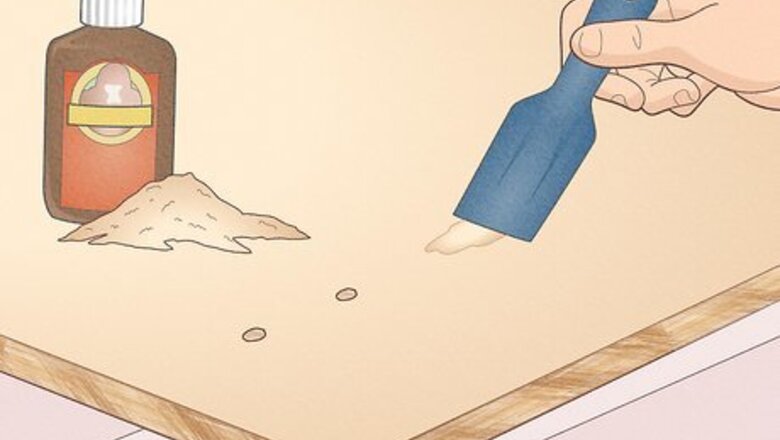
Wood glue and sawdust are perfect for a simple repair. Take some leftover sawdust from other construction projects and mix it into a thick paste with some wood glue. Scoop the mixture into the screw hole and press it down firmly with a putty knife. Let the paste dry overnight so it hardens completely. Then just use some sandpaper to smooth out any rough edges until it’s flush with the surface. Try to use sawdust that’s similar in color to the wood, or else your repair may be noticeable once you’re finished. Since the paste and sawdust hardens to a consistency similar to the rest of your chipboard, you can screw into it again if you need to. You can use wood glue and toothpicks to fill the hole. Or get a strong wood epoxy or use threaded inserts. Otherwise you can use Mr. Grip screw hole repair kit.
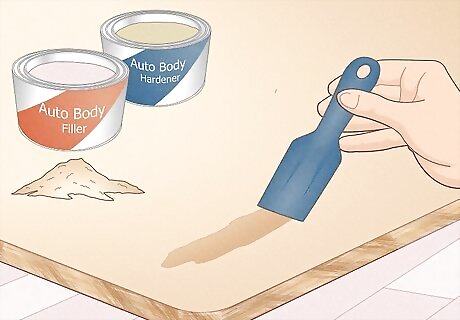
Fill the hole with auto body filler for the strongest fix. Auto body fillers usually come as a separate hardener and filler, so mix them together with a putty knife first. Since the color probably won’t match the color of your wood, mix in some sawdust to help it blend in. Push the filler into the hole, but work quickly while it’s still pliable. Let the filler cure completely, which usually takes a few hours. You can buy auto body filler from your local hardware or automotive store. Some fillers come with color dyes that you can mix in to match the color and finish of the chipboard. If you still want to put the screw in the hole, lubricate the screw with a spray lubricant and push it into the hole while the filler is still wet. Let the filler harden for 3–4 minutes before pulling the screw out. That way, the filler has the shape of the threadings to keep the screw secure.
How do I fix a stripped screw hole?
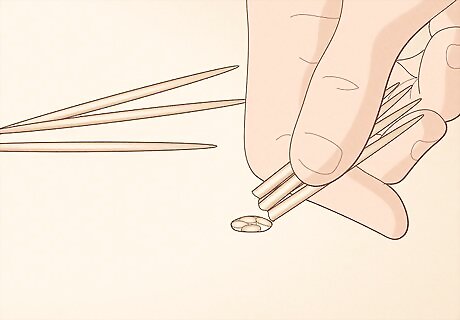
Stuff the hole with toothpicks or dowels for a quick, cost-effective fix. Filling the entire hole with toothpicks or a dowel tightens the hole so your screw gets extra grip. Push the toothpicks or wooden dowel into the screw hole as far as you can. Break or saw off the excess material that extends past the hole. Put the screw back in the hole and slowly tighten it back into the chipboard with a screwdriver. You can put a few drops of wood glue into the hole before adding the toothpicks or dowel to help them stay in place, but it’s not required. If you do, let the glue dry completely before putting the screw back in. If a dowel plugs the entire hole, drill a pilot hole in the dowel before driving the screw in. That way, you prevent the wood from splitting.
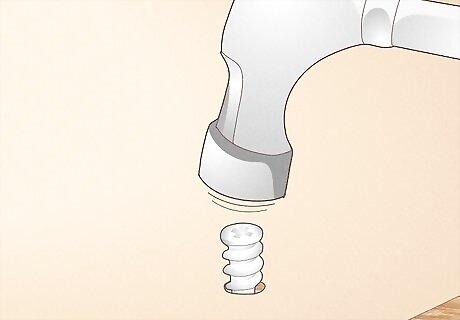
Put an anchor in the hole to keep the screw from ripping through wood. Anchors are plastic sleeves that push against the wood so they’re less likely to come out. Use a drill bit that’s the same diameter as your anchor to widen the screw hole. Tap the anchor all the way into the hole. Then, set the screw inside of the anchor and tighten it. You can buy anchors from your local hardware store. The anchors you use are usually more visible even after you install them.
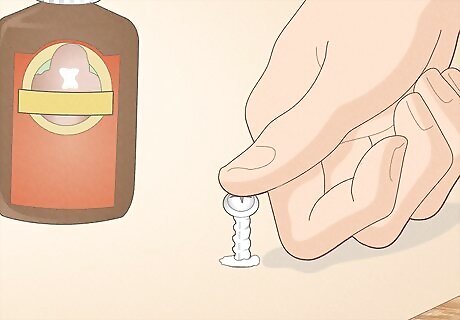
Fill it with wood glue and push the screw inside for a permanent solution. Start off by coating the screw’s threading with a lubricating wax or oil. Squeeze wood glue into the hole so it’s about halfway full. Push the screw into the hole as far as you can. Let the glue dry overnight before removing the screw. Scrape any of the glue that came out of the hole with a razor blade so it’s flush with the chipboard. Since the glue set around the screw’s threadings, you can easily screw it back into the hole. This option isn’t as strong of a fix as the other options, but it makes the screw hole less visible. If you don’t coat the screw with wax or oil, then it will get stuck in the glue and won’t unscrew easily.
Can I use wood filler on chipboard?
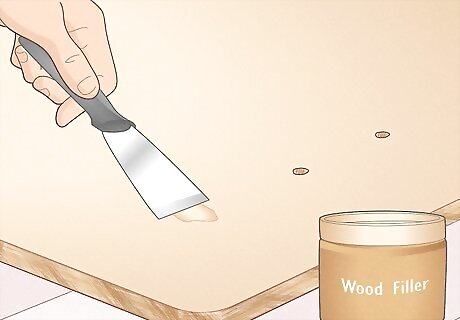
Yes, just push the wood filler into the hole with a putty knife. Look for a wood filler that has the same color as your chipboard so it blends in easier. Press the wood filler into the hole using a putty knife until it’s completely full. Let the wood filler dry following the instructions on the packaging. Then, sand the filler smooth so it’s flush with the surface. You can paint or stain filler to match the finish of the wood. Choose a water-based filler for indoor use or a solvent-based filler for outdoor repairs.
Can I screw into wood filler?
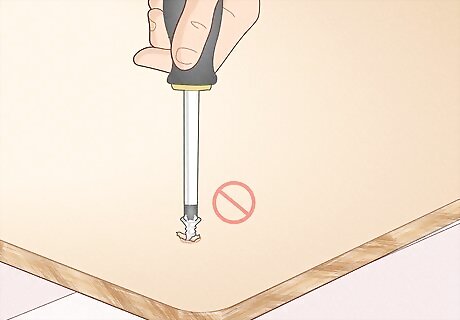
No, wood filler works best for cosmetic repairs. Wood filler doesn’t have the same structural integrity as your actual chipboard, so hardware may still come loose if you screw into it. If you need to reattach screws, opt for a more secure filling method instead, such as anchors or auto body filler.
How do I secure screws in chipboard?
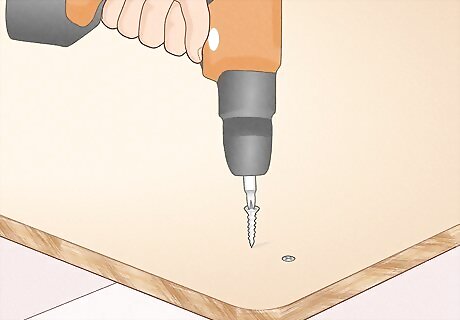
Switch to self-tapping screws that are less likely to come loose. Since chipboard is made from multiple pieces of compressed wood, it’s a lot easier for standard screws to come undone. Self-tapping screws cut through the wood rather than splitting it so you don’t have to pre-drill holes. Pick up a package of self-tapping screws whenever you need to attach something to your chipboard. Look for screws that are specifically labeled for chipboard or particle board since they’ll be more secure.
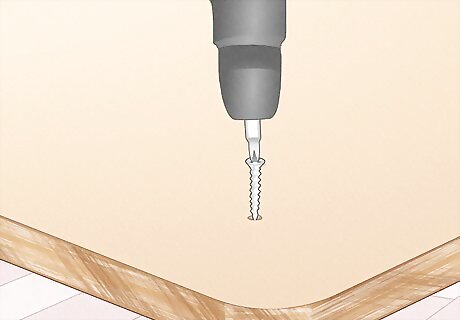
Try using longer screws for a tighter fit. Longer screws go deeper into the wood, so they get a little more grip than ones that are shorter. If you have a thick piece of chipboard, try to find a screw that’s about ⁄2 inch (1.3 cm) longer. Place the new screw in the hole and tighten it completely until it’s secure.



Comments
0 comment