
Using Heat and Cold
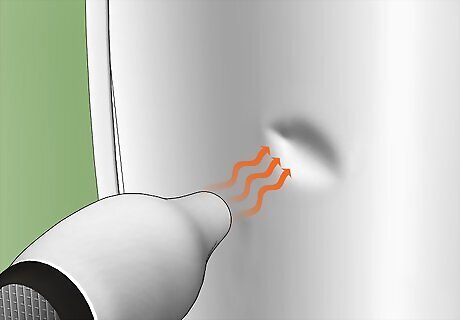
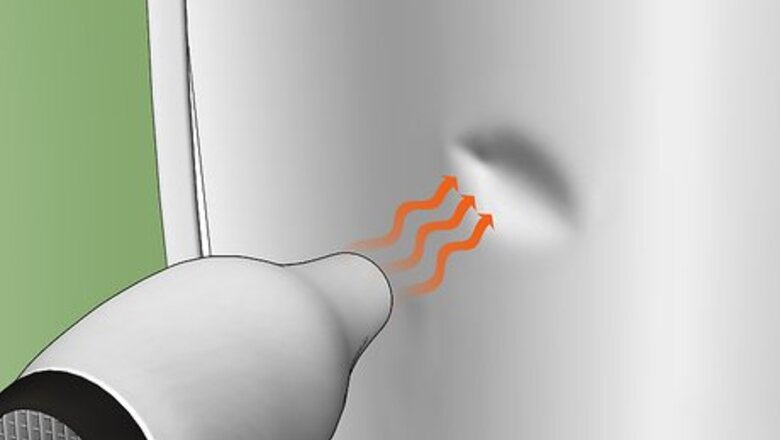
Blow hot air. Pick up your hair dryer, or if you have one, a heat gun. Blow hot air directly onto the dent. Give it a good minute or so under the heat. You need to really heat up the metal. This process will cause the metal to expand. Once you let it cool, the metal will contract, and it may pop back smooth.
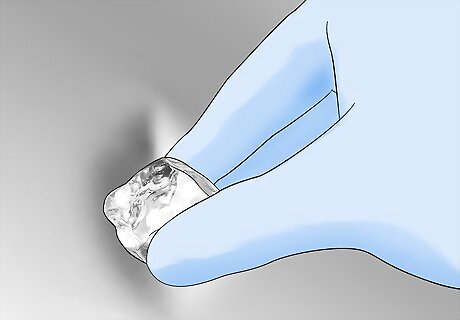
Use dry ice. As you probably know, dry ice is very, very cold. Because it's so cold, you may be able to get the metal to contract with it, fixing the dent. All you do is hold the ice to the dent, though you may want to wrap the ice in a soft cloth to protect your refrigerator from scratches. Keep it in place for a good minute or until you can see the metal is cold. Be sure to put on protective gloves. Dry ice will burn your fingers as surely as a hot stove.
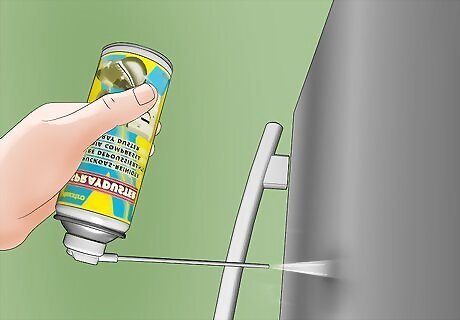
Blow cold condensed air on it. Pick up that can of air next to your computer, the one you use to blow off your keyboard. Now, the fun part. Ignore the directions that say don't turn it upside down. Blow the air at the dent with the can upside-down, which will cause a cold condensation to blow out. Give it a few good blasts. It's cold enough that it may cause the dent to contract, fixing itself. Keep your hands back. You don't want to get that condensation on your skin. It'll burn as quick as dry ice will.
Using Suctioning Tools
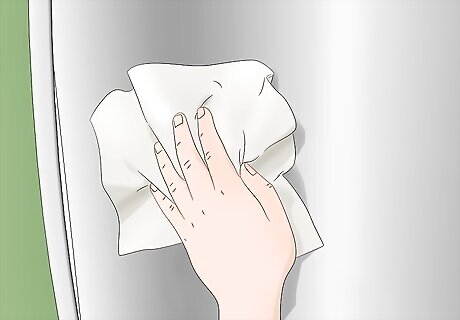
Clean the area. Some dent kits will come with a solution for cleaning. However, it's usually just isopropyl alcohol. Rub it in to the area to remove any grime. You're going to be using glue for this method, so the glue has to stick. Finishes and grime will let the glue peel right off. Cleaning it may remove the finish, so you may want to save this method for a last resort.
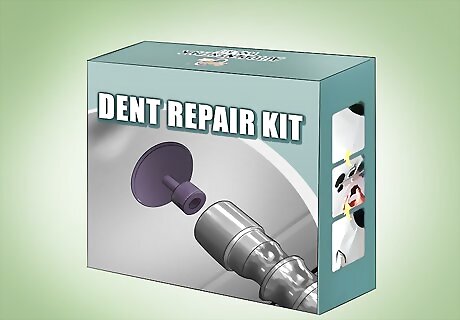
Buy an automotive dent remover. You can find these online, at big box stores, or auto parts stores. These tools have small suction cups that you glue on to the dent with a hot glue gun.
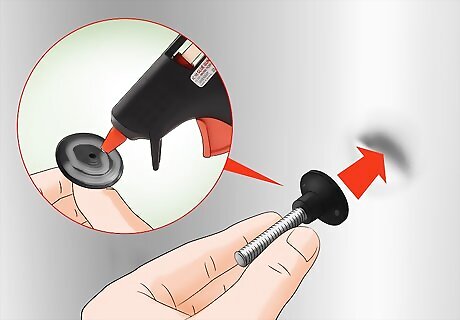
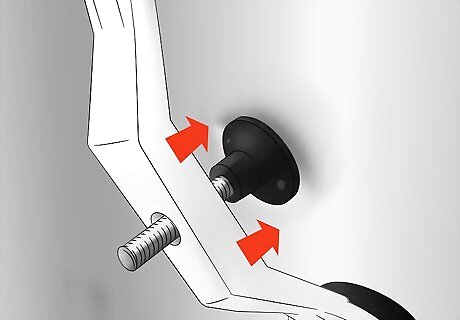
Glue on the suction cup from an automotive dent remover. Heat up your hot glue gun. Pick a suction cup that is a bit bigger than the dent. Add a dab of glue to the cup, and place it on the dent. You can use any hot glue gun for this step, though a high temp gun may work better.
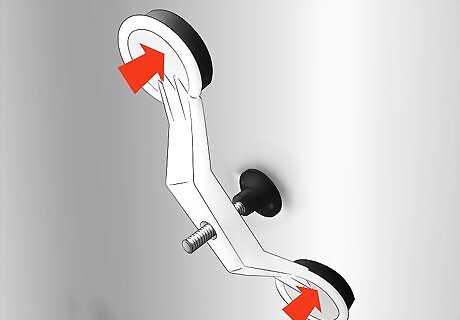
Put the bar on top. The suction cup will have a screw coming off the back of it. A bar goes over it, and it has two plates on each side. Once the bar is on, add the knob that screws into the back of the suction cup. Screw it lightly into place. Don't push down too hard right now. Everything's not quite in place.
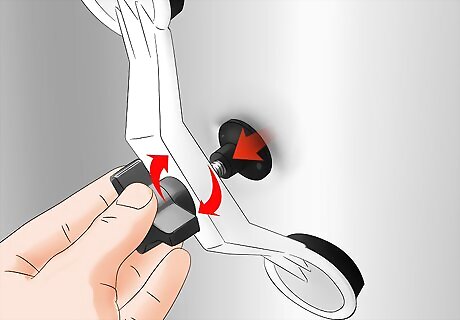
Place the plates close to the small cup. Most of these tools have a way to adjust the two plates that give you leverage for pulling. Put them as close to the middle suction cup as possible. That will keep it from pulling up the metal too much on the outer edges.
Screw the center piece. Now that everything's in place, all you have to do is keep screwing in the knob in the center. This process puts pressure on the suction cup, slowly pulling it out. Eventually, the whole piece will pop right off.
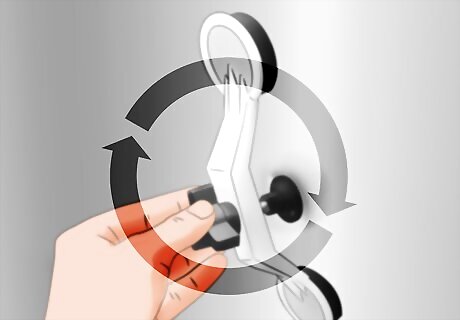
Repeat as needed. This method will eventually lessen the ding. Unfortunately, it's not a quick process. So pull up a chair, and get comfy. You may need to repeat the process as many as ten times to make that ding less noticeable.
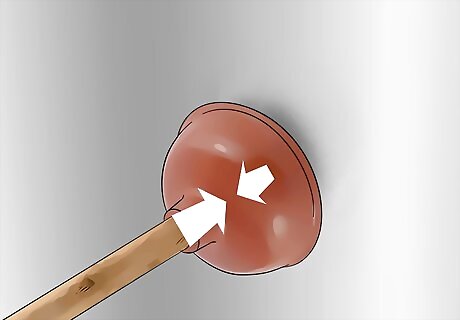
Try a toilet plunger. Plan suction without glue will sometimes pull the dent out of your refrigerator. A simple suction tool is a toilet plunger. Place a (clean!) toilet plunger over the dent, and plunge away. If you're lucky, it might pop out.


Comments
0 comment