
Cleaning Old Canisters
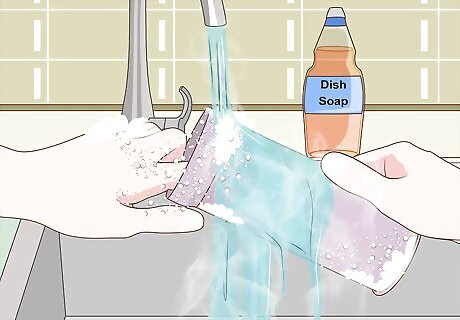
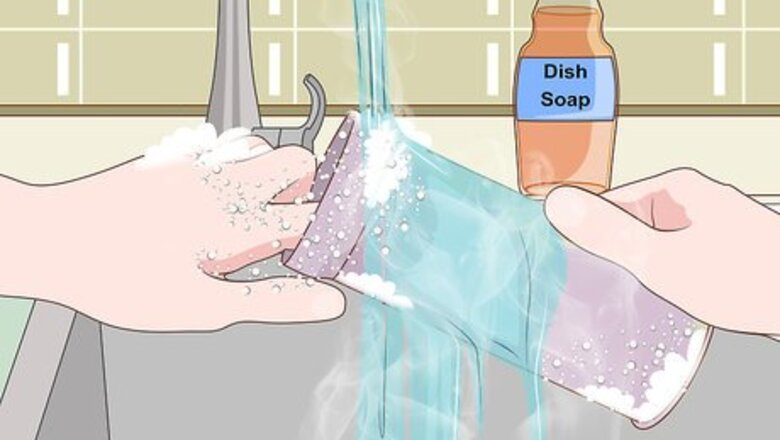
Wash the canister with warm water and soap. Place the canister in your sink and rinse it with slightly warm water and a mild dish soap. Rotate the canister several times so you clean the whole thing. If it will help, use a sprayer hose to dislodge dirt and grime. Be careful of sharp edges or too much rust while cleaning. If washing the canister doesn't work, consider getting rid of it

Soak the canister in warm water and soap for 30 minutes if needed. Fill your sink with warm water and add some light dish detergent. Then, submerge the canister in your sink. Remove it after 30 minutes. Soaking your canister will help remove any stains or grime. If you don't remove the canister after half an hour, you could worsen rust stains.

Wipe the canister with a sponge. After washing and/or soaking your canister, take a sponge and wipe it out. Pay attention to the sides and corners. Apply a little pressure if dirt or grime doesn't come out on your first wipe down. Be extra gentle on the outside part of your canister, especially if it has pictures, logos, or anything else you want to maintain. If you're using your kitchen sink, make sure to clean out your sink thoroughly so rust particles don't get on the same surfaces that come into contact with food.
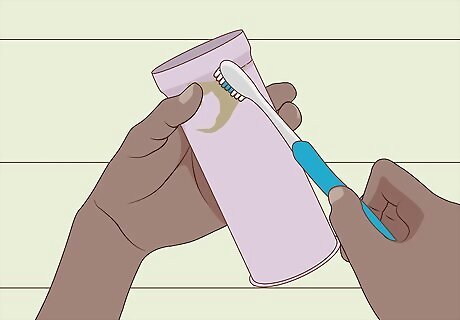
Scrub extra dirty areas with a toothbrush. If your canister still has some areas that look dirty or grimy, use a toothbrush to scrub them. Toothbrushes are especially good at cleaning corners, edges, and other hard-to-reach areas. Avoid scrubbing logos or pictures on the outside of the canister.
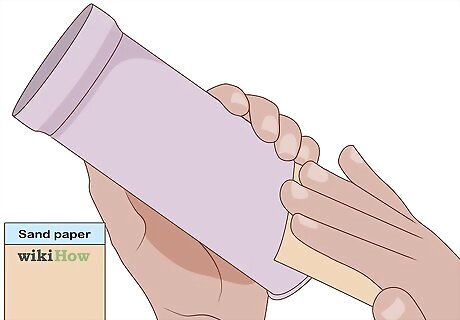
Remove rust from canisters you plan to paint by sanding them. Purchase 150 grit sandpaper. Take your sandpaper and lightly rub it on rusted parts of the canister. Repeat your sanding until most of the rust has been removed. Only sand canisters you're planning on painting or otherwise resurfacing. Don't sand canisters with cool graphics or logos on the outside (if you want to use them).
Painting and Accessorizing
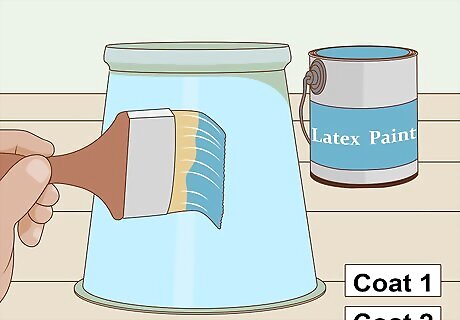
Paint your canisters with latex paint. Pick and purchase a paint color of your choice. You may want to pick a color that matches your kitchen or whatever room you're going to use the canister in. Then, use a regular paint brush and apply a coat to the canister. Afterward, add another coat of paint. By adding another coat of paint, you'll better seal the canister and make the paint job look seamless. If you want to save yourself some time, consider spray painting your canisters for more of an industrial look. Consider metallic or even chalk paint. Consider picking a color that matches or blends with the color theme of whatever room you'll put the canister. Paint the inside and bottom of the canister if they are visible.
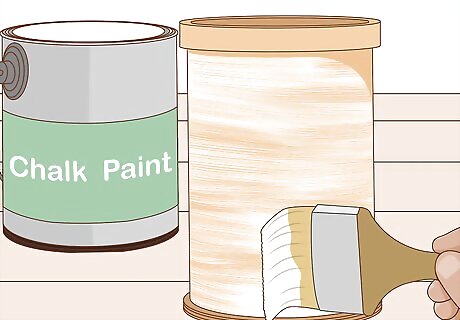
Use chalk paint to add a distressed look. A distressed look will complement a shabby chic look you might be trying to create in a given room. To do this, use a regular paint brush to add a light coat of chalk paint. Then, take a damp paper towel and wipe the canister down. When doing this, some of the chalk will come off, allowing the bottom color to bleed through. Some colors that are popular include white, light green, or pastel colors. Feel free to experiment with different chalk paints. There's no reason why this shouldn't be fun!
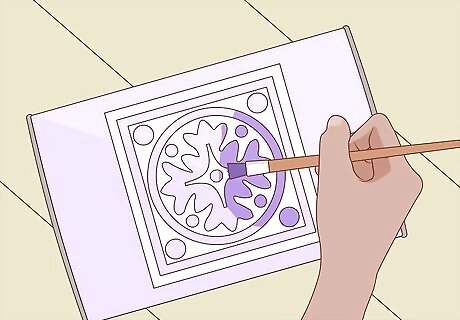
Stencil your canisters. Purchase or make your own stencils. Then, affix the stencil to the canister with tape so the paint doesn't bleed. Use chalk or paint to fill in the stencil. If you want, let the stenciled area dry, and paint or chalk paint it again. Ultimately, using stencils is one of the best ways to personalize your canister. If you're spelling out words, consider using different colors for different letters. You can make your own stencil by taking thick paper or cardboard and cutting out whatever shape, letter, or design you want.
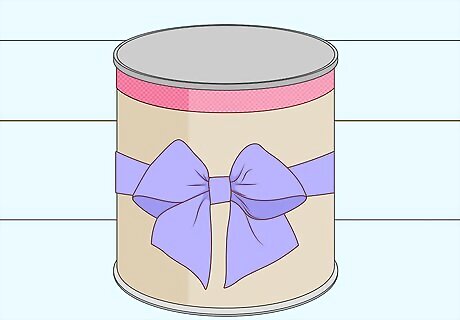
Attach fabric or paper to your canisters. Depending on your taste, you can personalize your canisters with fabric or paper. To do this, either cover the entire canister in fabric or paper, or just cover specific parts of it. Feel free to experiment with and use any type of fabric or paper you want. Consider wrapping a fabric ribbon or bow around the middle part of the canister. Cut and attach paper borders to the top edge of the canister.
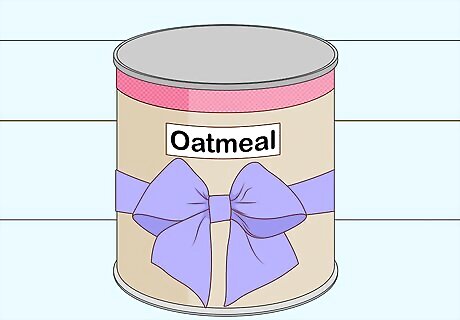
Place labels on the canister. In addition to decorating your canister, you can put labels on them. Do this by either stenciling words onto the canisters or by attaching fabric or paper tags. Your labels can be purely decorative or they can reflect the new lives your refurbished canisters will have. For example, you can label the cans “sugar,” “oatmeal” or whatever you'll store in them.
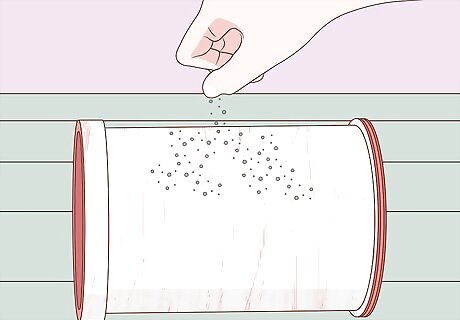
Put glitter on your canisters before your paint completely dries. Sprinkle or spray glitter about an hour after you've painted. By applying glitter to your paint before it dries, your glitter will stick to the canister. This will add a very personal touch and may complement other work you've done on the canister.
Creating Accessories
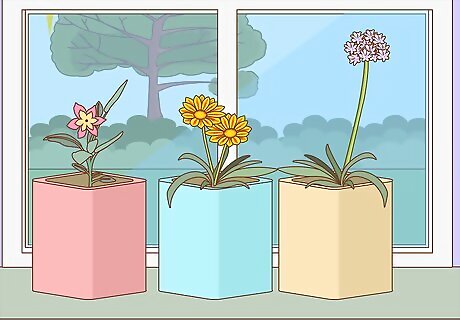
Turn glass or plastic canisters into vases. Clean up and decorate your canister. Then, add water and place flowers in it. Put your canister in your kitchen, living room, or even your foyer. Consider grouping two or three canister vases together. Consider putting beads or stones on top of the vase for added decoration.
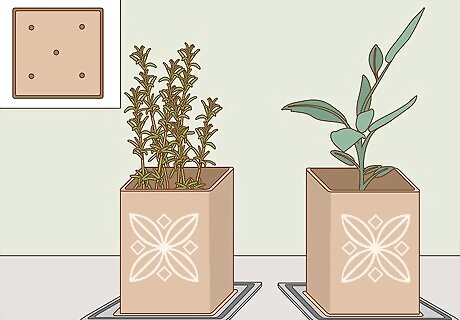
Create pots for herbs. Drill three to five small drainage holes in the bottom of the canister. Then, place a small plastic drain dish (purchased from a home improvement store) underneath it. Fill the canister with dirt and then plant the herbs of your choice. Depending on the size of the canisters, you may be able to create a small herb garden in your kitchen. Consider herbs like oregano, basil, and rosemary. Use chalkboard paint on the outside of the canister so you can easily label your herbs
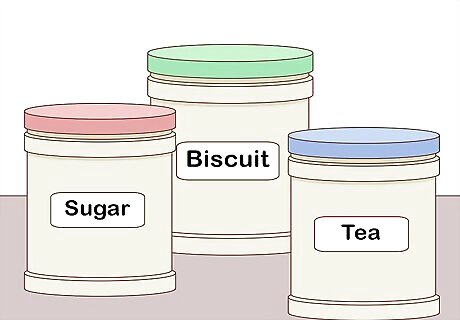
Store food in your canisters. If your canisters come with tops, you may be able to store food in them. To do this, make sure you've cleaned the canister. In addition, verify that it's not rusting or has paint flakes. Afterwards, fill your canister with the food of your choice. Some foods that are suited for canisters include baking supplies (flour, sugar, or salt) or snacks (cookies, crackers, and chips). Consider placing labels on the canisters to mark what they contain. You can do this by stenciling chalk or by creating fabric or paper labels.

Use your refurbished canisters to store craft supplies. Depending on the size of your old canisters, they may be perfect to store craft supplies like paint brushes, markers, and more. To do this, paint and personalize the canister any way you want. Then, stencil a label on the canister. For instance, stencil "paint brushes" or "colored pencils."


Comments
0 comment