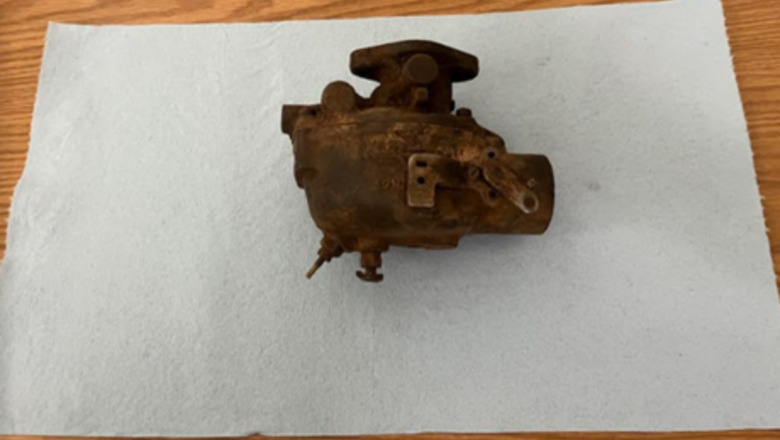
views
Disassembly
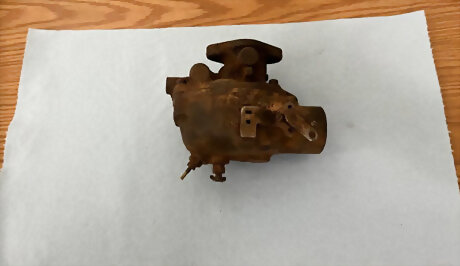
Create a clean workspace. It is very important to keep a clean workspace as you are working on the carburetor because even a tiny amount of dirt can gum up the system and cause problems. Be sure to lay out paper towels or newspaper before getting to work.
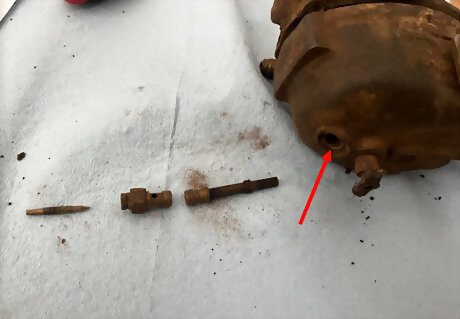
Remove the bottom needle assembly. On type C carburetors, this is located at the bottom. This is a three-piece assembly. Twist the needle out by hand, then use an adjustable wrench to remove the needle seat. Then use a big flat screwdriver to remove the internal tube.
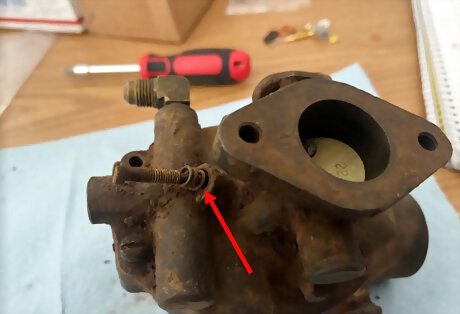
Remove the idle adjusting needle and spring. This is located on top. Use a flat screwdriver to remove it.
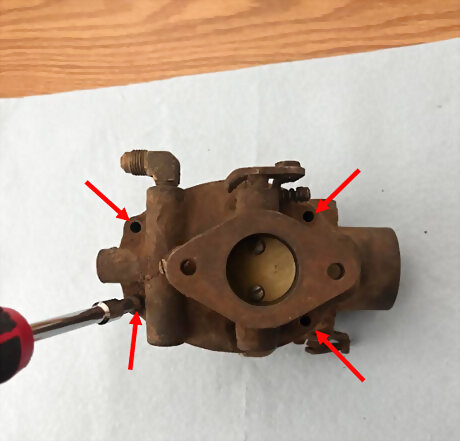
Remove the top piece. The top piece is held on by four screws located in the corners of the carburetor. Remove these and take the top off. Be cautious not to damage the float or lose any of the internal pieces.
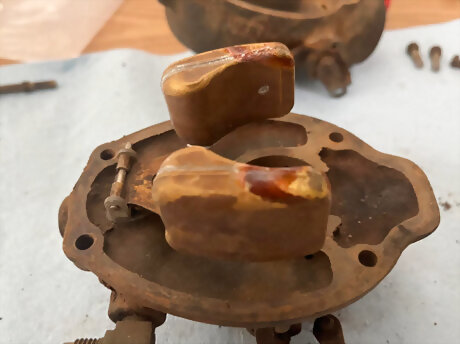
Remove the float. The float is held in place by a sliding pin. This can be removed by hand.
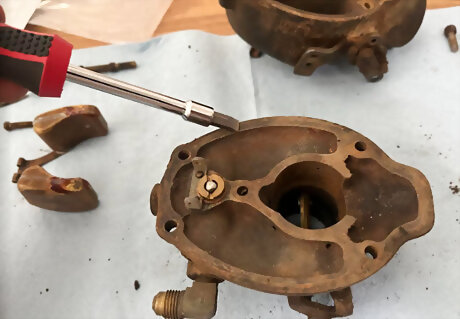
Scrape off the old gasket. Often, the old gasket can become adhered to the carb. It must be removed to ensure a clean fit when the new gasket is placed. Use a screwdriver to scrape any leftover gasket and residue from the edges of the two pieces.
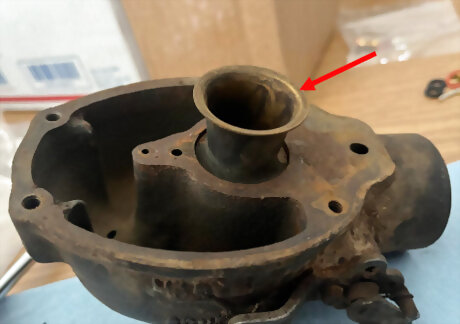
Remove the venturi. The venturi is located in the middle of the bottom piece. This is essential to ensure the correct flow of fuel so make sure not to lose or damage it.
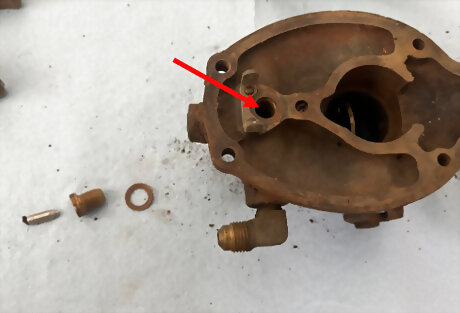
Remove the needle, seat, and gasket assembly. This is a very important assembly, and a new one is usually included in a rebuild kit. Remove the small spring by hand and then turn the top upside down to get the needle out. Then use a large flat screwdriver to twist out the needle seat. Underneath that should be a rubber or felt gasket washer that also needs to be removed.
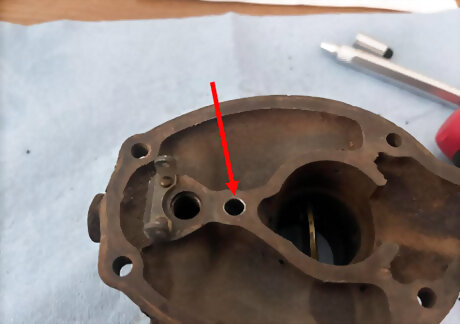
Remove the jet idle. The jet idol is located just behind the needle, seat, and gasket assembly. Use a very small screwdriver to remove this. Be careful as these are very delicate and break easily.
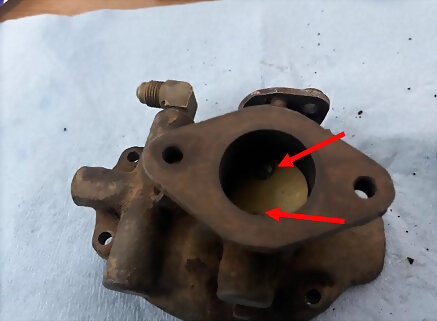
Remove the throttle valve. The throttle valve is the plate located in the hole through the top piece. Use a small flat screwdriver to remove the two screws holding it in place.
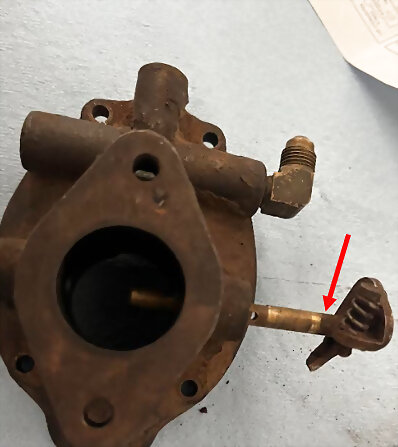
Remove the shaft and lever assembly. Once the throttle valve is removed, slide the throttle shaft out and remove any gaskets left in the holes.
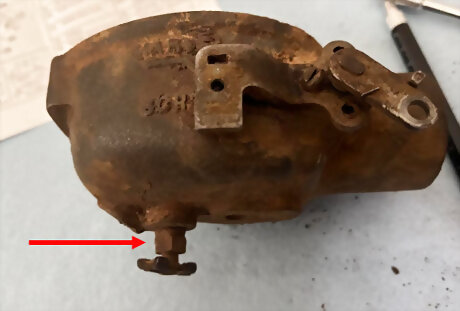
Open the drain plug. Move the drain plug at the bottom of the bowl to the open position to let any fluids drain out throughout the cleaning process.
Cleaning
Scrub down everything. Use carb cleaner and paper towel to scrub down both pieces of the carburetor and all of the internal parts. Spray carb cleaner in every hole to be sure that there are no plugs. Make sure all rust and carbon build-up are removed.
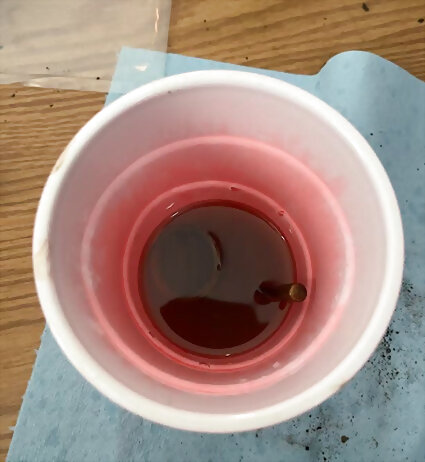
(Optional) Soak all internal pieces overnight (optional). If the internal parts are extremely dirty, soak all metal pieces in some kind of cleaning solution such as bleach, toilet bowl cleaner, carb cleaner, etc.
Reassembly
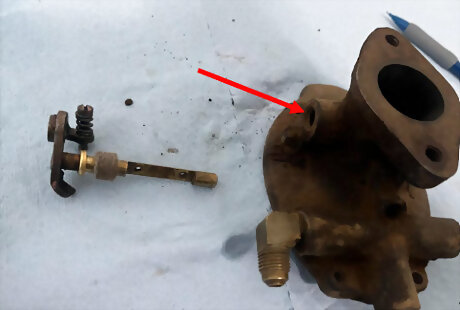
Reassemble the throttle shaft assembly. Place a new felt gasket and brass retainer on the shaft and insert back into the hole.
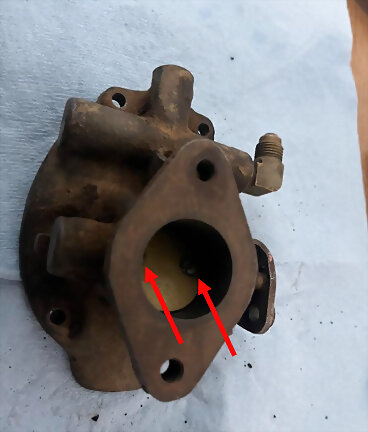
Attach the throttle valve. Replace the throttle valve back into the hole. The valve must be on an angle in order to fit. Insert the two screws into the appropriate holes. This can be difficult as they are small and at an angle. It is recommended to use a small flat screwdriver that is magnetic.
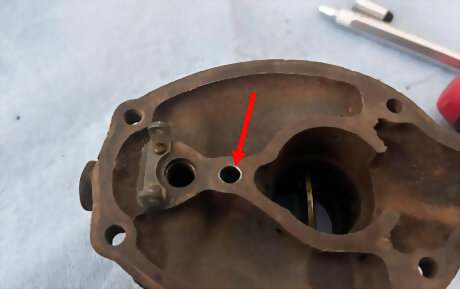
Replace the jet idle. After ensuring that all of the threads are clean, screw the jet idle back into place. Twist until it is snug but don’t over tighten as it will break.
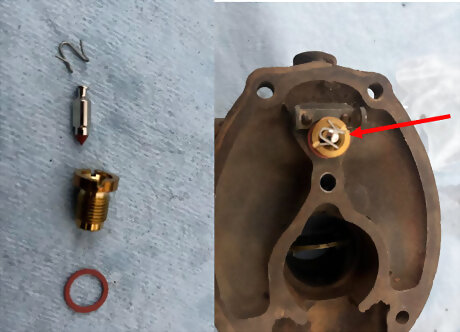
Insert the new needle, seat, and gasket assembly. All of these parts will be provided in the rebuild kit. Place the new gasket washer over the needle seat and screw them into place. Drop the needle into the seat, being careful not to damage the tip. Slide the spring over the top of the needle to hold it in place.
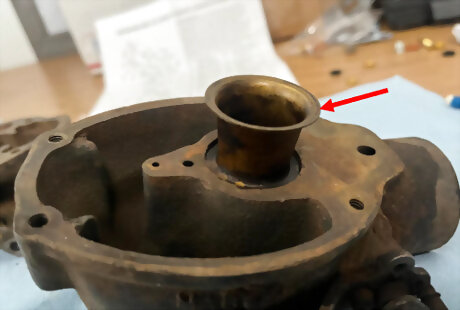
Place the venturi in the bowl. Place the venturi back into its spot. It will only fit one way so don’t force it in.
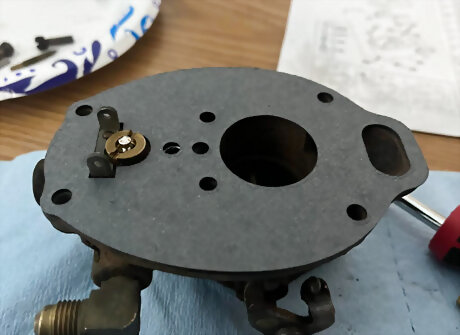
Align the new gasket on top piece. Place the new gasket on the top piece. Make sure it is aligned in the right direction and nothing is sticking out because it can be easily damaged. A bad gasket could cause leaks and allow dirt and grime to get inside the carburetor.
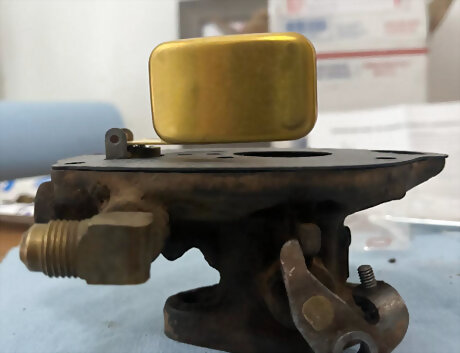
Attach the new float. Attach the new float by placing the pin through the holes. Bend the float until it lays parallel with everything else. Too much of an angle and it will not allow fuel to flow properly.
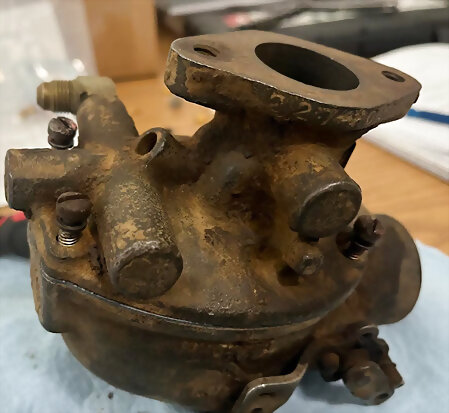
Screw down the top piece. Replace the four screws and screw the top piece down tightly. Be gentle as you place the pieces together, ensuring you do not damage the float or gasket.
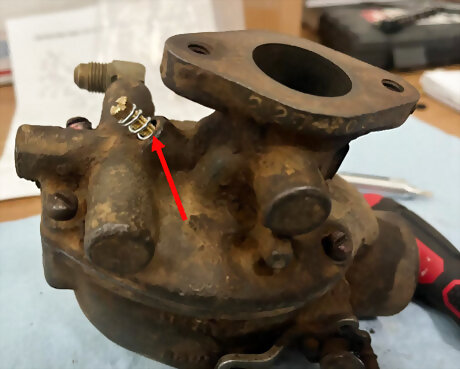
Insert the new top needle and spring. A new needle and spring will be provided in the rebuild kit. Screw it all the way in then one and a half turns back out.
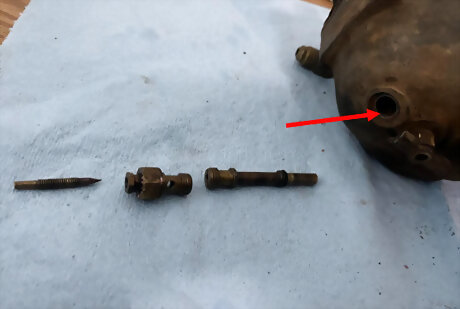
Insert the bottom needle assembly. Replace the bottom assembly starting with the tube, then the needle seat, and finally the needle. Twist the needle all the way in and then one and a half turns back out.


Comments
0 comment