views
- For both Windows and macOS, select the photos you want to print, navigate to the Print menu, and choose the Contact Sheet option to put multiple images on one page.
- For Windows users, use the Wallet option or change the paper size to adjust the number of photos on one page.
- Make sure your printer is loaded with the right sized paper and connected to your computer before starting.
Windows
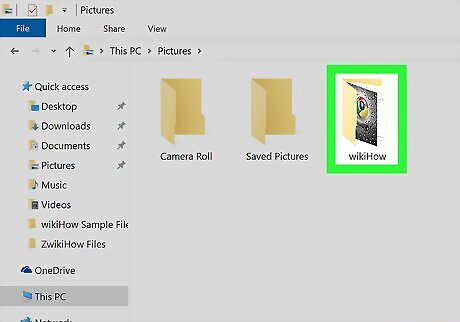
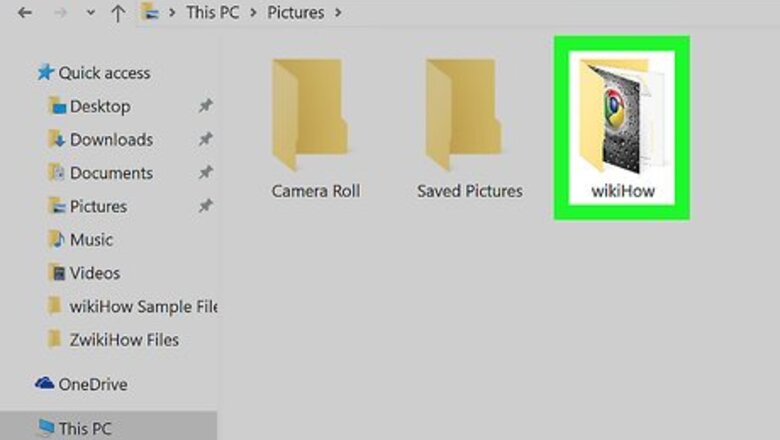
Open the folder that contains the photos you wish to print. It’s best to keep all of the photos you want to print together in a separate folder to make selecting them easier.
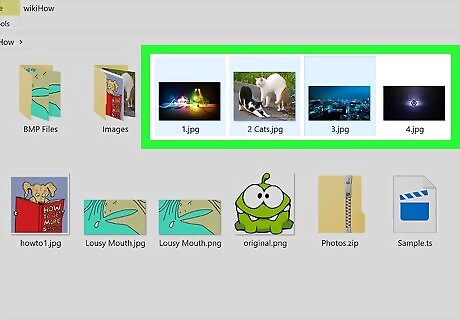
Select the photos you want to print. To select multiple photos, hold the Ctrl key as you click each file. You can also hold down the left button on the mouse and drag your mouse over the photos.
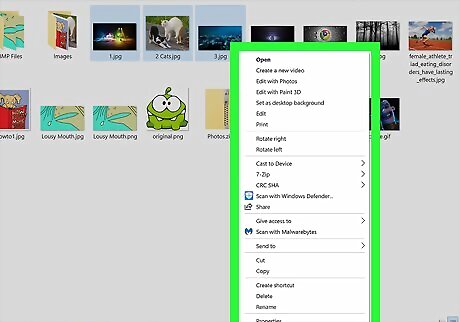
Right-click on the selected photos. This opens up a contextual menu.
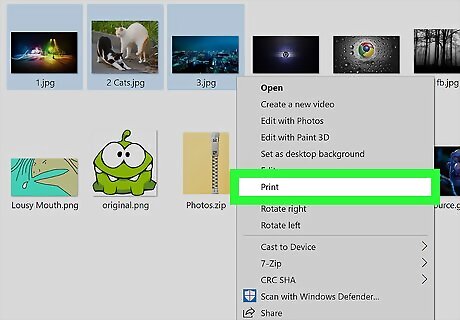
Click Print on the menu. This opens up a print preview screen that shows you the images you chose to print. If you are using Windows 11, and no “Print” option appears, select “Show more options” first, then look for the “Print” option.
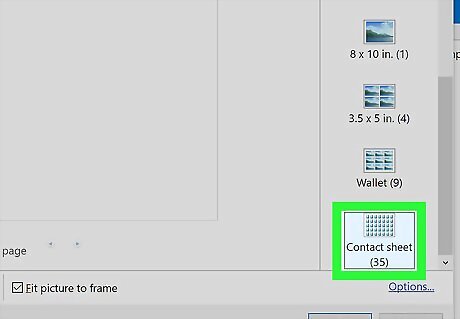
Click the Contact Sheet option. This button is on the right side of the window, and you may have to scroll down to find it. Using this option, you can print up to 35 photos on a single page. If you don't like how it looks in the preview, try one of these other options: Wallet allows you to fit up to nine images on a single piece of paper. If you're just printing two images, you can choose to print them to a single page at 4 x 6 inches or 5 x 7 inches. If you're printing four images, you can choose the 3.5 x 5 inch option.
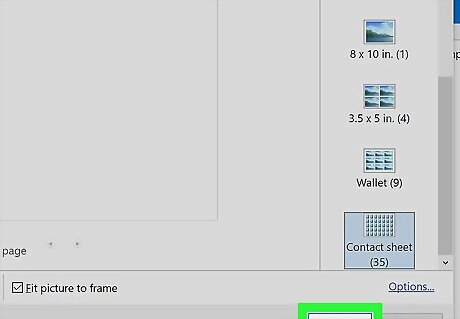
Click Print. After checking to make sure all of your images are there, click the Print button to print them out on a single sheet. Make sure your printer is turned on, filled with the correct paper size, and properly connected to your computer before printing. If your printer isn’t already selected, choose your printer’s name in the "Printer" drop-down menu first.
macOS
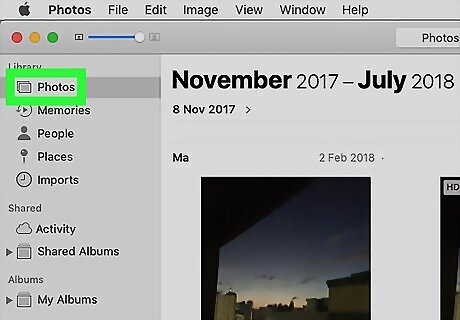
Open the folder containing the photos you wish to print. To make finding and selecting your photos easier, save all of the photos you want to print together in one folder.
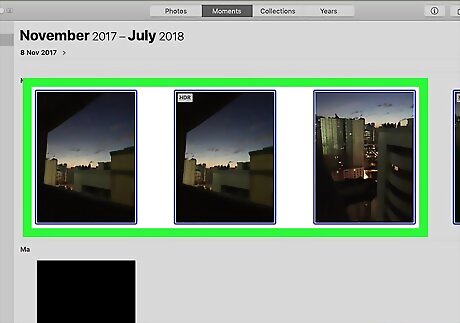
Select the photos you want to print. To select multiple photos, hold the ⌘ Command key while clicking each photo. You can also hold down the left button on the mouse and drag your mouse over the photos.
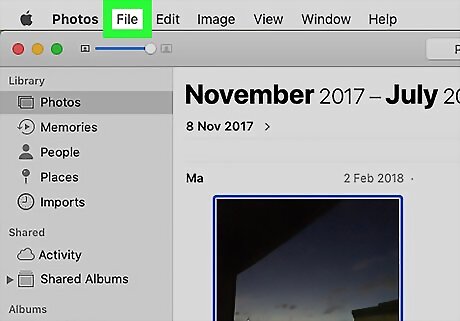
Click the File menu. This option is in the upper left corner of the window.
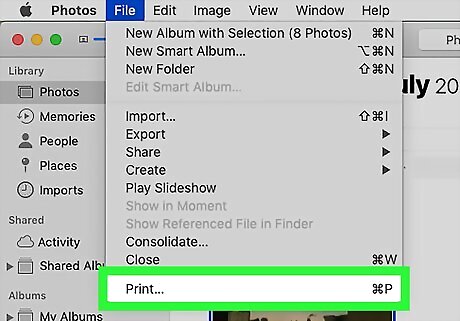
Click Print. This option appears in the drop-down menu after you click File. This opens up a print preview screen that shows you the images you selected.
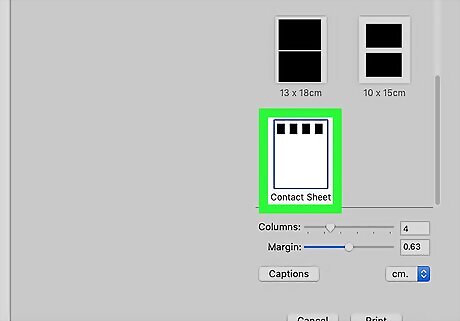
Click the Contact Sheet option. This is on the right side of the print menu at the bottom of the available options.
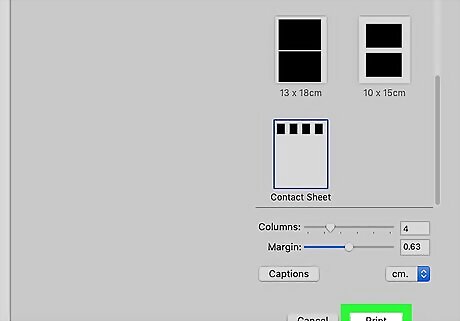
Click Print to print your images out. Make sure all of the images you want printed are in the preview, then hit Print when you’re ready. Make sure your printer is turned on, filled with the appropriate paper size, and properly connected to your computer before you start printing. You may have to select your printer's name from the "Printer" drop-down menu first.





Comments
0 comment