
Constructing a Basic Pinwheel
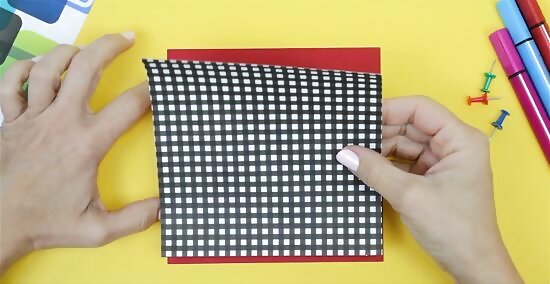
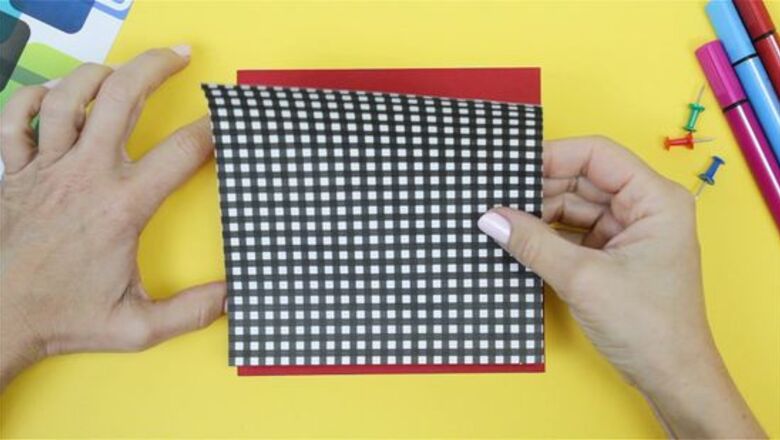
Glue 2 squares of paper together. Cut each sheet of paper into a 14 cm square. Glue the 2 squares of paper together—make sure the patterned or colored side of the paper is facing out. Allow the glue to completely dry.

Measure and cut the blades. Retrieve your ruler and pencil. Place the ruler on a diagonal between 2 corners. Lightly draw a diagonal line from 1 corner to the other. Lightly draw a diagonal line between the remaining 2 corners to create a “X.” Make a 5 cm cut along each line—from the corner towards the center.
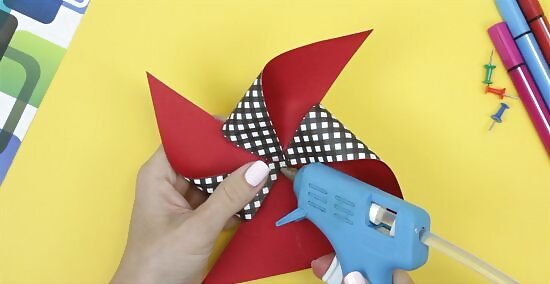
Fold and glue the corners in the center of the pinwheel. Carefully fold 1 corner at a time towards the center. Dab a dot of glue on the center of the pinwheel and adhere the corner. Hold the corner between your thumb and forefinger until it dries. Fold and glue the remaining 3 corners.
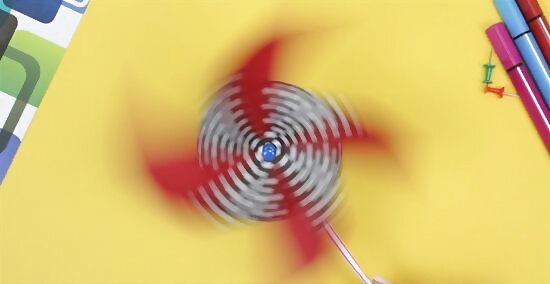
Attach a straw to the pinwheel with a thumb tack. Once the glue has dried, position the plastic straw along the center of the backside of the pinwheel—the top of the straw should not poke out above the top of the pinwheel. Secure the straw to the pinwheel by inserting the thumbtack through the center of the pinwheel and the plastic straw.
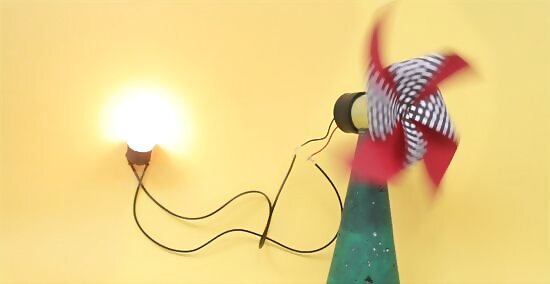
Attach a motor to the pinwheel to create a power-generating windmill. Remove the pinwheel from the straw. Place 3 to 4 strips of masking tape over the center of the pinwheel. Insert the shaft of a small motor and cover the end of the shaft with a cap, piece of cork, or a small blob of clay. Connect the motor wires to the light bulb with alligator clip leads. Hold the pinwheel in front of a fan and witness the lighting of the bulb!
Constructing a Tin Can model Windmill

Determine the width of your blades. Before starting the project, wash and dry your tin can thoroughly. Measure the can’s circumference and evenly divide the can into 6 or 8 lengthwise parts—these will become the blades of your windmill. Use a permanent marker to mark these segments on the can.
Cut the blades. Put on your safety goggles and gloves. Use your scissors to carefully cut along the outline of each blade. Stop cutting ½ in from the bottom of the can.
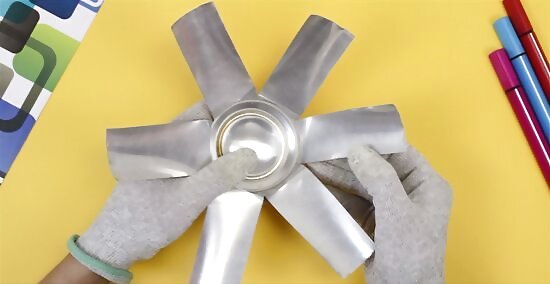
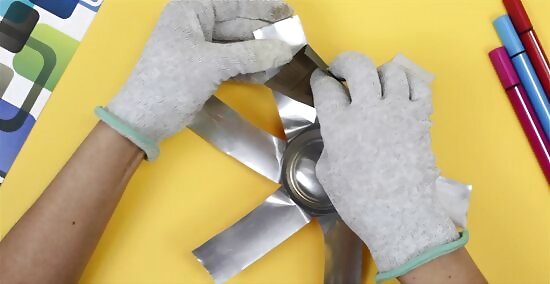
Straighten and flatten the blades with a hammer. With your gloved hands, carefully bend each blade down towards the surface you are working on. Retrieve your hammer. Place the tin can on the ground and gently tap each blade until it is flat.
Sand the tin can. Keep your gloves on and grab the sandpaper. Slowly run the paper over the front and back surface of the can. Pay particular attention to sanding the edges. Sanding the can will allow the paint to adhere to the surface.

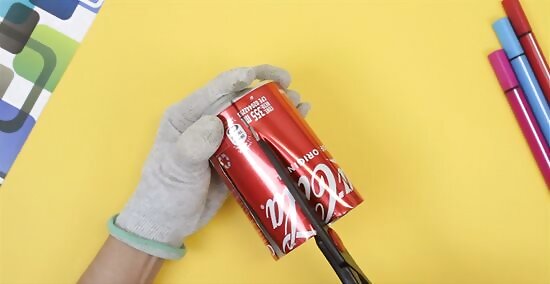
Spray paint the tin can. Spread newspaper or cardboard on the ground. Place the tin can on the covered surface. Put on your protective mask. Spray a thin layer of paint over the blades and center of the tin can. Allow the paint to dry before applying 2 coats of polyurethane spray.

Position the wooden dowel underneath the tin can. Retrieve the dowel. Lay the tin can windmill on top of the wooden dowel. The dowel should intersect the tin can blade’s center.

Nail the center of the blades to the dowel. Hold the wooden dowel in place—ask a friend or an adult to help. Tap a nail through the center of the tin can and into the wooden dowel. Wiggle the nail around to create a larger hole. This will allow the blades to turn.
Constructing a Milk Jug Windmill
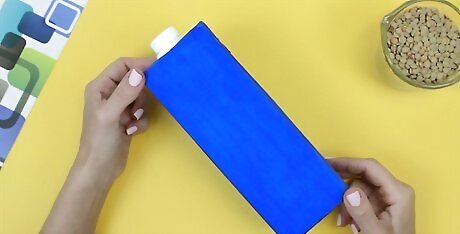
Wash and dry the milk jug. Wash the milk jug with soapy water. Rinse it out with clean water several times. Leave it to dry upside down over a towel.
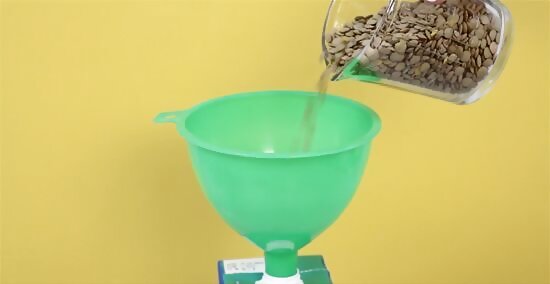
Fill the milk jug with gravel. Once dry, flip the jug over. Measure out 2 cups of gravel—dried beans would work too. Carefully pour the gravel into the milk jug.
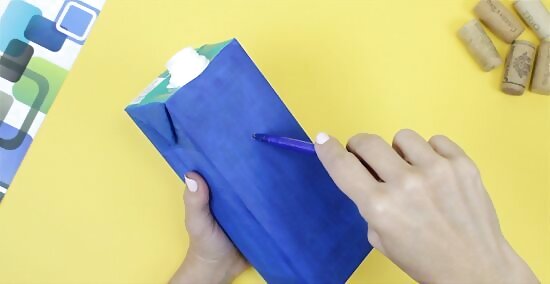
Poke 2 holes through the milk jug. Retrieve your sharp pen or pencil. Place the sharp end of the writing instrument halfway up the side and in the center of the jug. Poke it through 1 side and out the other to create 2 parallel holes.
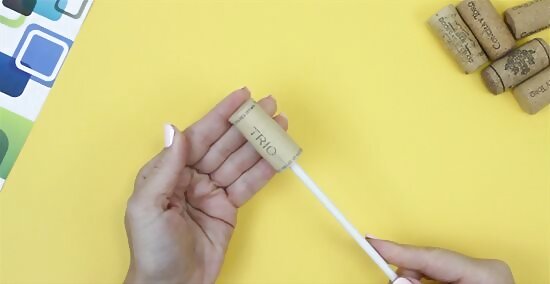
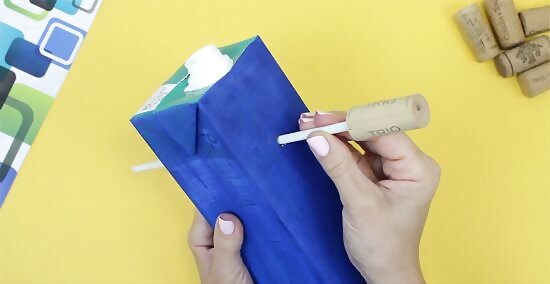
Attach the straw to the cork. Push 1 end of the straw through the middle of the wine cork. Make sure it is a tight fit! If you straw is made of soft plastic, you may need to carve out a bit of the cork in order to insert the straw.
Insert the straw and attach the pinwheel. Push the end of the straw without the cork through holes in the base. Use a paperclip, or glue, to attach the pinwheel to the end of the straw without the wine cork. Make sure the pinwheel can spin freely without falling off.
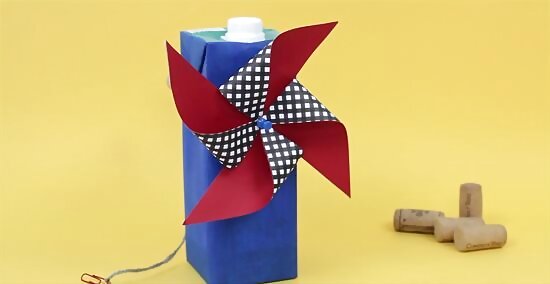
Attach a paperclip to a string and tie the string to the wine cork. Cut a length of thread between 24 and 32 inches long. Tie one end around the wine cork. Attach the other end to the second paper clip. Blow on the pinwheel, set it outside, or place it in front of a fan and observe what happens to the paperclip!


Comments
0 comment