views
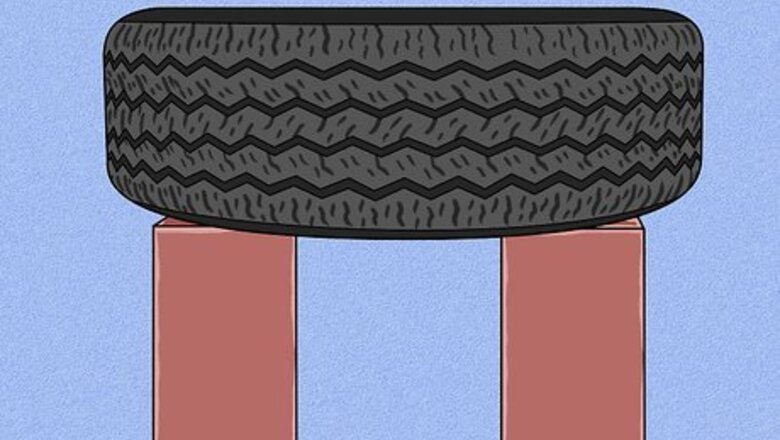
Elevate the tire for convenience.
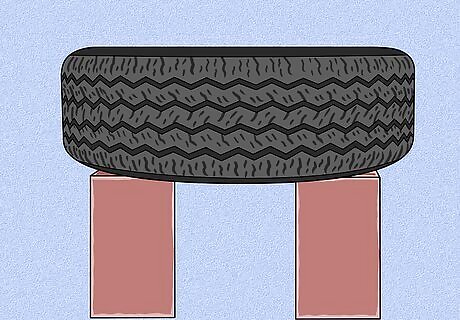
Putting the tire on bricks or blocks makes working on it easier. It’s more work to decorate a tire if it’s lying on the ground! Elevating it just 1 ft (30 cm) or a bit less makes it easier to clean, prime, and paint. You may even want to prop the tire up on sawhorses to make the job that much easier. Even with the tire elevated off the ground, you’ll likely have to prime and paint it in stages—that is, paint most of it, let it dry, flip it over, and paint the rest.
Wash the tire to prep it.
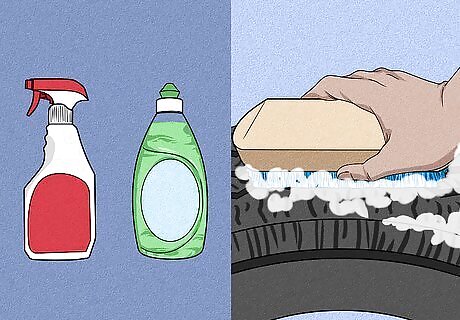
Use dish soap and degreaser and let the tire dry out fully. Mix a few squirts of dish soap into warm water and use rags to wipe down the tire. Use a scrub brush to get any gunk caught in the tire treads. While you can stop cleaning at this point, spraying on and wiping off a commercial degreaser will help the paint to stick even better. In any case, make sure the tire is completely dry before you start painting it. Use a non-toxic degreaser if you plan to use the tire as a planting bed or in a play area for kids.
Spray on primer before painting.
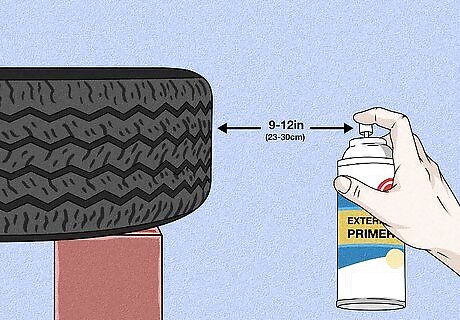
Apply 1-2 even coats of a durable, exterior-grade primer. Shake the spray can for at least one minute, hold it about 9–12 in (23–30 cm) from the tire, and use a steady back-and-forth motion to apply an even coat over the entire surface of the tire. If the coverage is spotty after the first coat, or you just want an extra-durable primer base, apply a second coat once the first has dried to the touch. Even if you’ll be using the tire as an indoor decoration, use an exterior-grade primer since they’re more durable. Spray outdoors in a shaded area or in a well-ventilated indoor area like a garage.
Choose a light color to reduce solar heating.
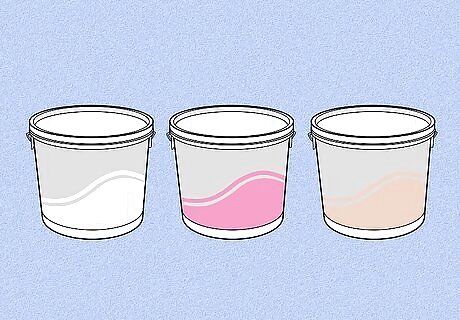
Light paint colors are best for tire planters and outdoor play equipment. Tires that are painted dark colors like deep red or blue—or that aren’t painted at all—can get hot enough in the sun to burn a child’s hand or scorch your plants. While a lighter color like white, pink, or tan is best for temperature control, keep in mind that you may also have to apply more coats of paint to mask the darker color of the rubber tire.
Brush or spray on durable exterior paint.
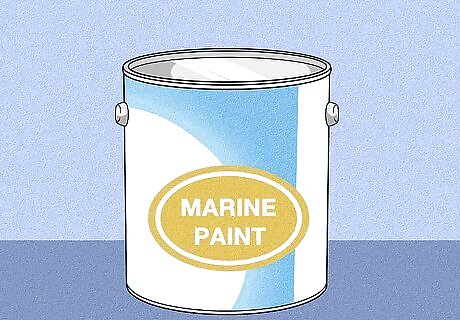
Consider using an industrial or marine paint for maximum durability. When it comes to painting rubber tires, the more durable the paint, the better! If you’re using spray paint, apply it with a steady, even spraying motion, just like with the primer. If you’re brushing on the paint, use the tips of the paintbrush bristles to push paint in between the tire treads. Paint the rest of the tire with long back-and-forth brush strokes. Heavy-duty paints adhere better and are more flexible, which result in less cracking and flaking. Follow the specific application instructions for the paint you choose.
Apply at least 2 coats of paint.
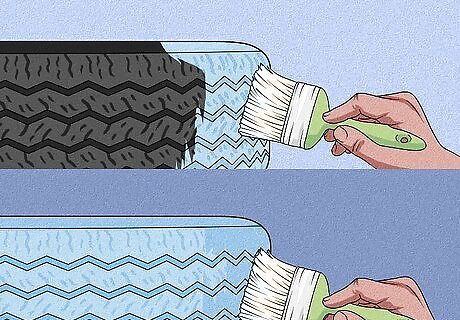
While 2 coats gives a durable finish, 3 or 4 may be even better! You’ll get diminishing returns once you get beyond 3-4 coats of paint, but definitely apply at least 2 coats of either spray paint or brushed-on paint. In any case, always allow the paint to dry to the touch between coats—depending on factors like the humidity level, this may take around 15-30 minutes.
Add details with acrylic paint.
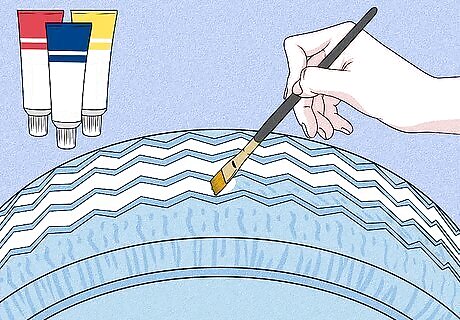
Brush on artistic touches that complement the tire’s new color(s). Make sure the paint on the tire is dry, then use art brushes to add hearts, polka dots, geometric shapes, or whatever else you choose. Acrylic art paints work well here, especially if the tire will be displayed indoors. If you want a more durable finish for outdoors, opt for different colors of the same type of exterior-grade paint you used for the base color. Adding the finishing touches to a painted tire is a great project for kids. Once the base coats of paint dry, hand over some brushes and acrylic paints and let the kids get creative on this unique kind of blank canvas!
Make stencils with contact paper.

Opt for stick-on, peel-off stencils if you want more precise tire decorations. Draw the shape (like a diamond, circle, or star) onto the contact paper, then cut it out with a crafting knife and/or scissors. Stick the contact paper to the tire and smooth out any wrinkles. Fill in the cutout by brushing on acrylic paint, working from the outer edge of the cutout inward to limit paint bleeding underneath the edge of the contact paper. Peel the contact paper away and use it again as desired. The contact paper may only stay sticky for 2 or 3 uses, so consider cutting out multiple stencils. It’s also a good idea to cut out separate stencils for each different paint color you intend to use.
Add a contrasting stripe to tire walls.
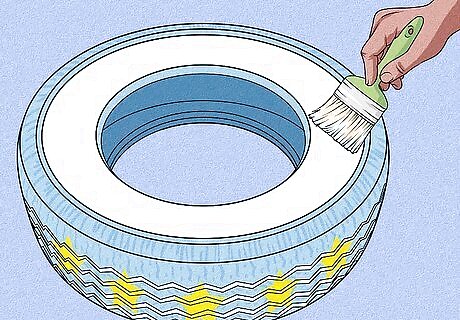
This is a play on classic whitewall tires—in any color you like! While the tire treads add an interesting texture to any decorations you paint on, the walls on either side of the treads are smoother and ideal for a colorful circular stripe. Choose a paint color that plays nicely off the base color you painted the tire, use strips of painter’s tape to mark off the edges of the strip (if you want it to look more precise), then brush on the stripe. For example, if you’re painting a tire to use as a flower planting bed, you might paint the body of the tire light pink, paint light blue and green diamonds onto the treads, and add a light purple stripe on the tire wall.
Highlight the brand with a paint pen.

Customize your vehicle’s tires and show off your brand loyalty. Most tires have the brand name etched onto their outward-facing walls, but without any color to make them stand out. But you can easily fix this! Shop online or at an auto paint store for paint pens designed precisely for rubber tires. Thoroughly clean and dry the tires as you would before any paint job, press the nib of the pen down on a scrap surface to get the paint flowing, then simply color in the lettering. Let the paint dry and apply additional coats as needed. This kind of paint is very durable, but obviously won’t last forever on functional vehicle tires. Expect to do some touch-up work at least once or twice per year. White is the most popular color, but you can actually find several other options.




Comments
0 comment