
Prepping the Cupboards
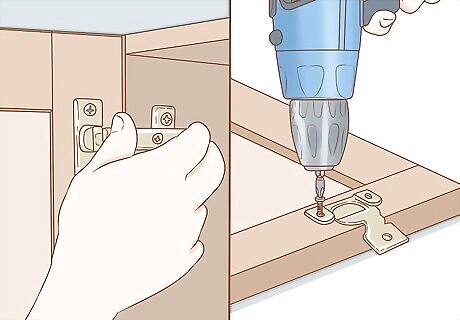
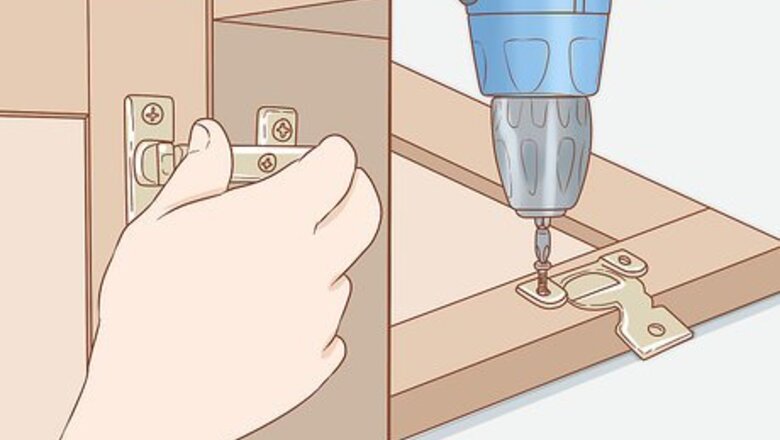
Take the doors off the cupboards and remove any hardware. This makes it much easier for you to paint without having to edge around knobs or handles. Use a screwdriver on the hinges to release the cupboard doors. Take out any drawers, too. If you notice that the hardware is scuffed or damaged, now is the perfect time to replace it. You can also spray paint the hardware to give it a fresh look. Labeling the cupboard doors before you remove them will help you put them back in the right place later on. Use a piece of tape or a pencil to write the cupboard's location, like “upper right,” on the back. Empty all of the contents of the cupboards, including food or dishes, before you begin cleaning or sanding.
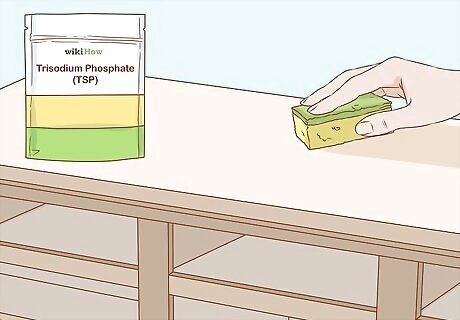
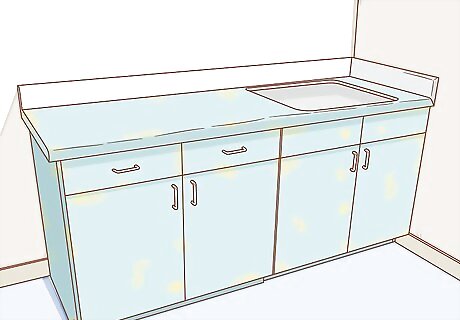
Clean all of the cupboards with a solvent like trisodium phosphate (TSP). TSP removes grease and grime to help the primer adhere to the cabinets. Use a cloth to apply the TSP to the cupboards, then wipe them down with water and let them dry. The cupboards near the stove or hood will be the greasiest. If you want a more natural cleaning solution, try a TSP substitute, which you can find at any hardware store. Wear rubber gloves when handling harsh chemical cleaners to protect your skin. Lay a drop cloth on the floor or over the counters to protect them during the whole cleaning and painting process.
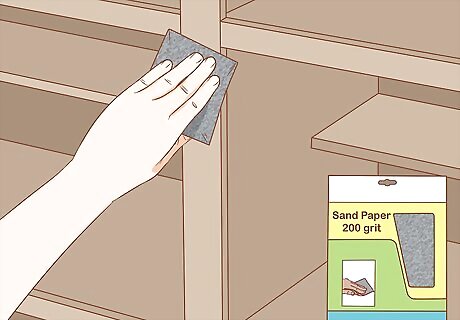
Sand the cupboards with medium-grit sandpaper to remove the gloss. You only need to rough up the surface, so use a sanding sponge or a palm sander with a sheet of 120 to 200 grit sandpaper instead of an electric sander. Rub it over the cupboards just until the glossy sheen is gone. Wipe the cupboards with a tack cloth afterwards to collect any dust or debris. Always wear protective eyewear and a mask when sanding. How to Fill Dents or Scratches in Cupboards If you notice any dings, scratches, or holes in your cupboards, press a wood or auto body filler into the spot. Then use a putty knife to smooth out the filler so it's flush with the rest of the cupboard. Let it dry for at least 5 minutes.
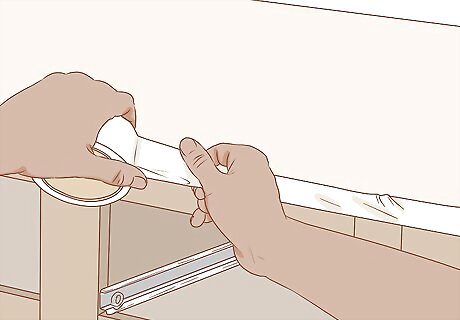
Place painter's tape on any areas you don't want painted. Press the tape firmly around hardware that you can't remove or the inside edges of your cupboard, for example. Make sure there aren't any gaps or spaces that the paint could get underneath. Masking tape is a good alternative if you don't have painter's tape. You can also use the painter's tape to secure craft paper or plastic tarps to the counters or walls so they don't get paint on them.
Applying Paint with a Roller
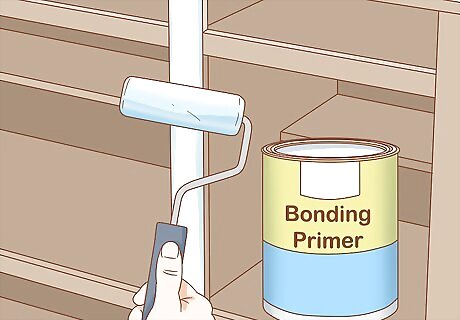
Roll 1 to 2 coats of bonding primer onto the cupboards. Primer, especially one labeled as “bonding” or “for shiny surfaces,” prevents paint from chipping off as easily and helps it stick to the cupboards better. Apply a second layer after the first one dries if your cabinets are particularly glossy. An oil-based primer tends to be the best option for cupboards. Wall primer won't work as well. It's meant for more porous drywall, as opposed to a cupboard, which doesn't have pores.
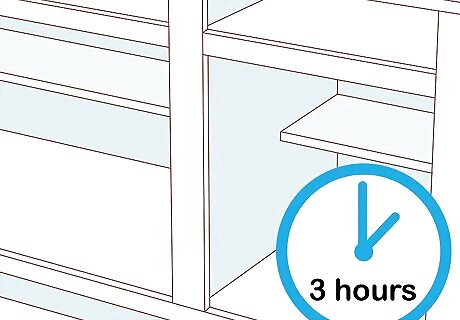
Let the primer dry for at least 3 hours. Read the label on your primer to find out the specific dry time for that type or brand, as it can vary. If you aren't sure how long your primer needs to dry, it's best to err on the side of caution and let it sit overnight. There are also fast-drying primers available at paint or hardware stores that can dry in as little as 30 minutes.
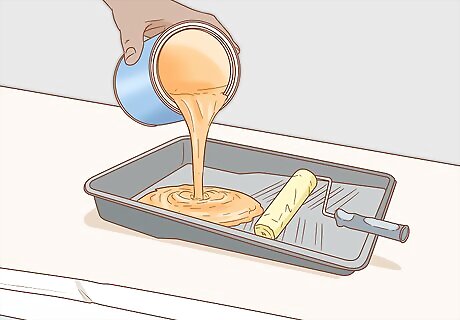
Pour the paint into a paint try so you can fully saturate the roller. Fill the deep end of the tray with your paint and dip your roller into it, rolling it up and down the tray to coat it. By completely covering the roller in paint, you'll be able to apply coats more evenly, without streaks. Add more paint to tray as needed while you paint.
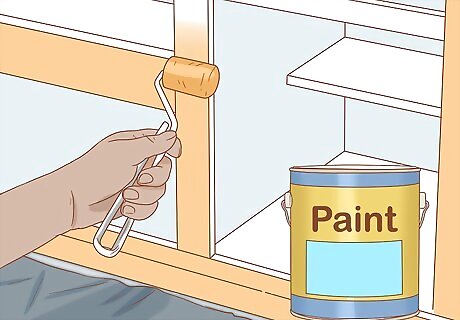
Apply 2 to 3 thin coats of paint, using a small foam roller. Multiple lighter layers dry faster and look better than 1 thick coat. Let each coat dry completely before you apply the next one. Otherwise, you'll pull off the previous layer instead of covering it. If you prefer using a paintbrush, you can substitute it for the roller. However, brushing on paint takes longer and makes it tougher to get even coats without visible brushstrokes.
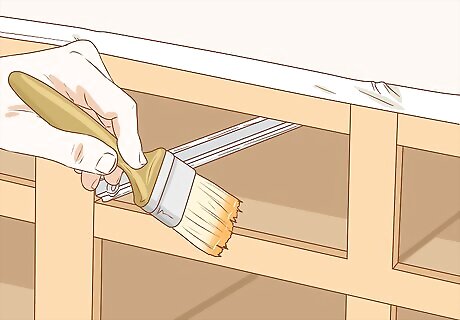
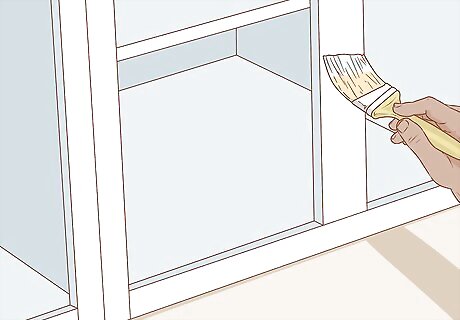
Touch up areas that are hard to reach with an angled paint brush. Your roller, no matter how small it is, likely won't be able to get into intricate borders or around molding or trim. Use a paintbrush with an angled tip to apply paint in those spots, making sure you brush it on smoothly without any clumps. An angled brush is also sometimes called a cutting brush. You can run this smaller brush along the edges of the cupboard doors to remove any buildup of paint that may have been created by the roller.
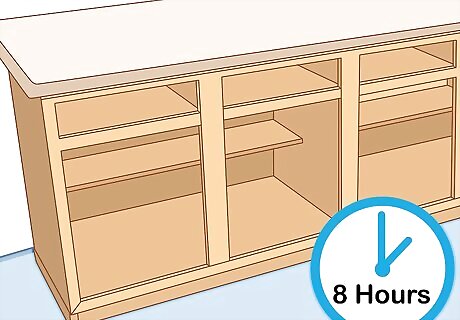
Let the paint dry for 6 to 8 hours before reassembling the cupboards. Your can of paint should include the dry time for that specific type on the packaging. If it doesn't tell you, a good rule of thumb is at least 6 hours. You'll know the paint is dry once it no longer feels sticky or tacky to the touch. If you want an extra layer of protection on your cupboards, brush on a sealant, like polyurethane or furniture wax, after the paint dries. Let this top coat dry completely before using the cupboards.
Choosing Paint Colors and Designs
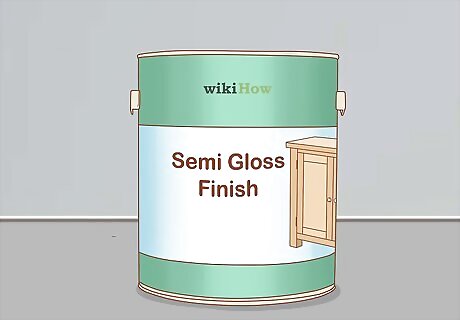
Pick a glossy, semi-gloss, or satin finish to hide smudges. Paint that has more of a sheen won't show fingerprints or dirt as clearly. A shinier finish is also easier to wipe down and clean. Avoid flat, eggshell, or matte finishes. Higher gloss paints tend to be more durable and last longer.
Paint the cupboards a light color to make the kitchen look bigger. If you have a small space, choose white or pale pastel hues. Since they reflect light, they'll really brighten up the room. Avoid dark or heavily saturated colors. White cupboards also give off a clean, minimalist vibe. Light colors work best on upper cabinets that won't get scuffed by shoes or rubbed up against.
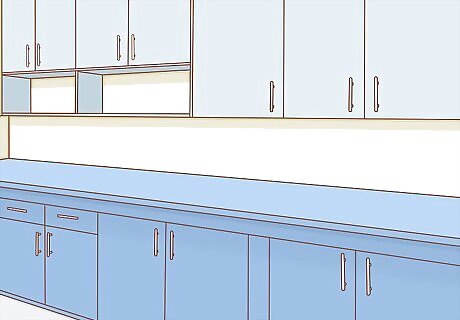
Make 1 row or wall of cupboards a different color for a dramatic accent. There's no rule that says all cabinets must be the same color. Paint the upper cupboards a pale blue and the lower ones a deep navy for a gorgeous gradient, for example, or paint 1 wall of cabinets a bright coral while keeping the rest natural wood. Don't paint random cupboards different colors, or you'll end up with a bizarre polka dot effect that looks sloppy. Choose accent colors that fit your overall scheme. You don't want to introduce a new or completely mismatched hue.
Try a distressed painting technique if you want a shabby chic vibe. This look is super trendy right now. You'll use 2 different paint colors to create the effect, placing wax on the areas where you want the base color to show through before applying the second color. Then, use sandpaper or steel wool to give your cabinets that worn effect. Pick any colors you want. Some popular ones for the farmhouse look are sage green, gray, pastel yellow, or lavender. For the best results, use a darker color as your base and choose a lighter color for your top coat. Find tutorials for how to distress paint on home decor sites or do-it-yourself blogs, or watch videos online.


Comments
0 comment