views
Researching Your Subject
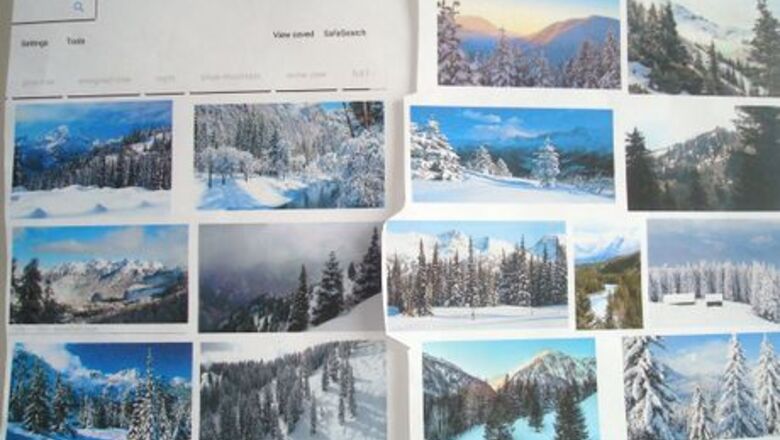
Use your imagination. Think of how mountains look. Also, view pictures of mountains, perhaps some you have taken on vacation. The internet offers lovely pictures to spark your creativity.
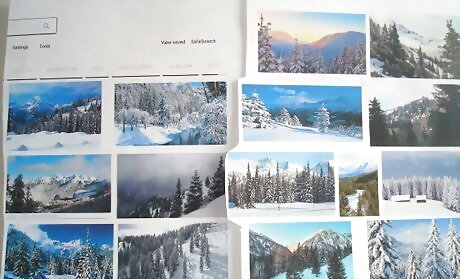
Discover the various shapes of mountains; pointed, rounded or flat top. Google: Shapes of mountains, free stock sites.
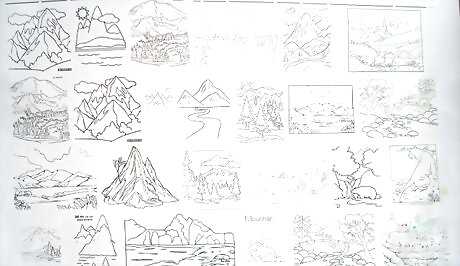
Simplify the images. Google: Coloring pages of realistic mountains.
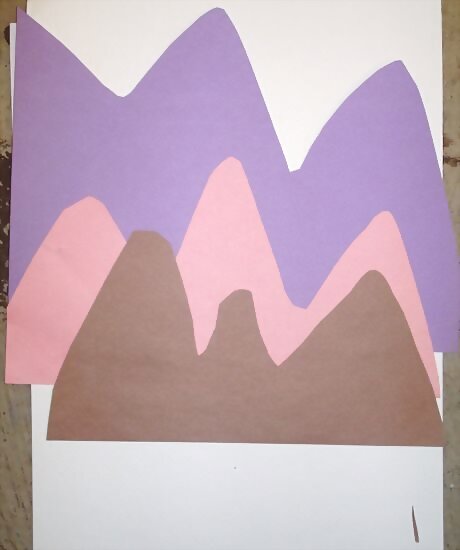
Cut layers of mountains from construction paper. They will probably get taller as you add more layers and go deeper into the scene.
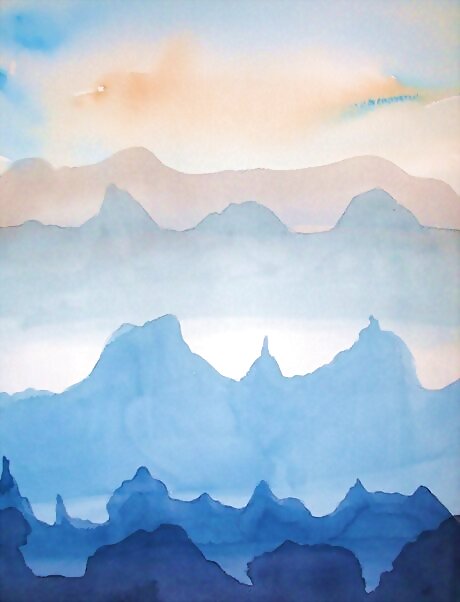
Remember to vary your mountains' shapes and heights.
Think of each peak as having two planes. One side will be depicted in shadow and the other in bright light.
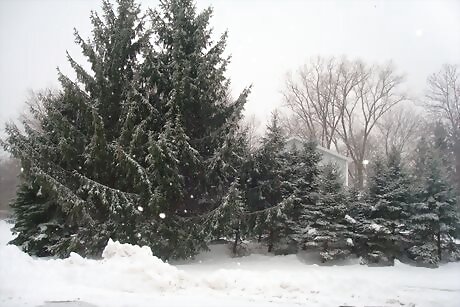
Include trees in your thinking. Both evergreen and deciduous trees are commonly found in mountain scenes.
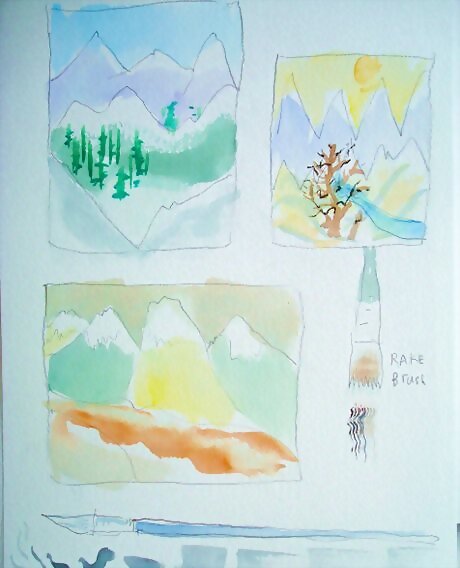
Work out some trial compositions by doing small sketches. This will allow you to quickly test out ideas. You will be getting closer to your final design as you work
Play around with shading. Put dark shapes against light ones and vice versa.
Create a focal point. In the middle third of your paper, put some interesting and more complicated things. This is where the "focal point" or "center of interest" is located. This should fall slightly off center and be interesting enough to capture and hold the viewer's interest. Think what the center of interest, or in this painting, the foothills, might contain. Hikers, mountain climbers preparing for their ascent, people camping in tents or a cabin. Wild animals such as cougars, coyotes or mountain lions. Tame animals such as mules, sheep or goats. Picturing a ski lodge might come to the mind of the athletically inclined. In the mountains, you might have a ski lift with ski trails winding down it.
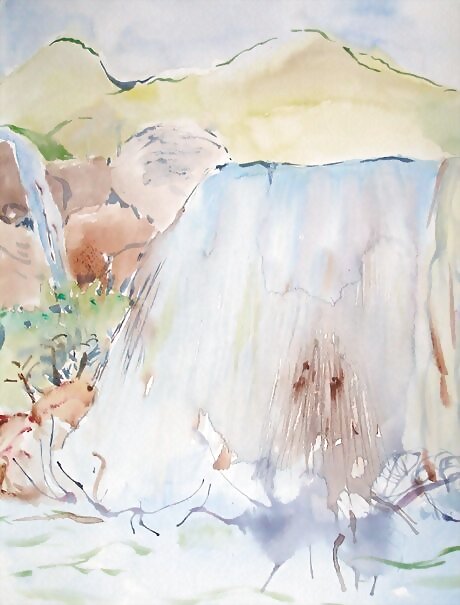
Imagine water washing down the mountain. Waterfalls of all types, water crashing over the rocks. Or, possibly a meandering stream emptying into a serene lake.
Drawing and Painting Your Final Scene
Sketch your scene in pencil on a piece of 11" X 14" watercolor paper taken from a pad. Block in shapes lightly, omitting details. Use one of your small sketches as a guide, if you wish.
Go back and refine your drawing. Add details, as many as you want in the picture.
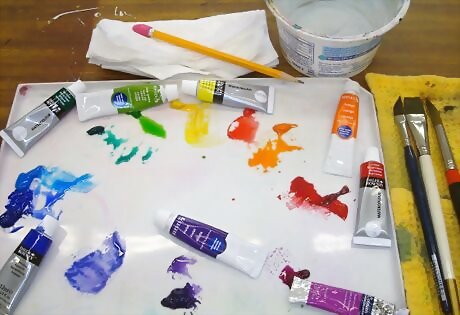
Prepare and activate your watercolors. Drop water on the dry pads or squeeze from the tubes a range of primary and secondary colors. If using tube paints, place the primary and secondary colors around the edges of your palette to keep the center free for mixing. Moisten them with a small amount of water.
Assemble your other painting supplies. Brushes, tissues, a water bucket, and a board to support your paper. If you plan to work large areas wet, tape the paper to the board with masking tape.
Begin painting any place you wish.
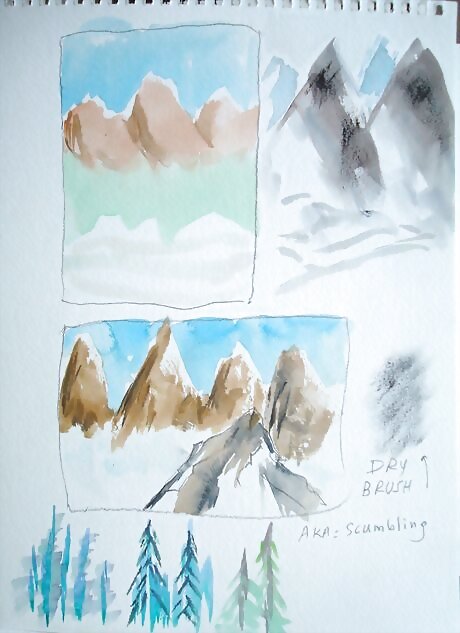
Remember that color can play an important part in showing distance. This is why many mountains appear pale blue or lavender. Those colors recede and appear further away.
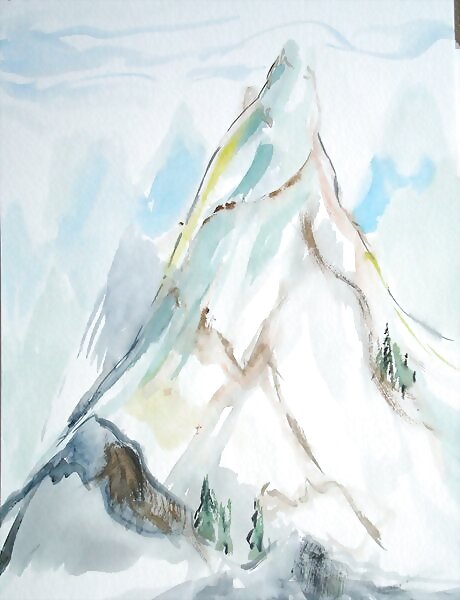
Start with a sheer, light application of color for the mountains. This wash should flow easily over the paper, so work from a puddle of color you have already mixed. To assure the freshness of your painting and to show the mountains as the sparkling gems they are, try to keep a soft touch as you apply paint.
Use a dry brush technique in places. This helps show the texture of weeds, grasses, bare rock and many other applications. Use dry brush or scumbling to enliven an area by contrasting a roughed up area with a smooth one. Find many ways to make use of your brush.
Try not to work back into a damp area. Use a hairdryer to hasten drying. Then, using a soft wash brush, slide on a second layer of color. Strive to keep the mountains glistening and fresh.
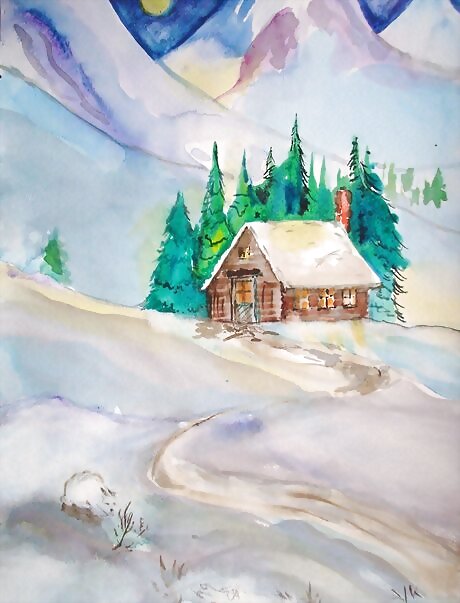
Enjoy your adventure. It's bound to give you food for thought and a departure from every day routine. Armchair travel can happen through art and might open new vistas for actual exploration. At any rate, painting a mountain scene is fun and the result lasting.


Comments
0 comment