views
Cutting the Straws
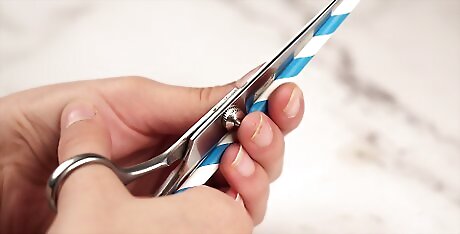
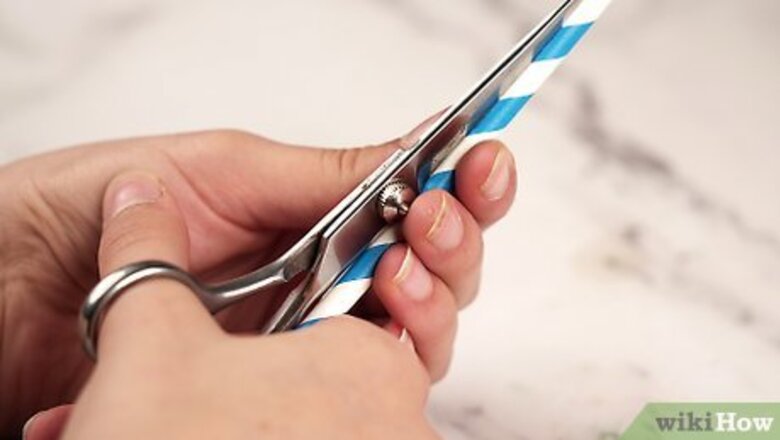
Split a straw open from 1 end to the other. Open a pair of scissors and insert 1 of the points into the end of a straw. Cut the straw open towards the other end. Use a clear straw, a white straw, or a straw that is the color you want your nails to be.
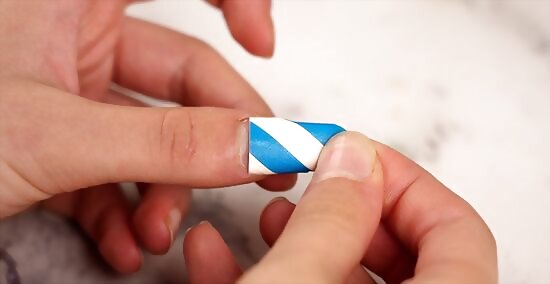
Snip the straw down to the length you want your nail to be. Open the split straw and fit it over the end of your finger. Make sure that the end of the straw is resting against the bottom of your nail. Decide how long you want the fake nail to be, then cut the straw. Most fake nails are about ⁄4 to ⁄2 inch (0.64 to 1.27 cm) longer than your actual nail.
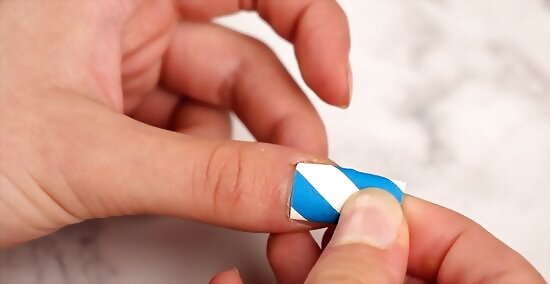
Cut the straw segment to the width of your nail. Chances are, the split-open straw is too wide for your nail. Open up the split straw segment, and cut the sides down until it fits the width of your nail.
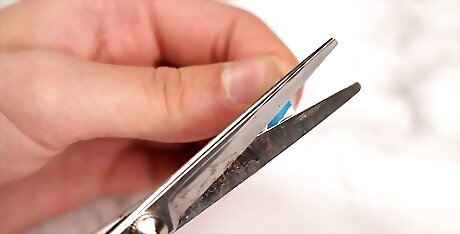
Cut the top and bottom ends of the straw to suit your nail. This step requires a lot of eyeballing and measuring the straw segment against your nail, so try your best. Cut the bottom end of the straw segment to match the bottom curve of your nail. Cut the top end of the segment into the shape you desire. For example: Cut the segment straight across for a square nail. Taper the sides for a coffin nail. Snip the corners of the top for a rounded-square nail. Cut the straw into a curve for a rounded nail. The further down you start the curve, the narrower it will be.
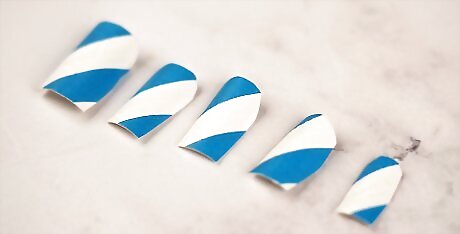
Repeat the process to cut the rest of your fake nails. At this point, it would be a good idea to label your nails L1 to L5, and R1 to R5. Write the label on the inside of the nail with a pen. L1 to L5 is for your left hand, and R1 to R5 is for your right hand; start with your thumb and finish with your pinkie. Try to make all of the nails the same length. Some straws have a crimped segment to allow for bending. Do not use this segment!
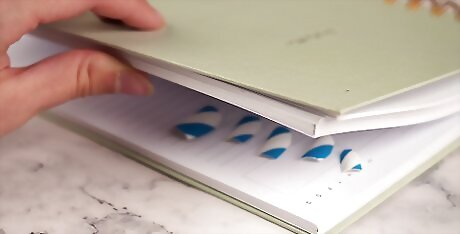
Open the nails and weigh them down for 2 to 10 minutes. Even though you cut the straw open, the plastic still wants to curl into a tube. You need to flatten the plastic out a little so that it doesn't curl as much. Set a heavy book on the table, flatten the nails, then slide them under the book. Leave them there for 2 to 10 minutes. The nails won't be completely flat, which is fine. The goal here is to flatten the plastic so that it doesn't curl as much.
Applying the Nails
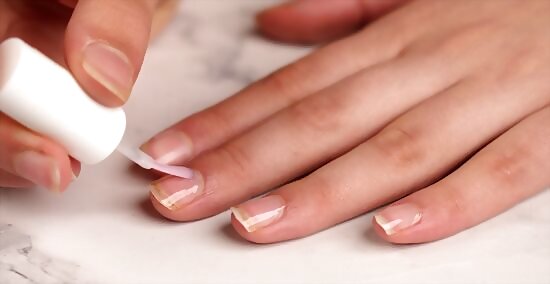
Apply a base coat to your real nails, then let it dry. You can use any formula you want, but a 2-in-1 formula will work the best. Do all of your nails, then let the base coat dry. This will help prep your nails for the nail glue in the next step. Skip this step if you want to temporarily attach the fake nails to your real nails. To protect your nails from the glue, apply nail guards, which are thin, clear, and come in various shapes and sizes. The guards act as a barrier between your nails and the glue.
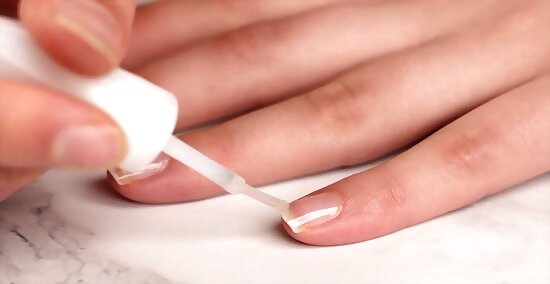
Apply nail glue to your first nail, then press the matching fake nail into it. Get nail glue meant for attaching fake nails; you can find it in a beauty supply store or a drug store. Apply a dot of glue to your first nail. Wait for the glue to get tacky, then pick up the matching fake nail and press it into the glue. Apply enough glue so that when you press the fake nail down, it spreads to the edges of your nail without leaking. Leave a tiny amount of space between the fake nail and the nail bed. You don't want to cover up the cuticle.
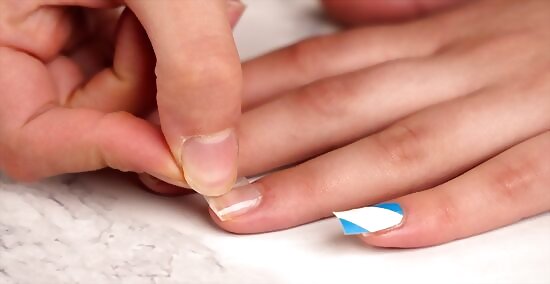
Use double-sided tape if you want a temporary option. Cut a strip of double-sided tape, and stick it over your real nail. Trim the tape down as needed to fit your nail. Next, pick up the matching fake nail, and press it down onto the tape. Be aware that this option is temporary. The nails will get knocked off easily. It is best for dress-up. Alternatively, use nail tabs (which are like double-sided tape) or small strips of wig tape.
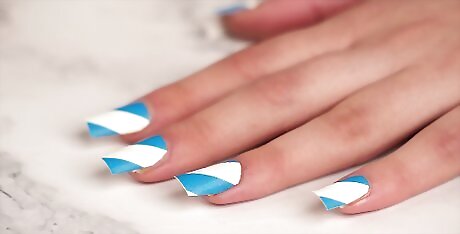
Repeat the process for the rest of your nails. Work 1 nail at a time. If you are using nail glue, consider wrapping strips of scotch tape around your fingertips to hold the fake nails down as they dry. This way, you can work while the other nails are drying. Remember to take the scotch tape off when you are done. If the straws are already the color you want your nails to be, you are done! The nail glue should take about 10 to 15 minutes to dry.
Painting the Nails
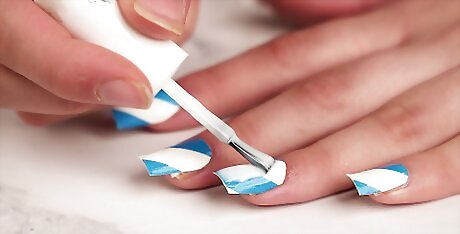
Apply 1 to 2 coats of white polish, if needed. Start with 1 coat of white nail polish, then let it dry. If you can still see the straw through the polish, apply a second coat, and let it dry too. This is only necessary if your straw is striped or the wrong color, then you will need to cover it up with white polish first. If your straw is clear or the right color, you can skip this step. If you don't have nail polish, you can try acrylic paint. Be aware that the paint may chip more easily than nail polish.
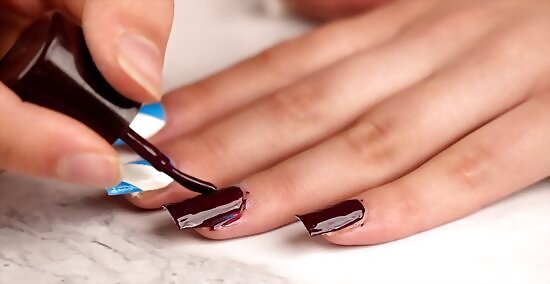
Paint your fake nails as desired. From here, you can paint the fake nails just like you would your own nails. You can paint the nails a solid color or do some fancy nail art. You can even layer clear, glittery polish over flat nail polish for a unique effect. Use at least 2 coats of nail polish. Let each coat dry before applying the next coat. You can try using acrylic paint, but it may chip. If the straw is striped or an unnatural color, such as green, you may need to use more coats of nail polish to cover it up. Be sure to paint the underside too.
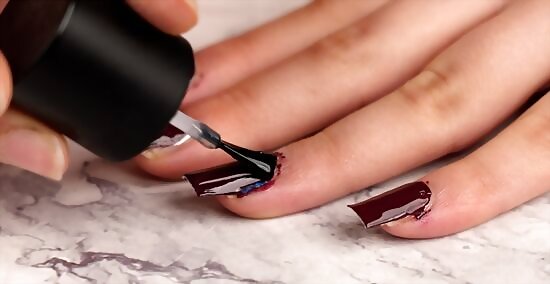
Let the nail polish dry, then apply a top coat, if desired. Since these nails aren't very durable, they may break or fall off before the nail polish starts to chip. Still, a top coat will help the color last longer and prevent it from chipping. Apply 1 coat of top coat to each nail, then let it dry. If you used acrylic paint, consider using a clear, acrylic sealer.
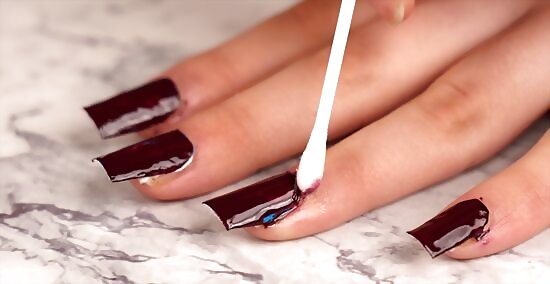
Clean up the cuticle area with nail polish remover, if needed. Dip a small brush or Q-tip into nail polish remover, then use it to wipe off any excess nail polish. Focus on the cuticle area, and be careful not to get any nail polish remover under the straw.
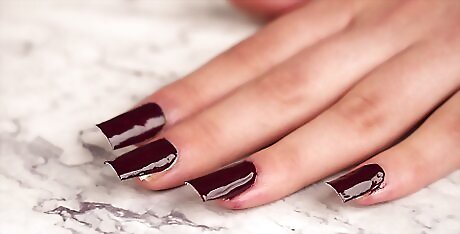
Treat the fake nails with care. This is especially important if you secured the fake nails using double-sided tape. Because they are a DIY alternative to professional fake nails, straw nails won't be as durable. They can fall off easily, and if they get bent, the polish can flake off. Nails attached with double-sided tape may come off within a few hours. If you bump them against something, they may pop off right away. Nails attached with nail glue should last a few days.
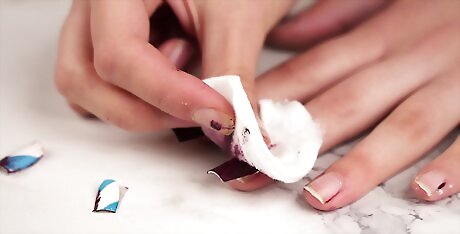
Remove the nails with acetone. Fill a small jar with acetone or nail polish remover, then set it into a bowl filled with hot water. Wait until the acetone gets warm, then dip your fingertips into it. After about 45 minutes, you should be able to pop the fake nails off. If the acetone is too harsh for you, add a few drops of baby oil or mineral oil into the solution first, before you dip your fingers into it. If you have any residue on your real fingernails, wipe it off with a cotton ball dipped into acetone. If you attached the nails with double-sided tape, you should be able to just pop them off. If the tape is stuck to your real nails, just peel it off.


Comments
0 comment