views
Planning to Build
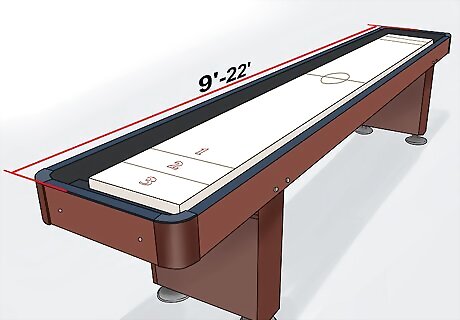
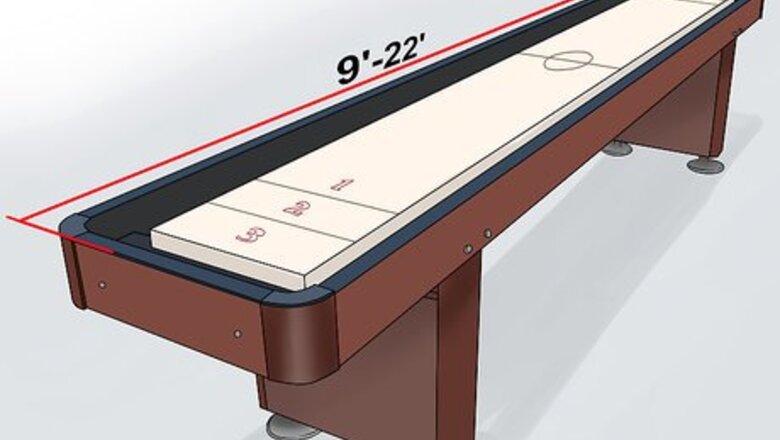
Determine what size you want your table to be. The size of a shuffleboard table can range anywhere from nine feet to twenty-two feet. Keep in mind the amount of space you have to build and store it. You wouldn’t want to build a fourteen foot long table in a twelve foot shed. Remember you need at least two feet of additional space on each end of the table to actually play. The size you decide on will affect what dimensions and plans you use for the playing surface, the bed and the legs.
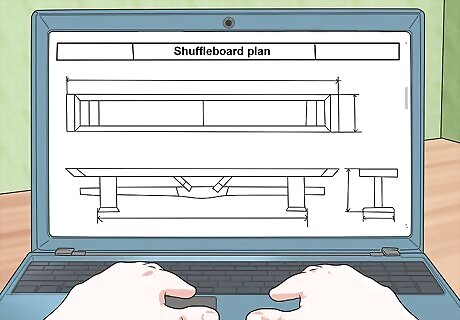
Plan or find dimensions for each part of the table. You can find dimensions for shuffleboard tables online. They can save time and help you avoid mistakes. Looks for plans that are detailed and that tell you exactly how long the table should be, the width of the box, and the height of the legs. Map out the dimensions of each board you use, if you make plans yourself.
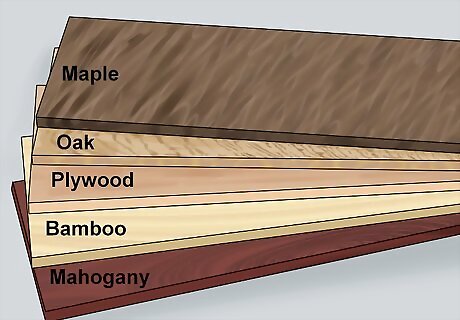
Decide on the type of wood for the playing surface. While maple or oak will give you the most durable table, these materials may be too expensive. For something more moderately priced, consider using plywood and bamboo flooring for the surface, which can be just as good once it's sealed and polished. Use mahogany for the trim, if you want a classic touch.
Making the Box and Legs
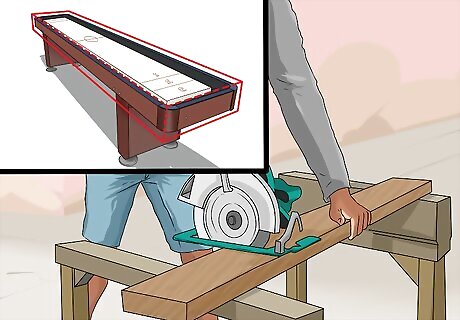
Cut boards for the sides. The sides of the box should be sturdy, and if you can afford solid wood, that is best, but you can use many types of wood. Place your board on top of a saw horse so that the cut is made perpendicular to where you're standing. Clamp a metal straightedge, or a straight board, down to use as a guide. Carefully run your circular saw over the area you want cut. Remember you will need room for gutters. The box should be six inches longer on each end and several inches wider than the surface. Because the boards square up the box, take extreme caution when cutting them. Adding any boards that are cut incorrectly will result in an uneven playing surface.
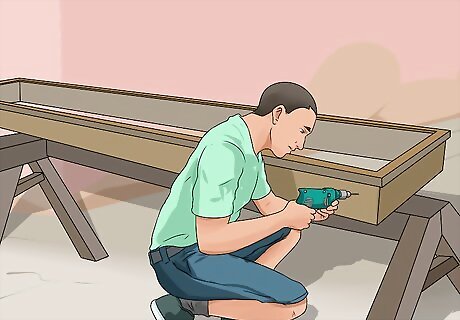
Fasten boards together. Line boards up along the edges of each other to make a box frame. Pre-drill holes, if you’re using a softer wood like pine. This will prevent wood splitting. Use wood screws around the edges of the box to fasten them together.
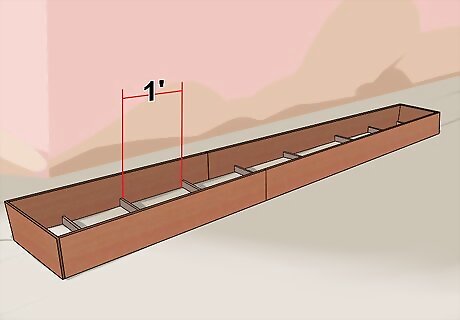
Add supports to the sides. Because your table will be long, it is important to support the length of the box with additional boards to keep the wood from bending. Reinforce the sides by laying boards perpendicular to the length of the box. Space strips of board about a foot apart and place them towards the underside of the box. Secure them with wood screws along the sides.
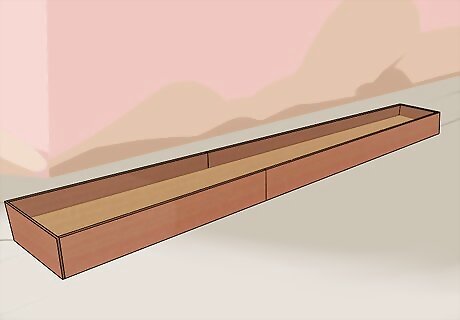
Add plywood to the box. Use sheets of plywood cut to the correct dimensions to lay over the supports. Fasten the plywood together with mending plates. Drill wood screws through the plywood and some of the supports. There’s no need to drill through every support. Use just enough screws to attach the plywood.
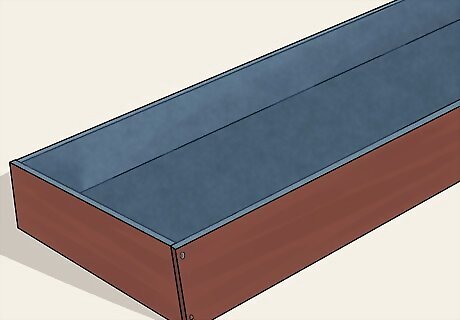
Lay carpet in your box. The carpet in the box will look nice, when the playing surface is laid, and it will catch and soften the blow of pucks during a lively game. Cut the carpet into pieces for the bottom and each side. Staple away to attach it to the wood. Try to use a powerful staple gun for this job. Look into battery operated guns, which may staple a bit stronger than manual ones.
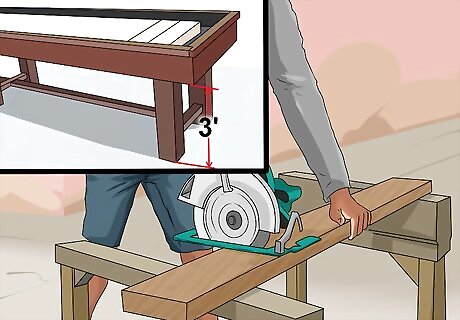
Cut the table legs the correct length. The top of the playing surface should be about three feet from the ground. Remember the rest of the table will be laying on the legs though. Adjust the length of the legs to the correct dimensions of the overall table and cut them accordingly. If you’re building a table around sixteen feet or longer, additional legs will be needed to support the weight.
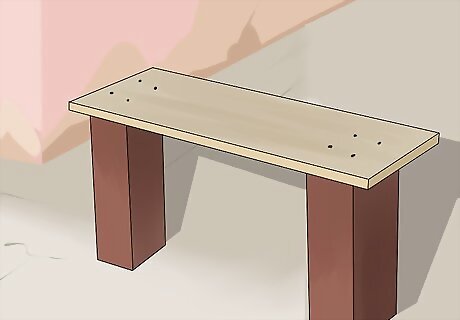
Use boards to help attach the table legs. Instead of screwing legs directly into the bottom of your box, attach them to separate boards first. This will further stabilize your shuffleboard table. You can use pieces of pine wood cut to the width of your box for each pair of legs. Drill screws into the boards to attach them to the legs.
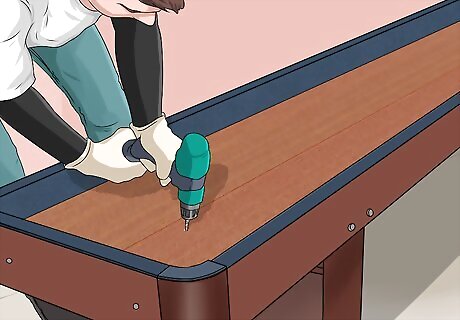
Screw the boards onto the box. After you attach the legs to separate boards, you can simply attach the boards to the underside of the box. Position where you want the legs to be on the box, and drill into the boards to attach them.
Making the Surface
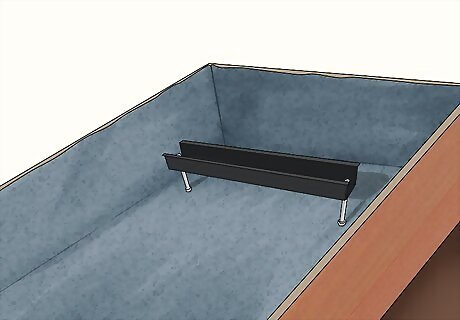
Make a support structure to lay the surface in. You may need something to hold your playing surface up. You can use nuts, bolts and rails to float the game board on. Drill holes on each end of the box from the bottom. Cut through carpet with a razor blade before you drill. Screw a bolt from the bottom so that it shows through the box. Place a rail or tie bar on top of the screw and secure it with bolts.
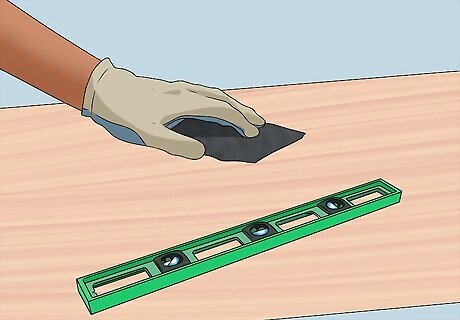
Make sure your surface is smooth and level. Whatever wood you decide to use for the surface, inspect it for any knicks, warping or surface imperfections. Use your level to determine if it’s even. Sand any trouble areas down, until the surface is smooth.
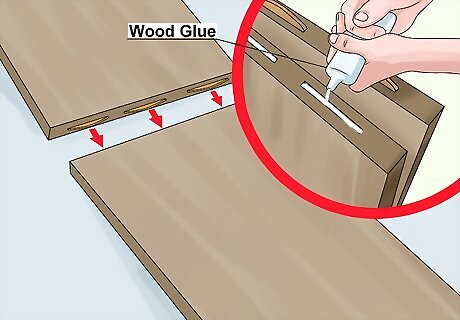
Join surface pieces together. Since wood is unlikely to come in a piece as long as you need it, you will have to adhere sheets together for the playing board. Join two sheets together by first cutting the edges with a biscuit joiner. Have a biscuit ready, cover it in glue, and place it between the cut edges. As it dries, the glue expands, giving you a solid connection where the edges meet.
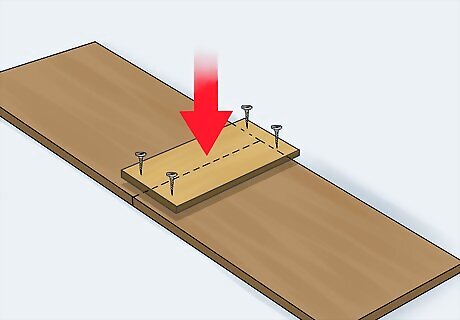
Reinforce the join. Prevent the area you joined together from detaching by reinforcing it with board on the underside of the surface. You can use whatever board you have handy for this. Pine is inexpensive. Flip your surface upside down, cut a strip of board the width of your surface, cover the seam where the surface joins, and drill the board down.
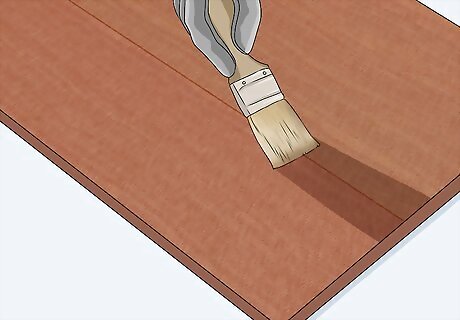
Paint or stain the playing surface. Whether you choose to use paint or stain will depend a lot on what type of wood you chose. If you braved working with a traditional solid maple surface, you will want to use stain. If you decided on MDF, use an opaque, oil-based paint to help make it more durable. Use either a water-based or oil-based paint on plywood.
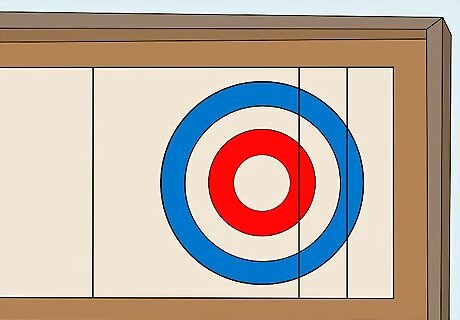
Paint or draw your game board. Consider drawing your game board using a felt tip pen or another fine drawing tool. Shuffleboard tables often allow for multiple types of scoring: lines in the standard game and circles in curling rules. Decide if you want to play using both scoring systems. Make sure paint on the surface is dry before drawing on it.
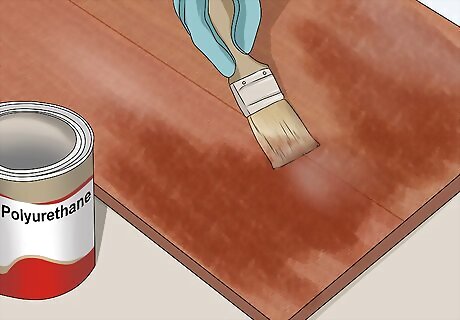
Seal with polyurethane. You will need to seal the surface to protect it and allow for play. There are many types of polyurethane seal. What type of paint you used and how much time you have on your hands can point you in the right direction. An oil-based poly will take longer to dry, but can be more durable. Don't use oil-based over a white surface, because it can yellow over time. A water based poly dries quickly, but cannot be used over oil-based paint.
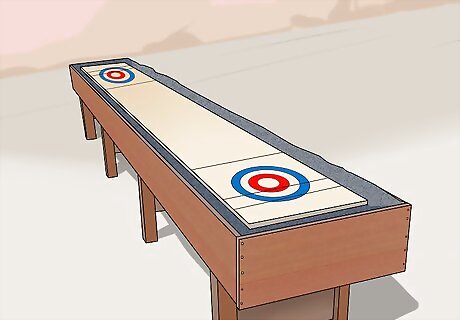
Lay and secure your surface in the box. You should be able to lay your surface on the rail structure you built in the box. For additional support, use more screws, nuts and bolts in discreet areas.
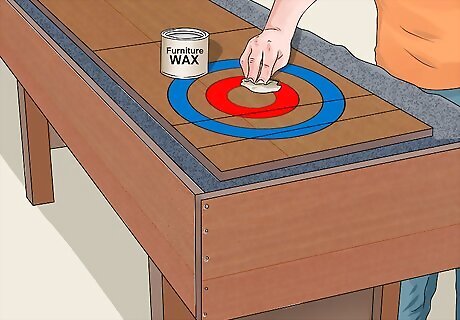
Wax and spray the surface with silicone. Shuffleboard pucks should glide on the surface of your table. Wax it with furniture polish and buff with a soft cloth. Use silicone spray to extend the life of your waxing job and further seal the table.





Comments
0 comment