views
Folding the 2 Sections of the Ninja Star
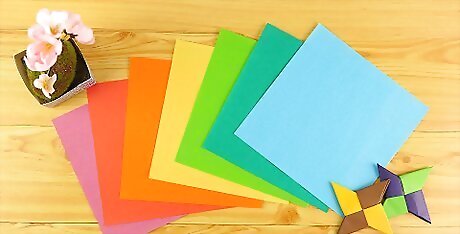
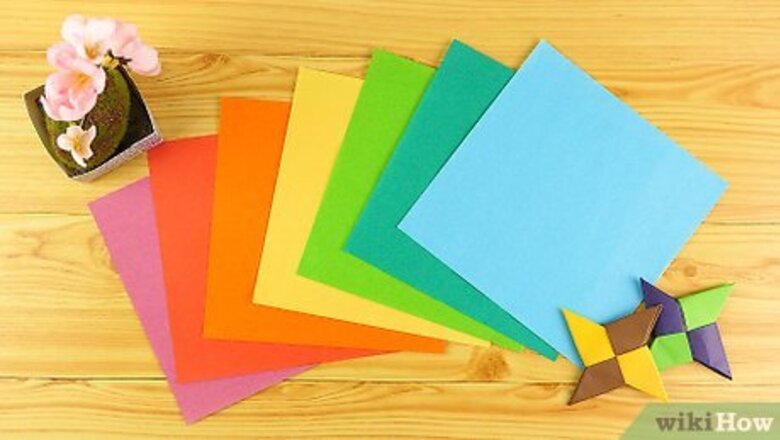
Remove a 4.5 by 11 in (11 by 28 cm) strip from 2 sheets of printer paper. Take a sheet of 8.5 by 11 inches (22 by 28 cm) printer paper and lay it flat on a surface. Bring 1 of the corners across the sheet, connecting it with the opposite edge. Line up the edges so they’re even and form a triangle, leaving a strip 4.5 by 11 inches (11 by 28 cm) long above the triangle. Use a pair of scissors to cut off the strip, then repeat the process with the other sheet of paper. You could also use construction paper or cardstock to make a sturdier shuriken. If you already have square origami paper, use 2 sheets of that instead.
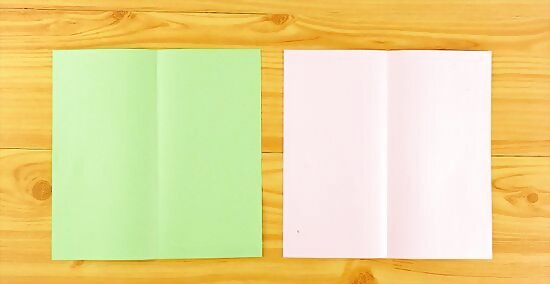
Fold the paper in half to make a center crease. Take 1 of the sheets of paper and fold it in half to make a book fold. Make a strong crease in the center and then unfold the paper. Repeat the process with the other sheet of paper so you’re left with 2 sheets with a center crease. Because both sheets are squares, it doesn’t matter which end you fold.
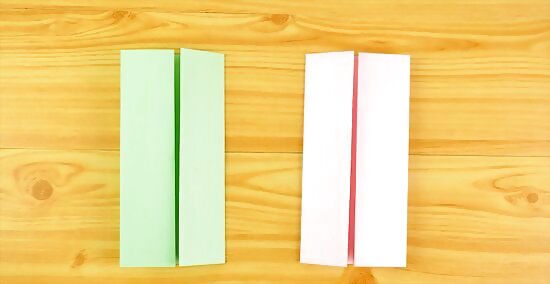
Bring in both sides of the paper to meet the crease in the middle. Use the center crease to divide the sheet of paper in half. Fold 1 side of the sheet into the crease, then, bring the other side into the center crease and fold it to create a cupboard fold. Fold the other sheet of paper the same way so they match. Both sheets of paper need to match perfectly.
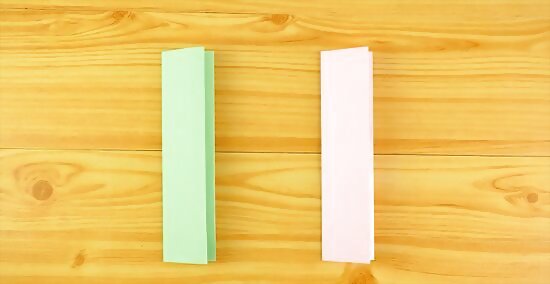
Take both sides and bring them into the center crease to form a strip. Fold the 2 sides of the paper into each other so the paper looks like a long, thin strip. Crease the paper well, then fold the other sheet the same way.
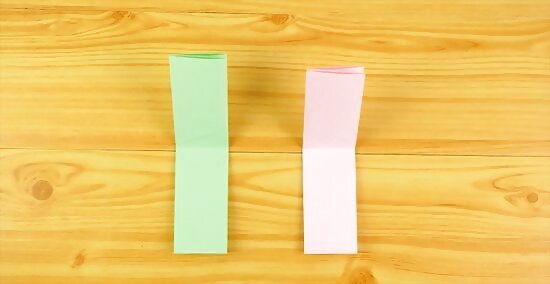
Make a center crease by folding the strips in half horizontally. Take 1 of the strips and bring the top of the paper to meet the bottom. Make a strong crease, then unfold it to leave the crease in the center of the paper. Then, make a crease in the other strip of paper. Make sure the top and bottom edges line up so your crease is perfectly centered. The crease will form a point of reference to help you fold your shuriken evenly.
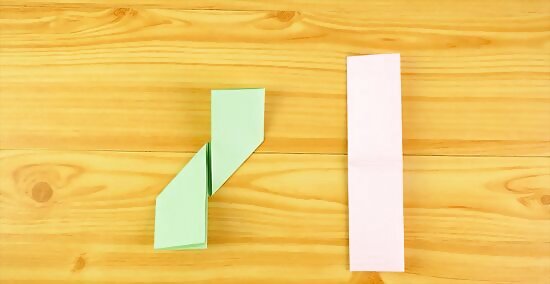
Fold the left side down and the right side up at the centerline. Take 1 of the strips and hold it horizontally. Fold the left side down to form a 45-degree angle at the centerline crease. Then, fold the right side up to form another 45-degree angle at the centerline. The folded part will extend past the horizontal strip. Make sure you crease the paper well so the folds are nice and tight.
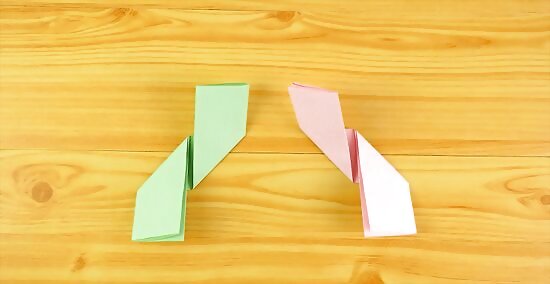
Reverse the folds for the other piece of paper. Hold the other strip of paper horizontally in your hands and reverse the order of the folds so they mirror each other. Fold the left side up at the centerline and the right side down at a 45-degree angle at the crease.
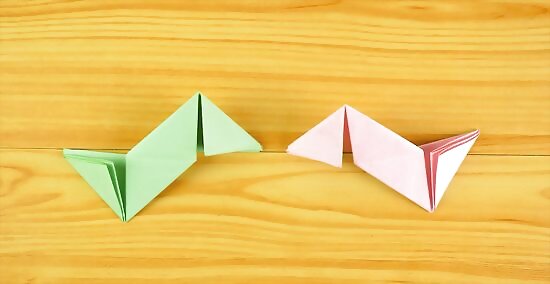
Fold the corners down to form triangles at the ends of the paper. Take 1 of the upper corners and fold it down to form a triangle. Then, fold the corner on the bottom end to make a triangle. Repeat the folds on the other paper so both ends form a point.
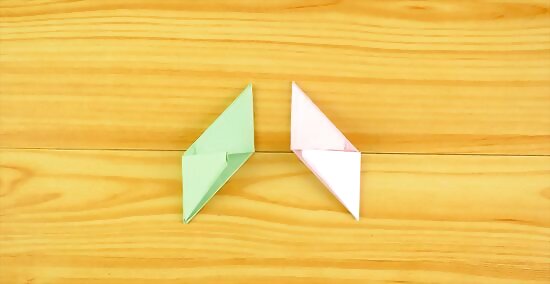
Bring both triangles into the center of the paper and crease them. Fold the triangles into the center of the strip to make a shape that roughly resembles a diamond. Use your fingers to squeeze the fold and make a tight crease. The creases are important for allowing you to make edges on your finished shuriken.
Putting the Sections Together
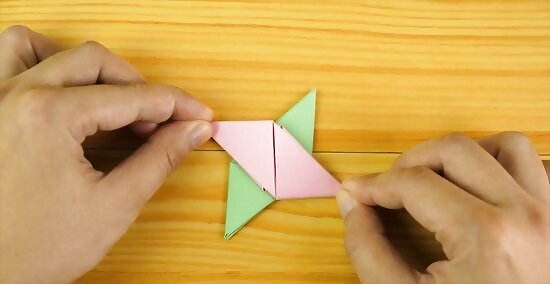
Lay 1 paper across the center of the other. Place 1 of the strips of paper down on a flat surface so the folded triangles are pointing upward. Then, lay the other strip across the center so the triangles are also pointing down. Make sure the folded papers are centered so your shuriken is even.
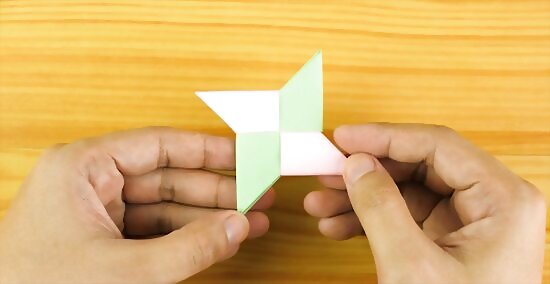
Tuck the ends of the bottom paper into the center of the top. Take 1 of the triangles of the bottom strip of paper, wrap it over the paper on top, and slide it into the fold in the center of the top paper. Then, tuck the other folded triangle of the bottom paper into the new fold created after you tuck the first triangle end into the top paper. You should have only 2 triangle ends sticking out.
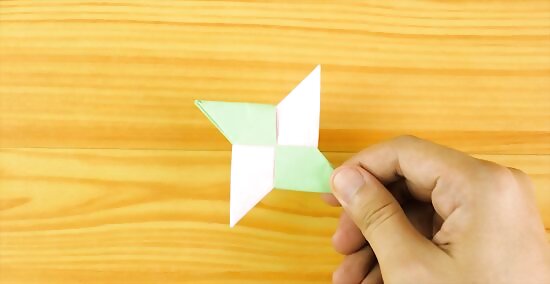
Flip over the paper and tuck the remaining ends into the center. Pick up the shuriken and flip it over so you can see the backside. Tuck 1 of the triangle ends into the fold in the center of the shuriken, then tuck the other end into the new fold created after you tuck the first one.
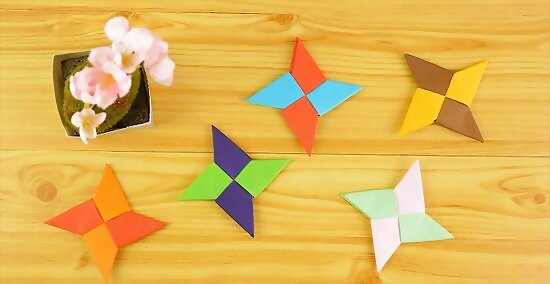
Crease and smooth out the paper to finish your shuriken. Squeeze the edges and points of the shuriken to crease the paper. Run your fingers over the surface to smooth out any folds or wrinkles so you’re left with a crisp and clean paper shuriken. Don’t throw the paper shuriken at somebody. The pointy ends could injure an eye.






Comments
0 comment