
views
Creating the Tail Base
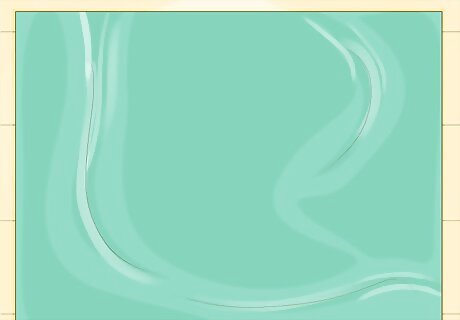
Fold your fabric in half, right sides together. Choose shiny, stretchy fabric to use as your tail; you can find lots of great options in the dance-wear section of the fabric store. It would be best if your fabric already has a scale print on it, but you can use a solid-colored fabric instead. If you choose fabric with scales on it, make sure that the scales run down the fold, not across it. Green is a popular mermaid color, but you can make your tail any color you want. For example, if you want to be a tropical mermaid, orange would be a great choice.
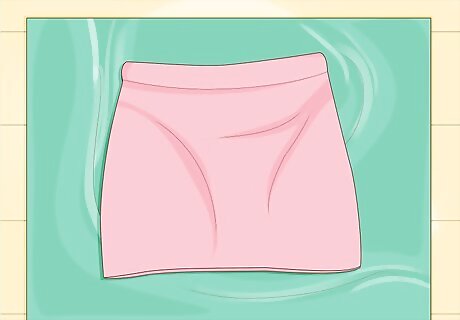
Trace your pattern into the fabric, using a fitted skirt as a base. Place a fitted skirt on top of the fabric so that the top edges match up. Trace around the sides of the skirt with a dressmaker's chalk or pen, adding a ½-inch (1.27-centimeter) seam allowance. When you get to the bottom of the skirt, extend the side edges downward to where your knees would be. Don't taper the bottom of the tail just yet. If your fabric has scales on it, make sure that they are pointing downward. If you don't have a fitted skirt, you can use a pair of leggings or skinny jeans instead. You can also lay down on the fabric, trace around your waist and hips, sit up, then trace around your thighs. Add a few inches/centimeters), otherwise the skirt will be too small.
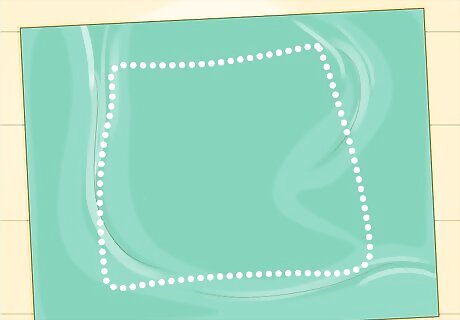
Consider adding a V-shape to the bottom hem. Find the center of the hem, then make a dot down where the mid-calf would be. Connect the dot to the left and right edges of the hem. Use a ruler or a straight edge to ensure that the lines are straight. If you choose not to do this, draw a horizontal line straight across the bottom hem of the skirt.
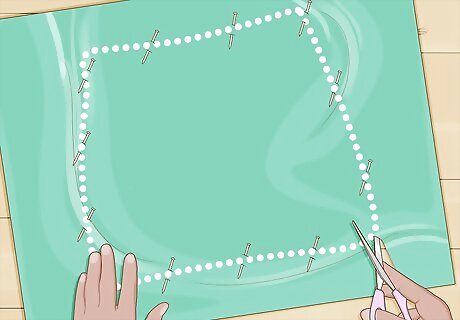
Pin and cut the fabric. Pin the fabric together with sewing pins first, then cut it out. The pins will keep the fabric from slipping when you cut it. Leave the sewing pins in place. If you added a V shaped hem, do not pin the slanted sides of the V.
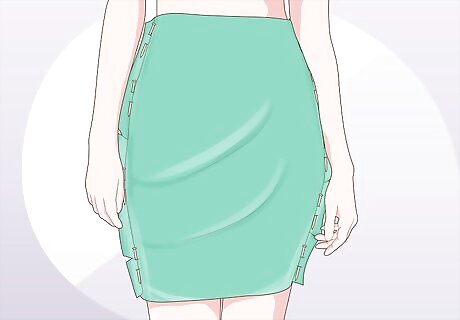
Try the skirt on and adjust the width. Step into the skirt and pull it up to where you'd like it to sit. The material around the legs may be loose. If you'd like it to be more form fitting, take the pins out and pin the skirt tighter. Take the skirt off when you are done. If you made the skirt tighter, take a few steps to ensure that you can still walk comfortably in it. If you added a V-shaped hem, you may end up pinning part of the slanted sides on the V. This is okay.
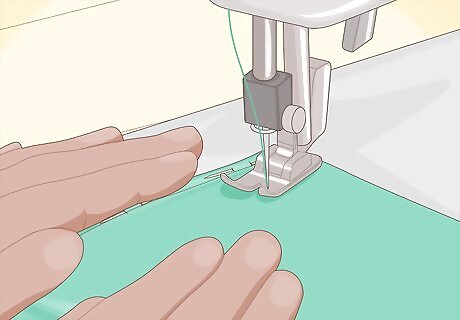
Sew or glue the side edges down. If you are going to sew the skirt, use a ½-inch (1.27-centimeter) seam allowance, a matching thread color, and a stretch stitch. If you are going to glue the skirt, use fabric glue, a ½-inch (1.27-centimeter) seam allowance, and allow the glue to dry. Leave the top and bottom hems open. If you added a V-shaped hem, do not sew or glue the slanted sides of the V. If you are sewing the fabric, backstitch at the start and end of you sewing. This will make the stitches stronger.
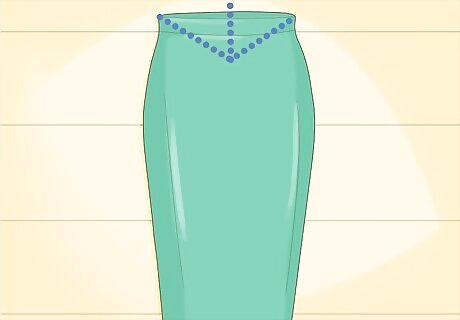
Consider adding a V-shaped notch into the front of the waist. Cut a slit, a few inches/centimeters long into the center-front of your skirt. Fold the slit open to create a V-shaped notch. Glue or sew the flaps down, then trim off the excess fabric until you have a ¼ to ½-inch (0.64 to 1.27-centimeter) hem. Make sure that you are only cutting through the front layer of fabric. If you are sewing the flaps, sew ⅛ inch (0.32 centimeters) from the folded edge. Use a matching thread color and a stretch stitch.
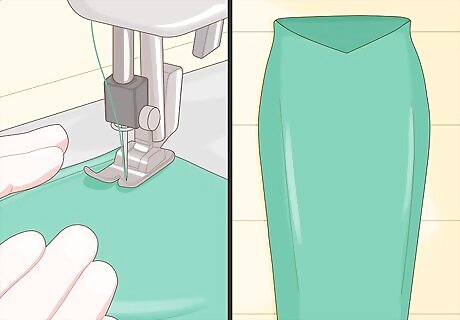
Hem the top and bottom edges of the skirt. Fold down the top edge of the skirt by ¼ to ½ inch (0.64 to 1.27 centimeters). Secure the hem with sewing pins as you go. Sew the hem down 1/8 inch (0.32 centimeters) from the cut edge. Use a stretch stitch and a matching thread color. You can try gluing the top hem down, but the skirt may lose its ability to stretch. You can use glue on the bottom hem, as long as the fabric is not too tight around your legs.
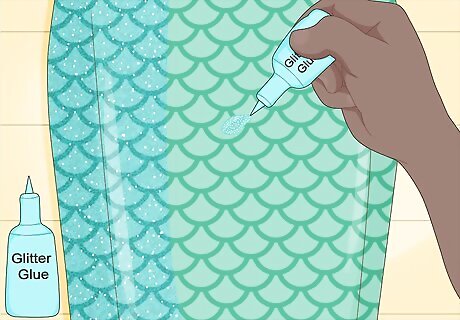
Consider painting scales onto the fabric with glitter glue. Turn the skirt right-side-out first. Next, cut a scale shape out of cardboard. Use the template and a pen to trace scale shapes onto the fabric; be sure to stagger them so that they look like real scales. Trace over the pen using glitter glue or glitter puffy paint/dimensional fabric paint. Allow the glitter glue/puffy paint to dry, then flip the skirt over and do the back. This is a great idea if your fabric is plain or solid colored. If your fabric already has a scale print on it, you might want to skip this.
Creating the Tail Fins
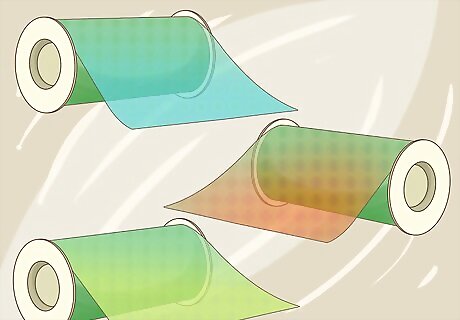
Choose two to three colors or shades of tulle. Your fins will have three layers of tulle. You can use different colors such as purple and green. You can also use different shades of the same color, such as light green and dark green.
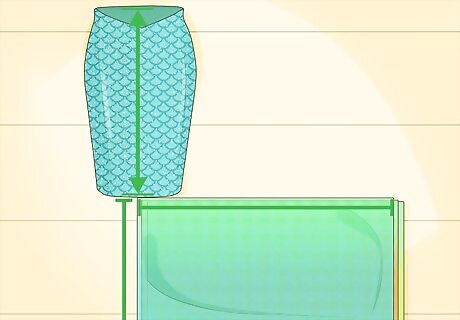
Measure and cut the tulle. Measure from the bottom point of the skirt down to the floor, or wherever you want the tail to end. Add 1½ inches (3.81 centimeters) to that length, then cut your tulle according to that width. The tulle needs to be long enough to wrap around the base of your tail, including the V-shape. You will need to cut thee pieces of tulle that are the same length and width.
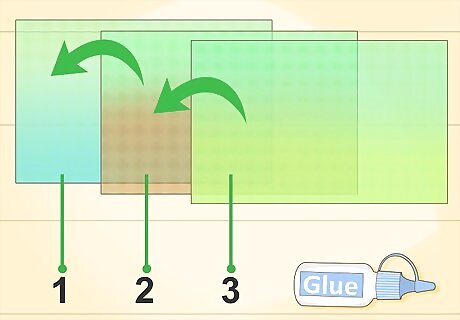
Layer and glue the three layers of tulle together. Stack the three pieces of tulle, one on top of the other. Make sure that they are aligned along one of the long edges, then sew down that edge using a ½-inch (1.27-centimeter) seam allowance. You can also secure the layers using glue instead.
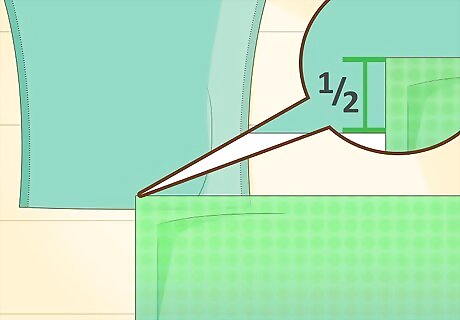
Turn the skirt inside-out and position the tulle. Overlap the sewn edge of the tulle with the bottom hem by 1½ inches (3.81 centimeters). Position the left edge of the tulle strip on the right side of the V point. You will be working your way along the bottom hem to the other V on the back of the skirt, then repeating the process for the other fin.
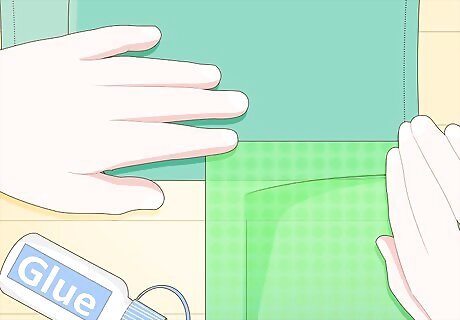
Glue and pleat the tulle until you reach the back of the skirt. Draw a 2 to 3-inch (5.08 to 7.62-centimeter) line of hot glue along the hem. Press the tulle down into the glue and let it set. Make a dot of glue on the tulle where you finished gluing. Fold the tulle back, press it into the dot, let it set. Repeat the process until you reach the V point on the back of the skirt.
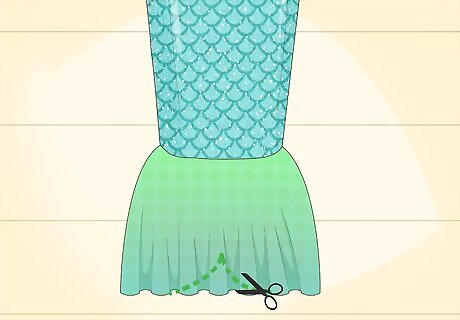
Consider cutting a curve into the tulle. Flatten the tulle and the skirt, then cut an upward curve starting from the bottom, side edge of the tulle, and finishing at the bottom of the skirt's V-point. You don't have to do this, but it will give your tail a more mermaid-like feel.
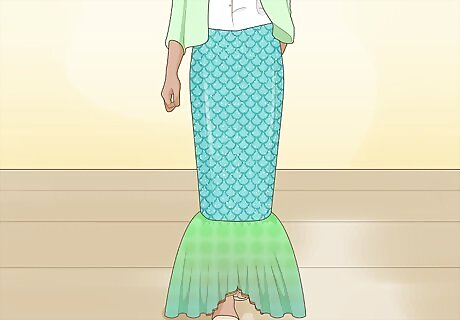
Repeat the entire process, making sure to reverse the pleating. Cut, stack, and sew the tulle using the same colors and layers as before. Line up the right side edge of the tulle with the left side of the skirt's V-point. Pleat and glue the tulle, this time working your way to the left of the skirt. Finish on the back. Both of your pleats should be pointing away from the skirt's V-point. If you cut a curve into the first fin, make sure that you do the same for this one.
Creating the Top
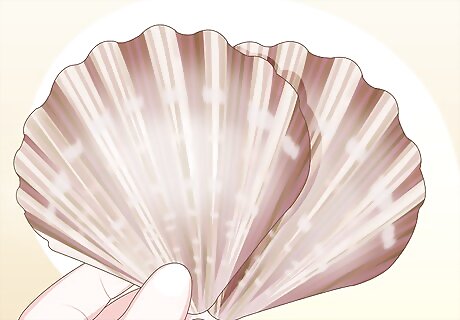
Choose two large shells to use as your mermaid bra. You can find these shells labeled as "lion's paw shells" in an arts and crafts store. You can also find similar shells made out of plastic in a costume shop or a party supply store. Make sure that the shells match up in size and shape. For a child's costume, you can cut two large shell shapes out of felt.
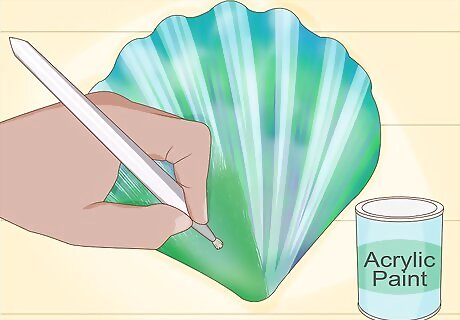
Paint the shells, if desired. You can match the color to your tail, or you can use a contrasting color. For example, if you made a green tail, you could paint the shells purple. Sparkly, metallic paint would work the best, but you can use flat paint as well. Use acrylic paint or spray paint. Let the shells dry completely, then add a second coat of paint, if needed.
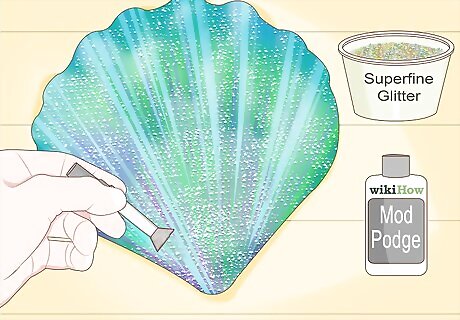
Consider adding some sparkle with glitter. Mix extra-fine scrapbooking glitter into glossy decoupage glue (ie: Mod Podge). Paint the glue onto the shells, then let it dry. Apply a plain coat of glue on top to seal the glitter in. If you want extra sparkly shells: Paint the shells with decoupage. Shake the glitter on top, then tap the excess glitter off. Let the decoupage dry. Apply another coat of decoupage on top.
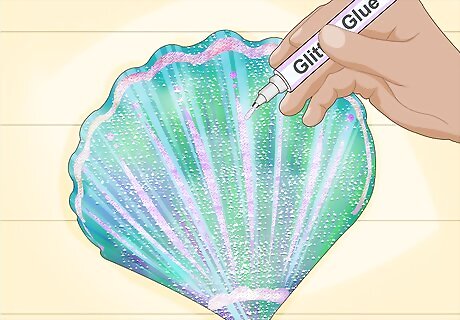
Add designs with glitter glue if you want something more subtle. If you still want some bling, but don't want to use all-over glitter, you can draw designs onto the shells using glitter glue instead. If you don't have any glitter glue, you can use sparkly puffy paint/dimensional fabric paint instead. You can also draw designs using regular glue, then shake glitter into the glue while it's still wet.
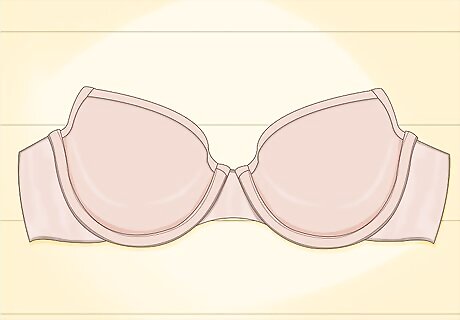
Find something fitted to serve as the base. You will be building your bra on top of this. A child or a teen could use a skin-toned tube top or tank top. And adult could use a skin-toned bra, preferably strapless. Alternatively, you can match the color of the top or bra to the color of your shells.
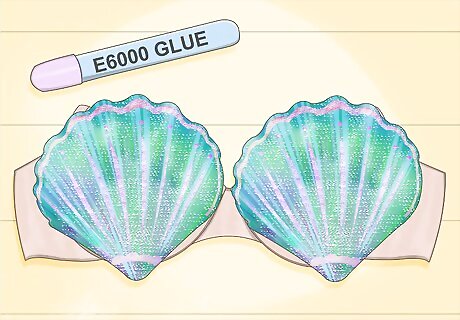
Glue the shells to the base. Coat the inside of the shells with fabric glue or industrial-strength glue (ie: E6000). Place the shells onto the bra. You can have the bottom edges point towards the center, or you can have them point downward. If you are using a tube top or a tank top, you will need to position the shells where the breast would be.
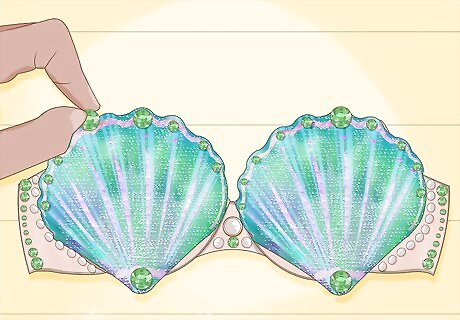
Decorate the top further with gems, pearls, and smaller shells. Industrial-strength glue would be the best for this, but you can try using fabric glue as well. Hot glue will work, but it may not last as long. Here are some ideas to get you started: Apply tiny rhinestones to the ridges on the shells. Glue a mini starfish to the middle of the bra where the bow would be. Add a sequin or rhinestone trim to the edges of the shell. Decorate the bra band with rhinestones or fake pearls.
Finishing the Look
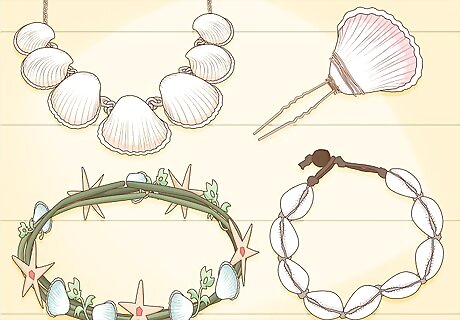
Decide what more your mermaid needs. Does your mermaid need something in her hair? What about makeup and jewelry? Adding extras like these can really take your costume to the next level. Take a look at this section for ideas. You don't have to do everything listed in this section. You can even use some of the ideas as inspiration for your own!
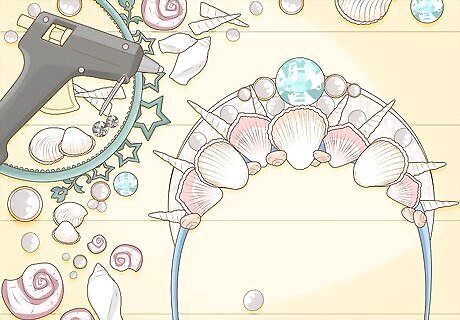
Make mermaid crown if you want to be a mermaid princess. Buy a princess tiara from a party supply store or an arts and crafts store. Wrap silver pipe cleaners all around the tiara to cover it. Buy an assortment of sea shells from the craft store, paint them, then glue them to the tiara. Industrial-strength glue, such as E6000, will work the best, but you can also try hot glue instead. Use long, pointy shells to make spikes. Add a mini starfish or sand dollar in the middle for the centerpiece. Fill in gaps with silver rhinestones or pearls.
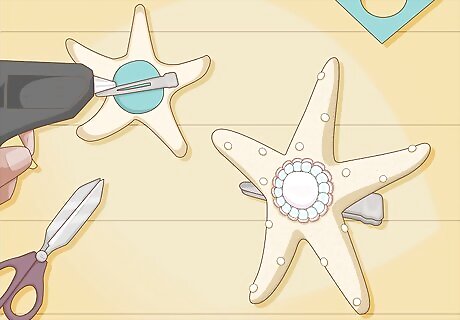
Make a mermaid hair clip if you want something simpler. Buy a mini starfish or a pretty shell from the craft store. Paint it in a color that matches your seashell top. Add a sprinkle of extra-fine glitter, then let it dry. Glue the starfish or shell to a hair clip, then clip it into your hair. Industrial-strength glue (ie: E6000) will work the best, but you can try using hot glue instead.
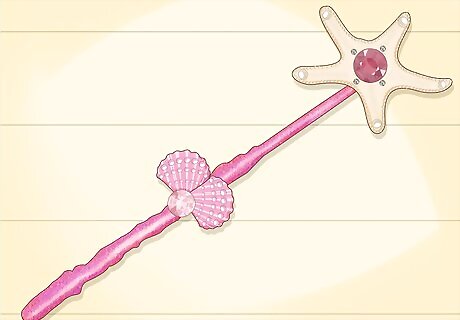
Complete the look with other accessories. If your mermaid is very fancy, consider adding some seashell necklaces or pearl earrings. If she is an adventurous mermaid, bring a simple cloth bag with you to collect all the knickknacks and dinglehoppers you find on your travels. If you need to bring a purse with you, consider finding one that looks like a shell. If you are a mermaid princess, make a wand that matches your crown. Paint a dowel, then glue a painted, glittered seashell to the top.
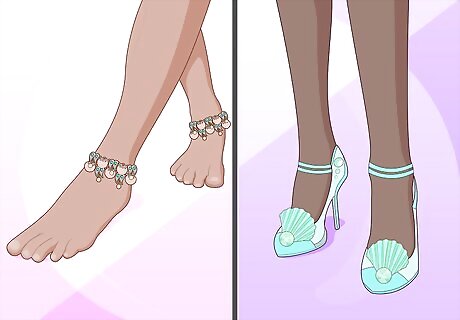
Find mermaid-like shoes. Shoes can make or break a costume. Unfortunately, they are often over-looked. Consider what sort of mermaid you are dressing up as, and where you will be wearing the costume. Here are some ideas to get you started: If you are wearing the costume to a beach or pool, consider going barefoot. If you can't go barefoot, try flip flops or sandals. It would be even better if they match your mermaid costume. Wear shoes that match your fin color. This will help blend them into your costume and make them less noticeable. Consider decorating plain shoes to fit your costume. Find a pair of shoes that you like, then paint or glitter them to match your costume.
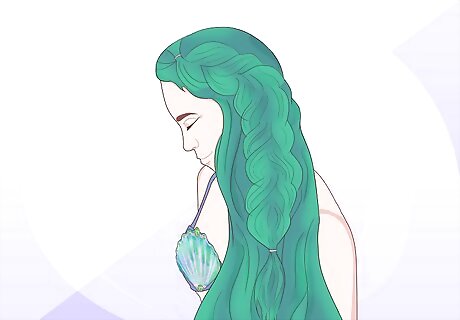
Style your hair to match your costume. If you have a fancy mermaid costume with an elaborate crown and top, you might want to have a more elaborate hair style. If you have a simpler mermaid costume, consider leaving your hair natural. Here are some ideas to get you started: Add some streaks of color to your hair with extensions, hair chalk, or colored hair spray. Put your hair into curls or beach waves. Consider an updo if you are wearing a mermaid crown. Try a side part, then pin your bangs back with a seashell hair clip. Add some hair or body glitter to your hair for extra sparkle. Clip pieces of fake seaweed or strips of green chiffon into your hair for a more natural look.
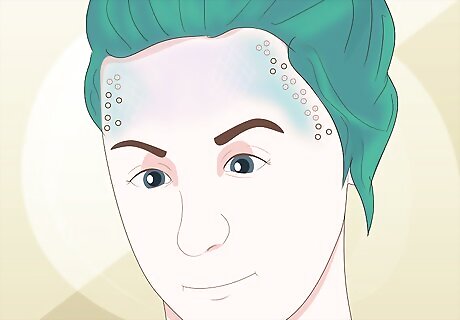
Consider wearing some makeup. You don't have to wear any makeup at all, but it can help add more character to your costume. If you want something simple and more natural-looking, you could wear some tinted moisturizer to help even out your skin tone, and tinted lip balm. If you want something more elaborate, consider the following options: Match the color of your eyeshadow to the color of your tail and seashell bra. Add some body gems! You can apply them to your face or even around your belly button. Add emphasis to your lashes with false lashes—the longer and thicker, the better! Create scales by stretching a fishnet stocking over your face, then dusting it with highly-pigmented, shimmery eyeshadow. Set the makeup, then remove the stocking. Dust a shimmery, illuminating highlighter over your cheekbones, forehead, and nose bridge for an ethereal glow.





Comments
0 comment