views
Building the Casing
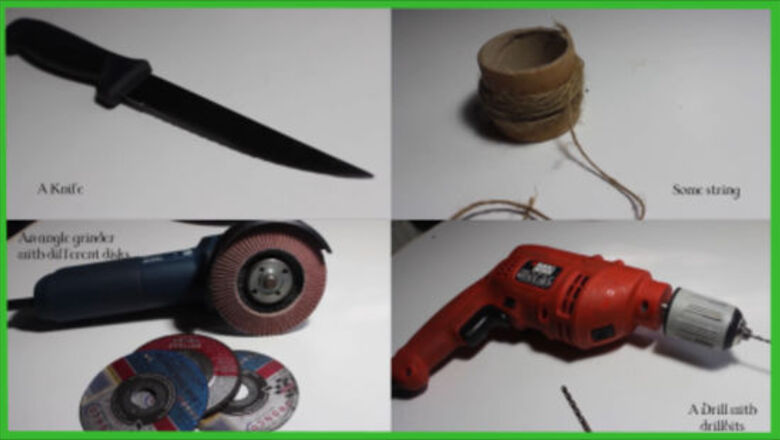
Gather your parts and tools. This hidden blade is the real deal, and you're probably going to need to take a trip to the hardware store to get all the right parts and tools. You can get all of these parts for between 35 and 40 dollars depending on where you live. Here's what you'll need to make your own hidden blade: Hidden blade parts: A 14-inch standard drawer slide. Get a flat drawer slide meant to be fitted to the middle of a drawer. This will become the case for the hidden blade. 2 extension springs, ⁄4 inch (0.6 cm) by 1 ⁄2 inch (3.8 cm), 8.46 pound work weight. The springs should look thick and fat. A pack of flathead Phillips screws size #8-32 thread, 2 inches (5.1 cm) long, with nuts. A key ring that will slip easily over your finger. Some fishing line. Get clear line so you won't be able to see it against your hand. A 14-inch piece of aluminum metal sheeting. A 14-inch piece of cardboard. Industrial strength velcro. An old belt or piece of leather. Tools you'll need: A pair of pliers. A dremel. A drill. Scissors. A metal file. Some WD-40.

Take the drawer slide apart. The drawer slide will consist of three separate tiers. Start by pushing the black latch under the top tier and removing the top tier from the slide, then bend the metal tab located at the end of the large bottom tier and slide out the middle tier, the one with the ball bearing track inside it. You can put the top and bottom tiers away, since you won't need them for the rest of the project. You'll also have extra ball bearings. Save these in case you lose parts as you go along; you might need replacements.

Remove the ball bearing track from the middle tier. Do this by popping off the tab or cap at the end of the tier, making sure to save it. Slide out the ball bearing track and make sure to keep all of the ball bearings.
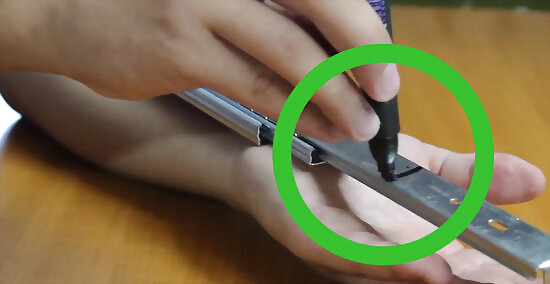
Cut the tier to the length of your forearm. Hold your arm in front of you with your elbow bent and your palm facing up. Lay the tier against your forearm, with the end of the tier resting at your wrist. Decide how much length you'll need to take off to have the tier rest comfortably against your arm; it should end a few inches from your elbow crease. Use the dremel to cut the appropriate length from the end of the tier that does not have a cap. Do not cut off the end of the tier where you popped off the tab or cap to take out the ball bearing track. You'll need to be able to replace that piece later. Use the metal file to file down any sharp edges after you make the cut. Take safety precautions when you're cutting the metal. Wear safety goggles and work in an appropriate workspace.

Pinch the tier's edges. Use the pliers to bend in the two end edges of the tier on the side that does not have a cap. This will prevent the ball bearing track from falling out when you slide it back in.
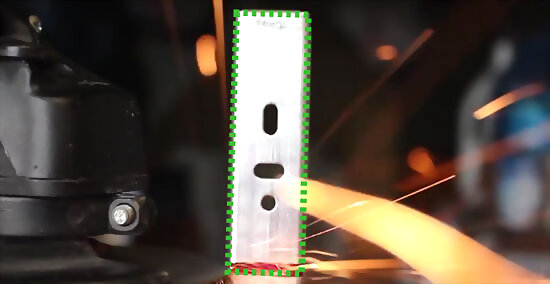
Cut out the center of the tier. Cut out a rectangular piece of metal from the center of the tier with the dremel. Make sure you don't cut out the area where the cap will be reattached at one end of the tier, and leave an inch of metal at the pinched end of the tier as well. Discard the rectangular piece you cut out, and file the sharp edges on the tier.
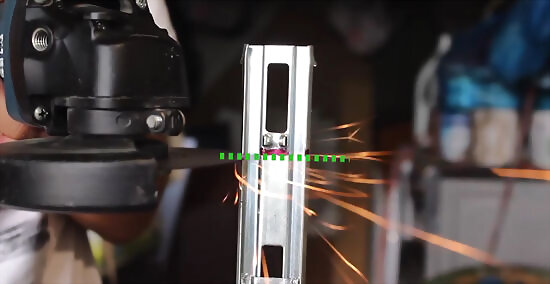
Cut the ball bearing track. It should have five openings, and you'll need to cut it so that it you've got a row of just three. Use the dremel to make a straight cut to shorten the ball bearing track. The shortened track should hold 6 ball bearings on each side. If your tier is on the longer side and you can fit a longer track inside it, you can cut the ball bearing track down to four openings instead. Don't cut it shorter than 3, though, since it needs to have at least 3 openings to work properly.

Drill holes in the ball bearing track. Use the drill to create two holes in the track between the openings. Ensure the holes are big enough for the screws to fit.
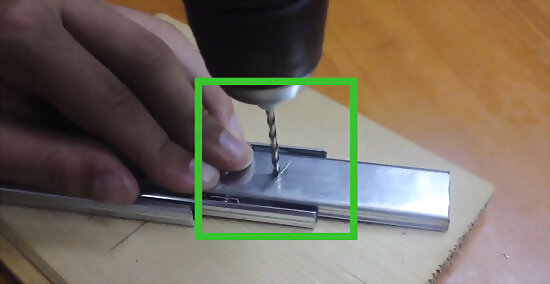
Drill a hole in the tier tab. Take the plastic tab you removed from the middle tier. Drill a hole the same size as the holes on the ball bearing track. You'll need to be able to fasten it to the track when it's time to put the contraption together.
Attaching the Blade
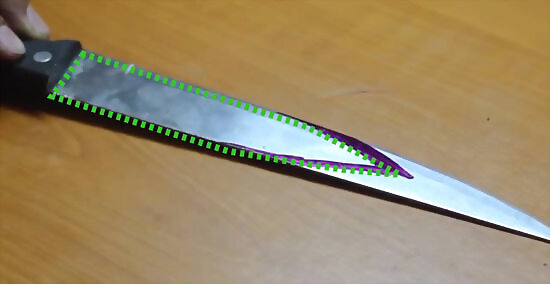
Create a tester blade. Cut a length of cardboard so that it's the size and shape of a blade that will fit within the ball bearing track. The end of the "blade" should align with the end of the track. Make two holes in the cardboard that align with the holes you drilled in the ball bearing track.

Cut the metal blade. Trace the cardboard blade cutout onto a piece of sheet metal, including the two holes in the middle. Cut the blade shape from the metal and drill two holes in the middle.
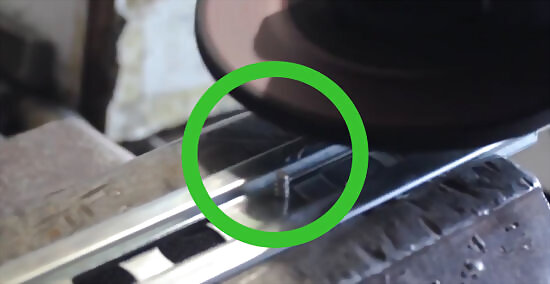
Cut down the screws. The screws will be too long, so you'll need to cut them down by about half using the dremel.
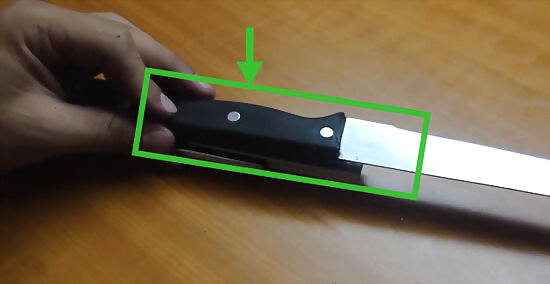
Fasten the blade to the ball bearing track. Place the ball bearing track upside down on your table, so that the ridge parts are facing down and the flat side is up. Lay the blade on top of the ball bearing track so that the screw holes are aligned. Thread screws through the holes and keep them in place with the nuts.

Put the ball bearing track back into the middle tier. Insert it so that the blade is pointing toward the pinched end of the tier. The ball bearing track should slide in easily; make sure all the ball bearings are in their correct place.

Add a spring and replace the black cap. Place the spring over the second screw on the blade. Now replace the black cap and screw it on tight, holding it in place with a nut. This will hold the whole contraption together.
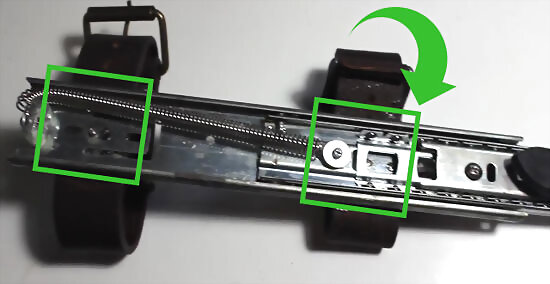
Attach fishing line. Lay the tier against your forearm and cut a length of fishing line that extends from the second screw on the blade to your middle finger. Make sure it's long enough to wrap around your finger while your hand is in a fist, and add a little extra to make sure you can tie it around a key ring. Tie one end of the line over the second screw, making sure to slip it over the nut so it will stay in place, and tie the other end around a key ring. Make sure the fishing line is cut to the right length. It shouldn't be too taut, but if it's too loose it won't work. When the ring is around your middle finger and your fist is closed, the line should be snug. When you open your hand, it should pull the blade out. Move the line back and forth to test whether the blade moves easily along the track.
Strapping it On

Attach velcro strips to the underside of the tier. Cut two one-inch pieces of velcro. Attach one piece to the underside of the front of the track, and another piece to the underside of the other end of the track. Make sure you don't attach the velcro to the plastic tab piece.
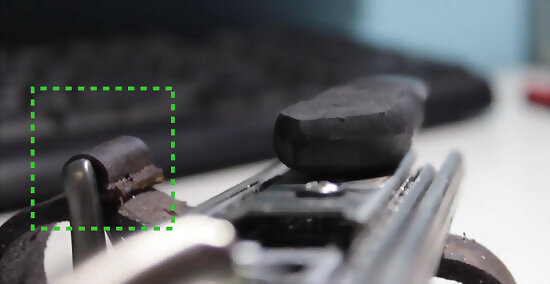
Make belt straps. Cut the belt into two strips: one to wrap around your forearm, the other to wrap around your wrist. Attach velcro pieces to the insides of the straps so that they fasten snugly around your forearm and wrist.

Attach the straps to the hidden blade. Remove the adhesive backing from the velcro pieces on the tier and attach the tier to the two belt straps. Remember to position it so that the blade point should be directed toward your hand, away from your body.
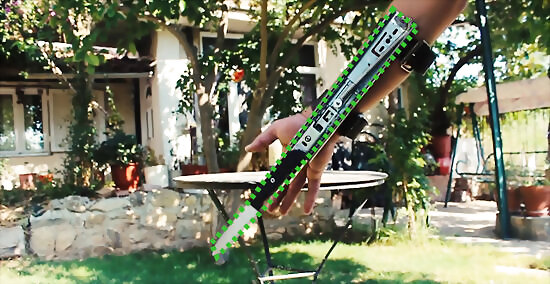
Put the blade on. Strap the blade to the underside of your forearm by attaching the belt at your upper forearm and wrist. Arrange the keyring around your middle finger and make a fist with your hand. Hide the blade under a loose long-sleeved shirt. Make sure it's positioned so that it won't cut your hand or clothes.
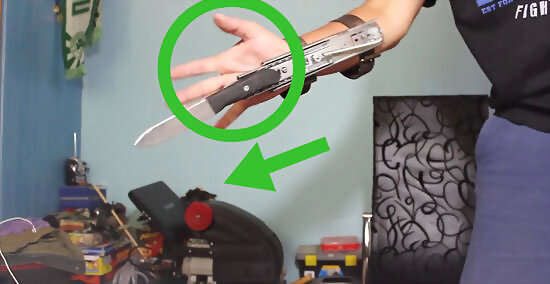
Discharge the blade. Point your arm away from your body and open your hand. The keyring will pull the fishing line, which will trip the blade and send it springing forward. When you let go of the keyring, the blade will retract.







Comments
0 comment