
Gathering Your Materials
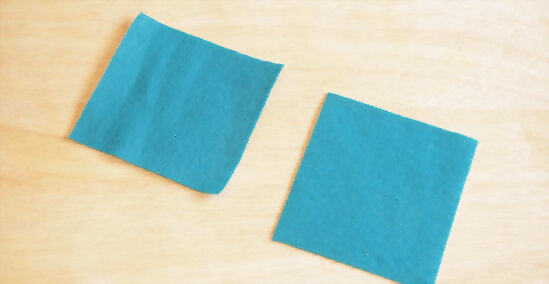
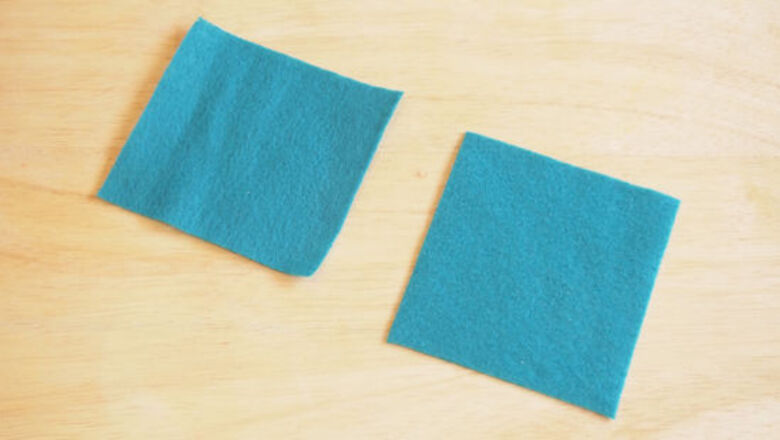
Take two small pieces of brightly colored fabric. The main thing you need to make a crinkle taggie baby toy is material, preferably something in bright colors or contrasting like black and white so that the baby is visually stimulated. You need to have two pieces of material that are identical in size and shape, but not necessarily color and texture. These will form the front and back of the toy. The pieces of material do not need to be very large. In fact, an ideal size is about 8x8 inches. They don't need to be perfect squares either. The material can even be cut into the shape of an animal or other object, as long as it does not have long thin areas that would be difficult to turn inside out.
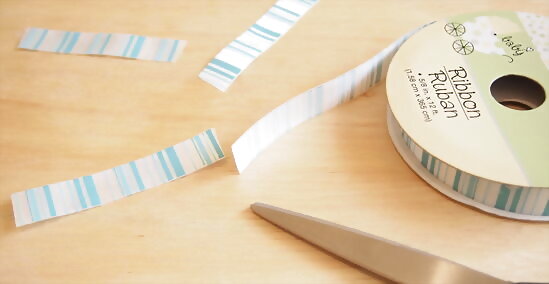
Gather a selection of trimming materials. The tags are made with pieces of ribbon, ric-rac, bias tape, or any other trimming materials that will not fray easily. Using an assortment of colors and textures for the trimming materials make the toy more attractive to the babies sense of touch. The trimming materials will be folded over to form small loops so each piece should be about three inches in length.
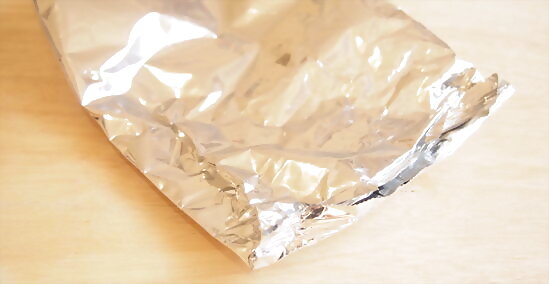
Save an empty cereal bag and clean it. The last thing that is needed to make the crinkle taggie toy is something to give it its crinkly sound. One of the easiest and safest things to use for this is an empty cereal bag. Of course, in order to prevent the possibility of bugs being attracted to the toy, the cereal bag should be thoroughly washed and dried before it is used. To do this, the cereal bag should be gently split along the seams and cut up the side to make one flat piece that is easily wiped clean with a soapy dishcloth or sponge. It can be left to air dry, or dried by hand.
Making the Toy
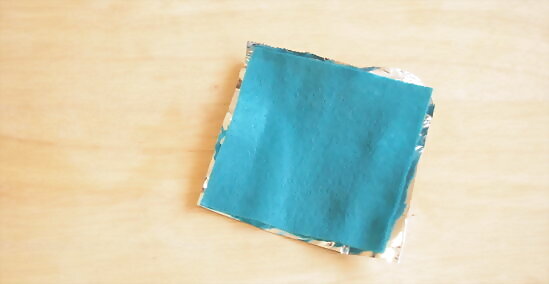
Lay the cereal bag on your work surface and place the first piece of material on top. Although one half of the cereal bag is sufficient, some people prefer to use the whole bag for extra crinkling. The cereal bag should be laid out on the work surface. It does not need to be entirely flat since it is supposed to be wrinkled to make the sound. One piece of the material should be centered, face up on top of the plastic cereal bag.
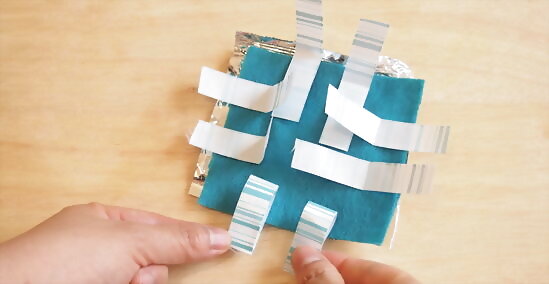
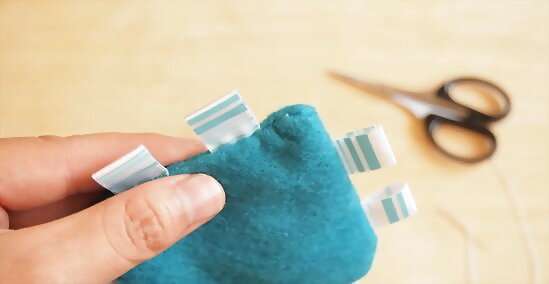
Arrange the trimming materials around the edges. The pieces of trimming materials should be spaced around the edge of the main piece so that a small section of the open ends of the loops hang off the edges of the material. This is done so that the ends are held in place when the toy is sewn. The loops should be pinned so that they stay in place while sewing. It's okay if they lay across each other on top of the material because the toy will be turned right side out so that the tags hang freely along the edges.
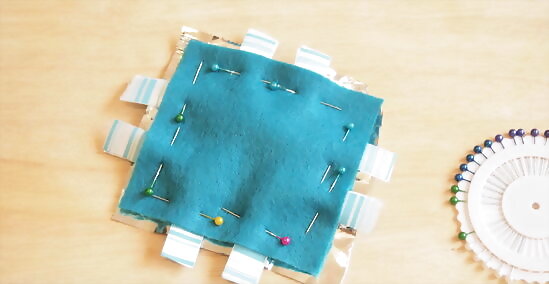
Place the other piece of material on top, face-down. After the tags are pinned in place, the other piece of material should be placed, pattern-side down, on top of everything. It is important to align the edges of the two pieces of material so that they can be sewn together properly. The two pieces of material and the cereal bag should be pinned together along the edges.

Sew the two pieces of material together, leaving a gap of 2 to 3 inches (5.1 to 7.6 cm) on one side. Using a sewing machine, the toy should be sewn all the way around the edge aside from a space in the center of one side that is about 2–3 inches (5.1–7.6 cm). Due to the cereal bag, it might be difficult for the sewing machine to draw the toy through while sewing, so the person might have to help it along.
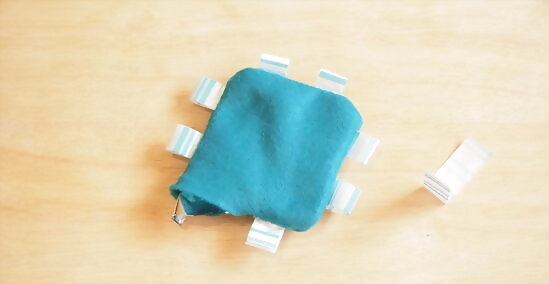
Turn the toy right-side out. Trim the edges as necessary. After sewing the toy, it should be trimmed close to the seam to remove any excess cereal bag or cloth that sticks out too far. This will make it easier to turn the toy right-side out through opening that was left.
Securely stitch the opening closed by hand. You can use the ladder stitch for an invisible seam.
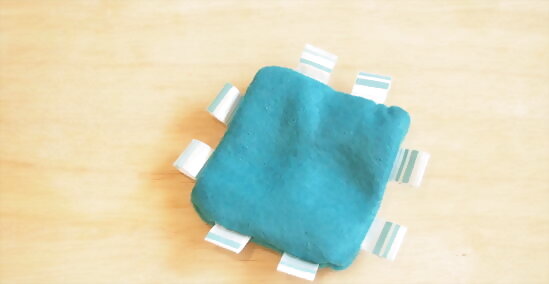
Finished! You crinkle taggie baby toy is now ready for your baby to enjoy!


Comments
0 comment