
Making a Simple Button
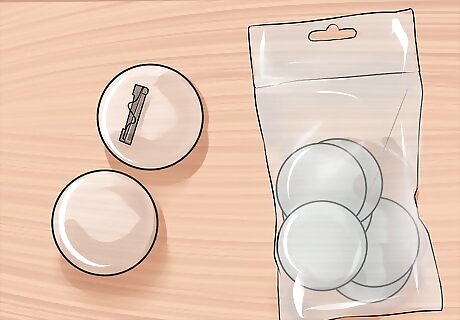
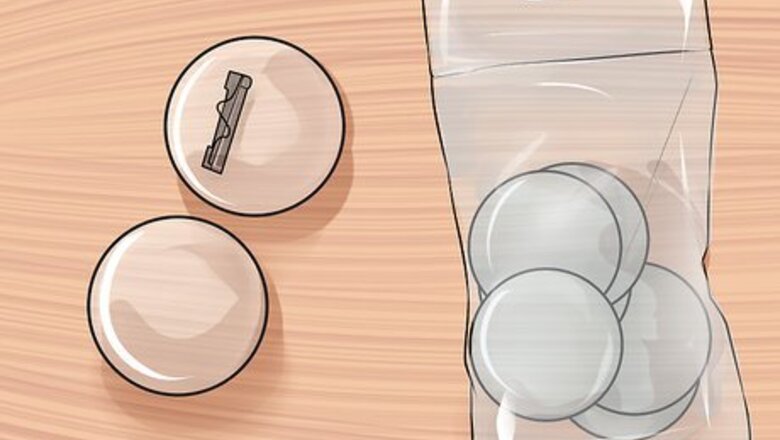
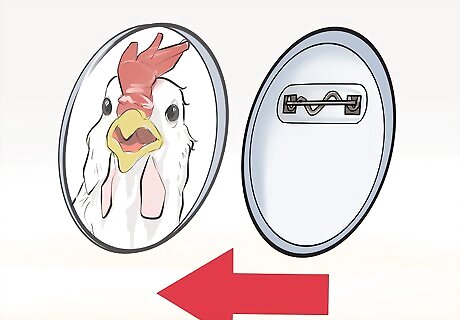
Purchase plastic casing. You will need to buy snap-in button casing. You can find this online or at your local craft store. It comes in a variety of sizes and you can get as many as you need (from 20-200 or more!).
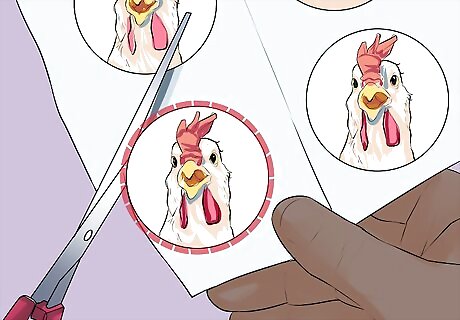
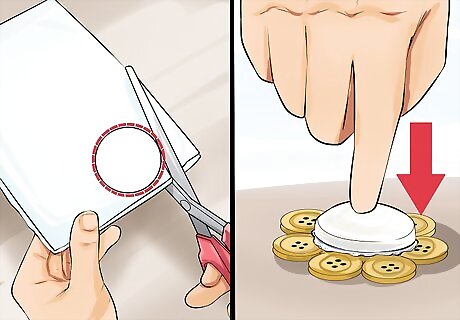
Prepare your image. Print and cut out the image that you want on your button. Make sure the image you have is the right size for the button casing and then print it out on regular paper. Cut out the images as perfectly as you can.
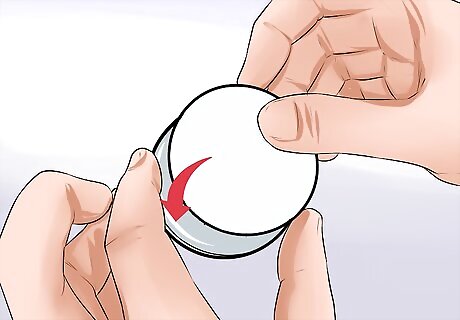
Insert the image. Put the printed and cut-out image into the bowl half of the casing. Face the image toward the bottom of the bowl.
Add the back. Snap in the back of the casing and that’s it! It's just that easy!
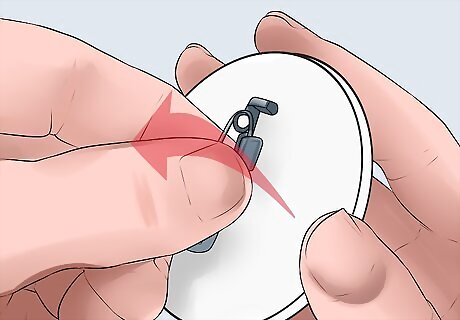
Reuse as necessary. Simply pull the button apart in order to reset the image or add a new one.
Making a Professional Button
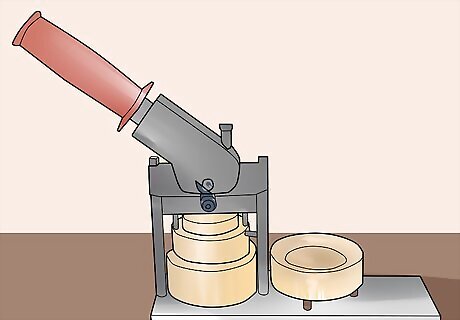
Buy a button press. For a professional finish and ease of production, buy a full button press. They aren't that much money and it will make the work a lot easier, if you need to make several hundred buttons. You can also buy a hand-held cheap version but this produces a cheap-looking button. You can also get paper cutters which will further streamline the process. Just make sure it's the right size for your machine.
Get the metal casing. You'll need the disk, the back, and the clear plastic front. Make sure it is for a button machine and make sure it is for the same size button that your machine produces.
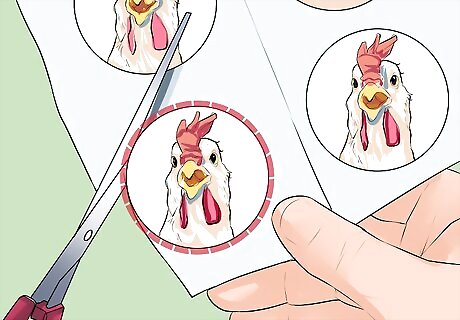
Prepare the image. Print and cut out the image that you want on your button. Make sure the image you have is the right size for the button casing and then print it out on regular paper. Cut out the images as perfectly as you can.

Place the backing in the machine. Make sure the machine is in the starting position. Place the back piece in the circular nest, backside facing down and the line of the pin horizontal.

Place the disk in the machine. The disk should be placed in next, bowl or underside-side down.
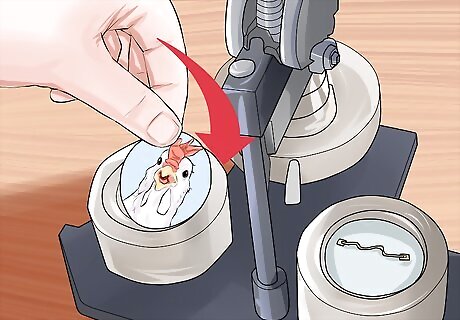
Place the image. The image should be facing up and aligned correctly with the pin.
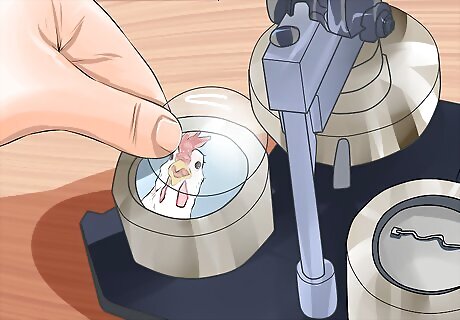
Place the clear plastic. Place the plastic on top of the image.
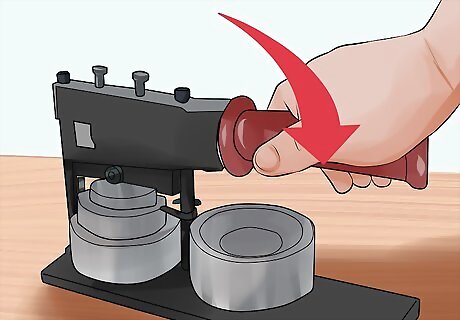
Press down. Press down on the lever until you hear a click.
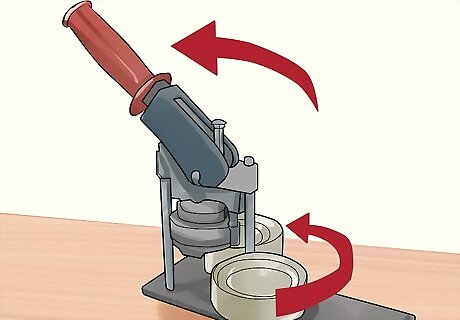
Lift the lever. Switch the machine into the second position.
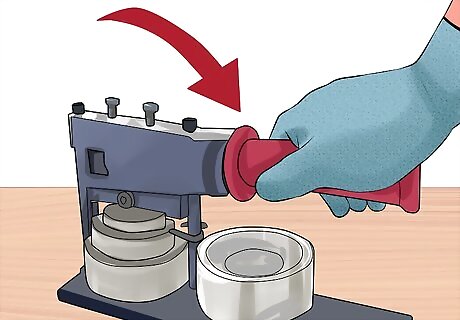
Press down again. Press down firmly. There may not be a click.
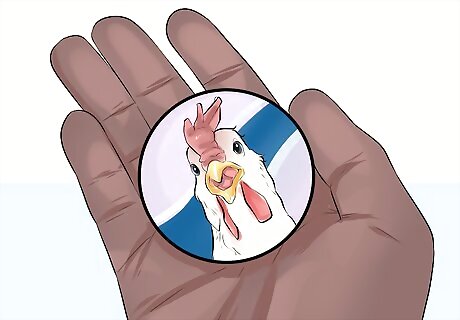
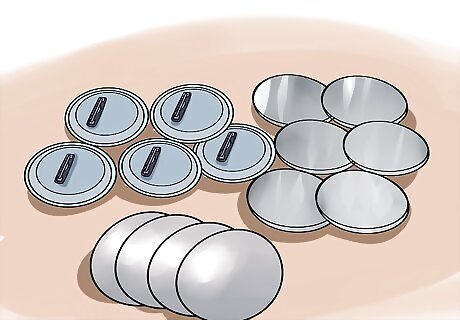
Enjoy your button. Lift the lever again and your button should be complete. There may be a release switch to make it easier to remove the button from the nest.
Making a Pin from Buttons
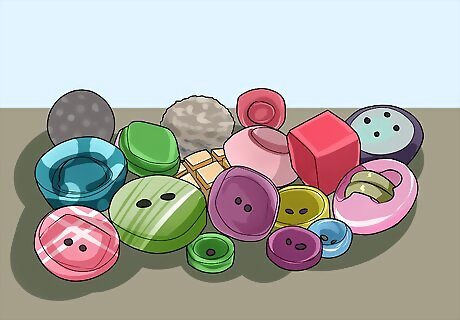
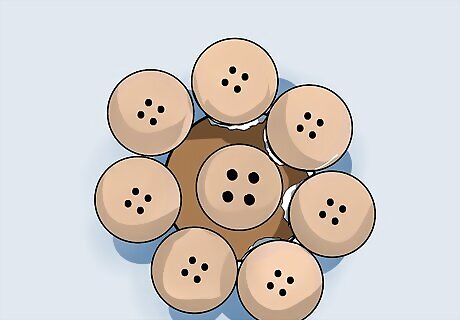
Choose the buttons. The color and style of the buttons is entirely up to you but you might like to consider some of the following ideas: Choose matching but varying hues. Choose the exact same color; this could be good where you want it stand out against a plain top. Choose a rainbow of colors. Choose different patterns, or even sizes of buttons. Whatever buttons you choose, ensure that they are in excellent condition and will be able to withstand being turned into an often-worn item of jewelry. Older, more fragile buttons may not be ideal for this project.
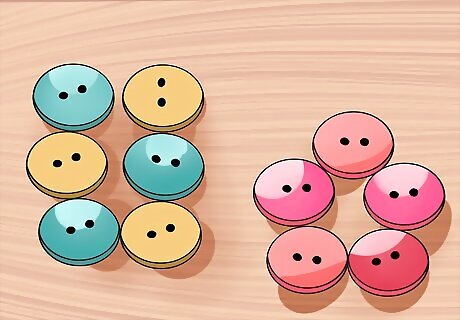
Decide whether you would like to alternate the petal colors or have the same color. For alternating colors, choose an even number of buttons. Arrange the buttons in a circle, alternating the colors and check that the look is suitable. You can have an odd number of buttons if the colors are matching.
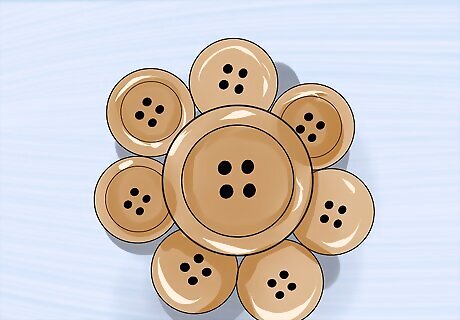
Select the center of the button flower. For this, the button needs to be much larger than the petal buttons, as they will sit around it. You can either match this button to the petals or choose a button in a completely different color, texture or style, as long as you like how it looks. Place the large central button over the already-made circle of petal buttons. Make sure you can see the petals poking out from around the edges.
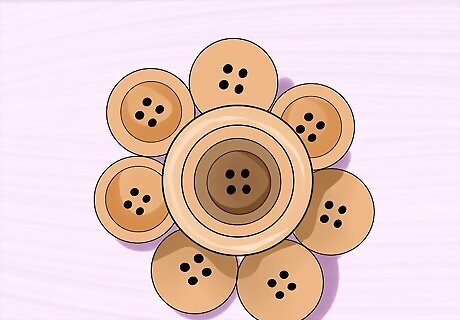
Find a button somewhat smaller than the big button that is being used for the middle. Place this one on top of the big button. Do the same for each additional layer you want (obviously, you're limited by how large your central button is).
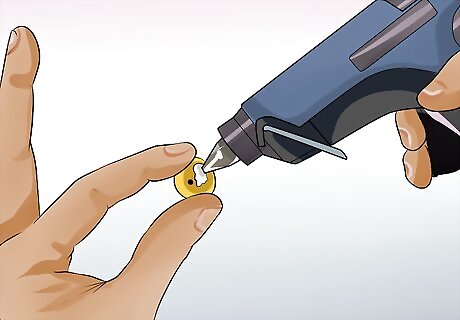
Glue all the buttons together.
Flip over the big center button. Using hot glue, glue the petals to the center. Then flip it back over. Use hot glue again, but this time to add the center layers. Now you have a fixed button flower.
Using craft foam, cut out a circle about the size of the big center button. Glue it to the back of the flower.

Open the safety pin. On the side that doesn't open, lather this with hot glue. Place it on the middle of the craft foam circle. Then place a lot of glue on either side of the pin, and on top of the side that doesn't close. Press it in for a few seconds. Then let it dry. If needed, add more glue until the pin sticks.

Finished. Enjoy your new button pin.


Comments
0 comment