views
Hanging Blankets on the Wall for Soundproofing
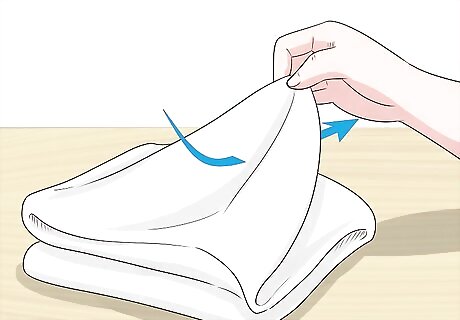
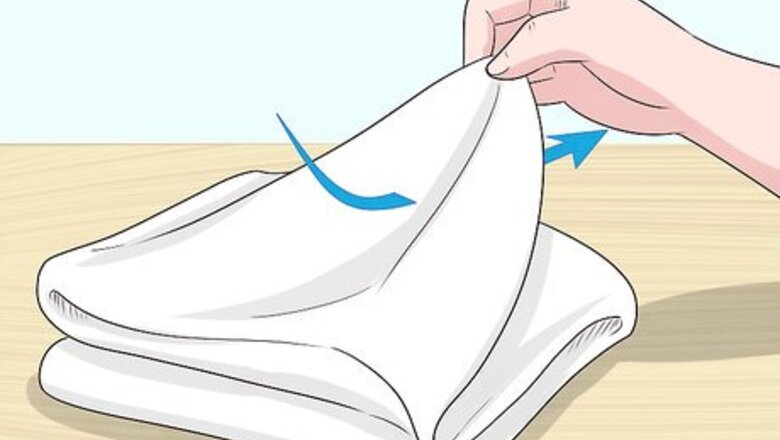
Choose blankets made from a breathable material. Check the care tag to see if the blanket is made from a fabric which permits air flow, like cotton, linen, rayon, or hemp. Breathable fabrics will absorb sound waves, helping to dampen the noise. A blanket with a dense weave will help the sound waves to continue bouncing around the room, which will amplify the noise. If you’re not sure whether a blanket is made from a breathable fabric, hold it up to your mouth and place one hand on the opposite side of the blanket, then try to blow through the material. If you can feel the air coming through, then the material is breathable and sound waves will be able to penetrate and be absorbed by the blanket. Materials that aren't breathable include polyester, nylon, vinyl, and fleece.
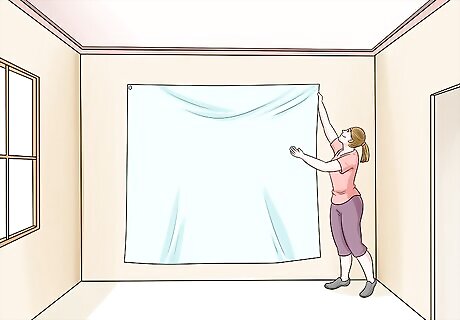
Position the blanket in the center of the wall. If the blanket reaches all the way up to the ceiling and all the way down to the floor, great! You'll get the best soundproofing that way. However, if the blanket doesn't quite cover the entire wall, tack down one corner of the blanket and stretch it out so that it covers the center of the wall. Aligning the blanket in the center of the wall will help trap the majority of sound waves in the room. If you like, you can use multiple blankets to make sure the whole wall is covered, and it's fine to overlap them.
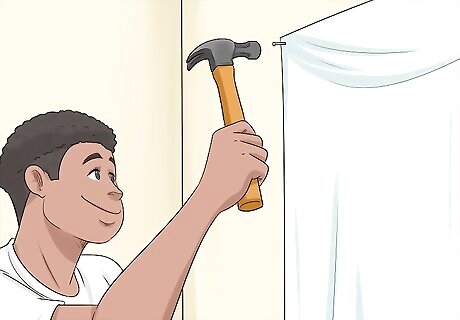
Hang the blanket with nails if you are planning to leave it up for a while. One of the most secure ways to hang your moving blanket directly onto the wall is to nail it into place. Use a hammer to drive a nail into each of the 4 corners of the blanket. To ensure the blanket hangs straight, it’s best to nail the top 2 corners into place first, then the bottom corners. You can use almost any nail, as long as it’s strong enough to hold the weight of the blanket. A good option is to use 10-penny nails, which are usually about 3 in (7.6 cm) long. Heavy-duty staples can be used in place of nails. Lay the blanket against the wall and press your stapler against the blanket, then pull the trigger. Since using nails or staples will leave holes in the walls, this may not be a good option for soundproofing an apartment, rental house, or dorm room.

Attach the blanket to the wall with strong glue if you can’t use nails. There are a number of adhesives on the market which are strong enough to adhere a moving blanket to your wall. In many cases, you will need to apply a thick line of glue to the surface of the blanket, then let it dry for a few minutes before pressing the blanket to the wall. You may have to hold the blanket in place until the glue is completely cured. Double-check the manufacturer’s instructions to find out how long to let the glue dry before hanging the blanket. Look for an industrial-strength adhesive like E6000 for this project, but keep in mind the attachment will be permanent. Using glue may pull the paint off of the walls when you need to remove the blanket, so if you’re not allowed to paint where you live, you might prefer a more temporary hanging method.
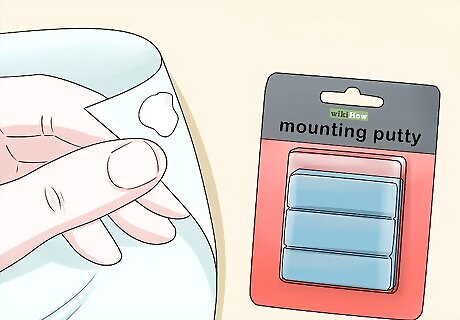
Apply mounting putty to the edges of the blanket for easy removal. Mounting putty is a removable adhesive that you can use to hang things on the wall without creating any holes. Just roll a small amount between your fingers until it becomes soft, then press it to the wall. Once it sticks, press a corner of the blanket into the putty. Continue this every 12–18 in (30–46 cm) all the way around the blanket. Popular brands of mounting putty include Sticky Tack and Blue-tack.
Finding Other Ways to Use the Blankets

Cover the walls and any other flat, hard surfaces if you’re recording audio. If you’re just trying to block outside sounds, covering the walls may be sufficient. However, if you’re trying to block out reverb in an audio recording, you’ll need to cover any surfaces that will bounce sound waves around the room. Drape blankets over countertops, the floor, and any large pieces of furniture to help diminish reverberation and echo in your recordings.
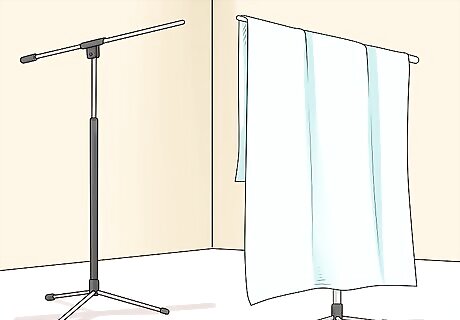
Use mic stands to temporarily hang blankets if you want them just off-camera. If you’re filming a video and you’ll be using multiple locations, set up mic stands just out of the view of the camera to create a moveable buffer around your filming area. Drape the blankets over these stands to help create a sound booth that you can relocate as needed. If you don’t have mic stands, you could use coat racks, light stands, or tall furniture that’s nearby. Just having the blankets draped over nearby furniture will help to cut a certain amount of noise from your recording, even if you don’t have special stands for arranging them.

Hang blankets from a narrow pipe or rod if they have grommets. Choose a pipe with a diameter small enough to go through the grommets, and choose several brackets that fit the diameter of a pipe. Use a stud finder to locate the beams behind your wall and use a cordless drill to screw the brackets into the beams, then slide the pipe into the brackets and hang hooks, such as shower curtain hooks, along the length of the pipe. When the pipe is installed, slip the grommets over the hooks dangling from the pipe. Grommets are small reinforced holes along the edge of the moving blanket. These grommets are often used to tie the blankets in place during moving, but they can also be used for hanging the blanket.
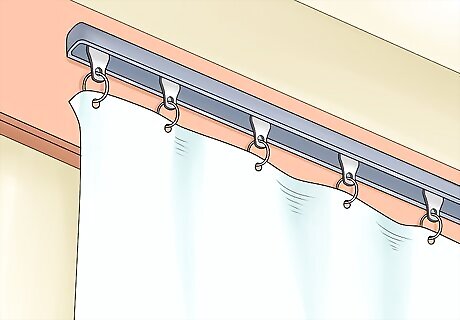
Install ceiling tracks for a permanent way to soundproof a defined area. Measure the area for your sound booth and cut the track to size with a handsaw, then use a cordless drill to attach the tracks into the ceiling with the provided screws. You may want to use a stud finder to locate the beams in your ceiling for additional support. Slide the curtain hooks into the trench along the bottom of the track, then hang the blanket from the curtain hooks. This is a great option if you want to create a soundproof booth for recording videos or your own music, and you can slide the curtains back when you’re not recording. The ceiling track work best with a blanket that already has grommets. You can find ceiling tracks at many home improvement stores or online.




Comments
0 comment