views
Suspending a Piñata from a Tree or Beam
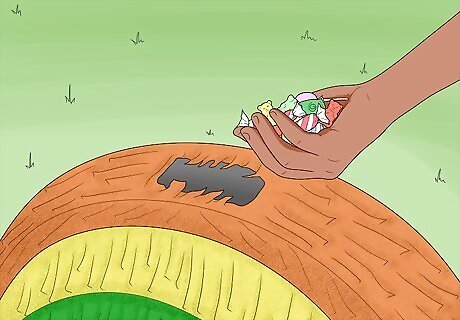
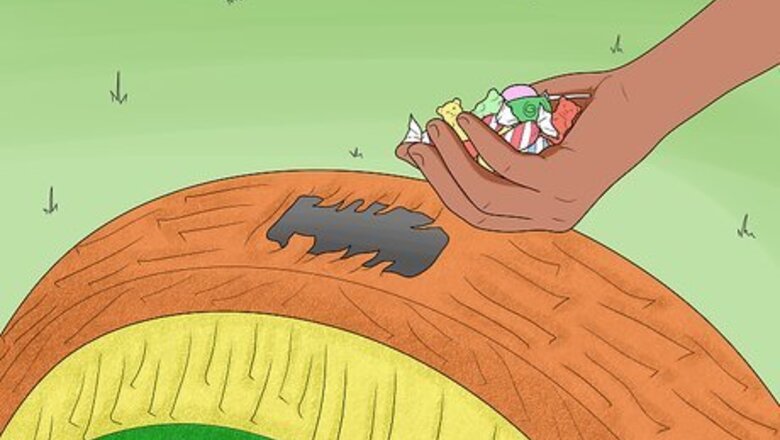
Put the party favors in the piñata first. Use scissors to cut a hole through the piñata's opening, which is usually on the back and covered by a sticker. Then, insert candy, toys, or other small prizes into the piñata by pushing the items through the hole. Some examples of treats and toys you can use are gummies, hard candies, plastic rings, and tiny candy bars.
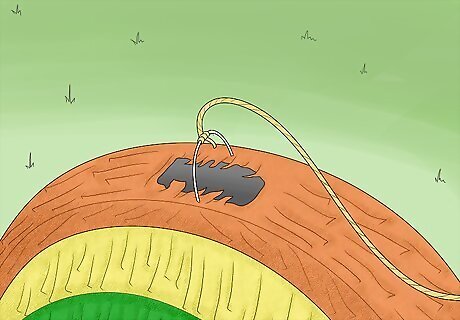
Push a 10 ft (3.0 m) piece of rope through the loop on the piñata's top. Find the loop attached to the top of the piñata and thread the end of a piece of rope through the loop. Then, tie the rope in a double knot to secure it to the piñata.

Choose a low-hanging location with plenty of open space around it. Low-hanging tree branches are good options, or you can hang the piñata from a basketball hoop or patio beam. Make sure you choose something sturdy! For example, if you're hanging the piñata from a tree, choose one of the main branches and make sure there are no rotten spots. Make sure the location has plenty of open space around it so the kids have ample room to swing the bat or stick at the piñata.
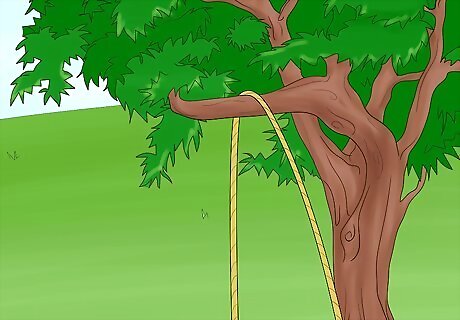
Throw the loose end of the rope over the branch, hoop, or porch beam. The piñata should be on one side of the branch and the loose end of the rope should be on the other. Pull the end of the rope to lift the piñata off the ground so that it's out of the children’s reach.
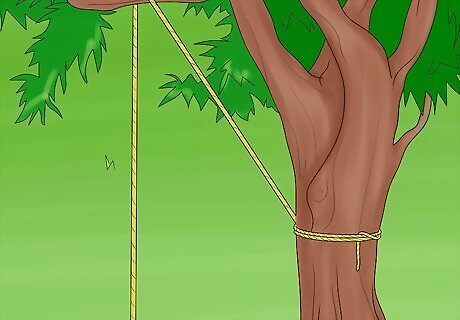
Secure the loose end of the rope until it’s time to play the game. Tie the dangling loose end of the rope to something sturdy, such as a nearby pole or tree. Be sure to tie the knot loosely, since you'll soon need to untie it! Additionally, make sure the rope isn't in the way of your party goers.
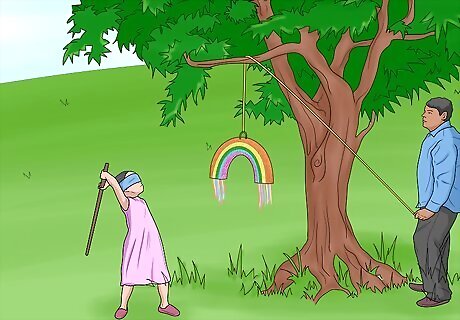
Untie the loose end of the rope and lower the piñata to start the game. Take control of the other end of the rope and lower it so the blindfolded players can reach it with their bats. You can also lower and raise the piñata with the rope to change things up and challenge the partygoers! Make sure the blindfolded child doesn’t hit other children with the stick by accident!
Using a Piñata Tripod
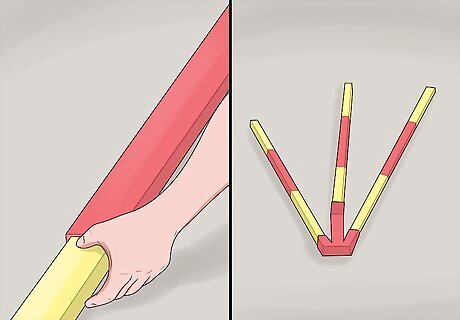
Assemble the tripod’s legs by connecting their pieces together. Assembly will vary, but it will probably involve snapping the leg pieces together before adding small screws to secure the legs in place. There will be tiny holes for the screws. You can usually rent a piñata tripod from most party supply stores. Make sure you choose a large area with plenty of open space for the piñata, such as an open area of the lawn. Party goers should be able to swing at the piñata in any direction and not be remotely close to hitting anything other than the piñata.
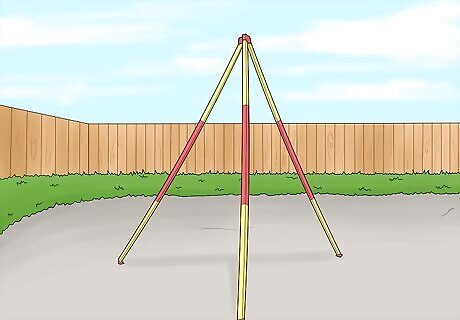
Stand the tripod upright on the ground. Extend the legs evenly on flat ground to ensure it doesn’t wobble or fall over when party guests are using it. Most tripods come with supporting feet at the bottom of the legs, so you don't need to insert the legs into the ground to hold them in place. If the legs are uneven in height, readjust them by realigning their small holes with different screws.
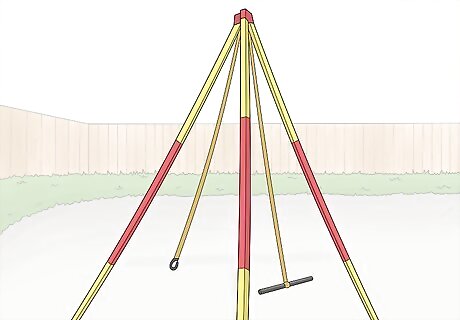
Allow the rope to dangle from the apex of the tripod. A rope should already be attached to the tripod where the top of the legs come together at a point. The rope should have a hook on one end and a bar on the other end that allows you to pull the piñata up to the desired height. Make sure the rope is dangling in the center of the tripod. Avoid pulling the piñata so high that it's out of reach for your partygoers.They should be able to easily hit the piñata with a stick or bat while standing on the ground.
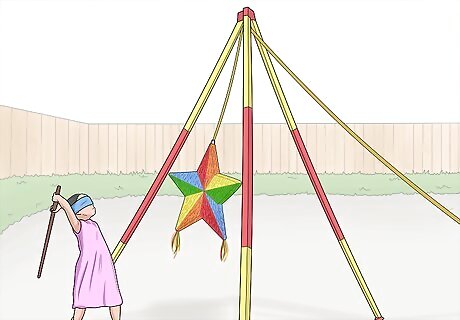
Hook the loop on top of the piñata to attach the piñata to the tripod. Attach the hooked end of the rope to the loop on top of the piñata. Grab the other end of the rope by the handle bar and pull it until the piñata is at the desired height. You can hold the rope during the game so that you can adjust the height and create a challenge for the players if you want to, but you don't have to. You can also tie the rope to something sturdy when the piñata is at the desired height.
Making a Hanging Hook
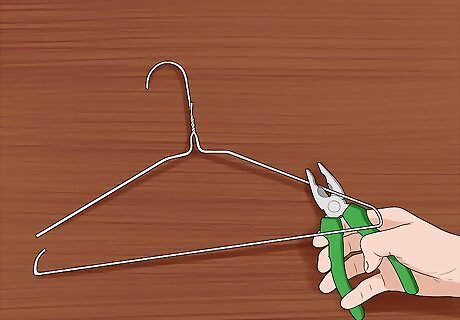
Cut a wire hanger in half lengthwise with pliers. Needle nose pliers or fencing pliers will work for this. Keep the top half of the hanger to use for the piñata’s hook and discard the bottom half. You can also use sturdy craft wire that you cut from a spool yourself and craft the end just like the hook of a hanger.
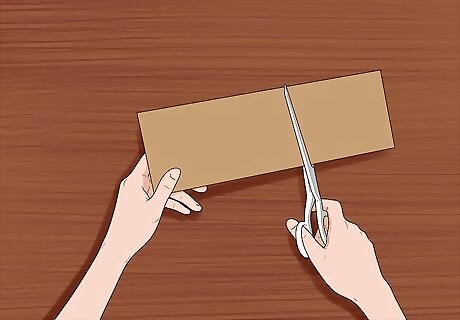
Cut out a thin piece of cardboard to use as a mount and bend it into shape. You can cut a thin piece of cardboard from a cereal box or any kind of cardboard box. The cardboard can be any shape, as long as it can be shaped to fit the top part of the piñata. For example, the cardboard from a postal service box will work for this project.
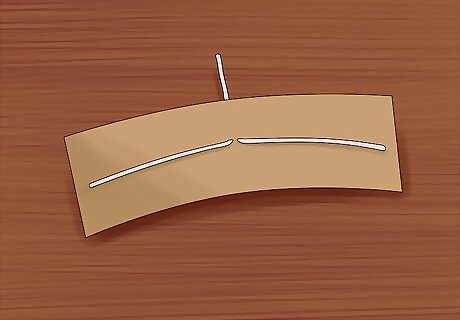
Poke the hanger through the cardboard and fix it in place with pliers. Use pliers to bend the tip of the hanger straight to insert it through the cardboard. Then, bend the ends of the hanger over the cardboard. Fold the ends of the wire as flat as possible so they don’t poke out.
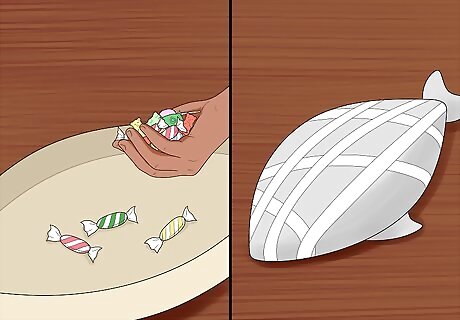
Assemble the inside of your piñata. Arrange the goodies in the shape you want and use masking tape to hold them in place. Then, wrap the taped shape with newspaper to get it ready for the application of papier mâché.
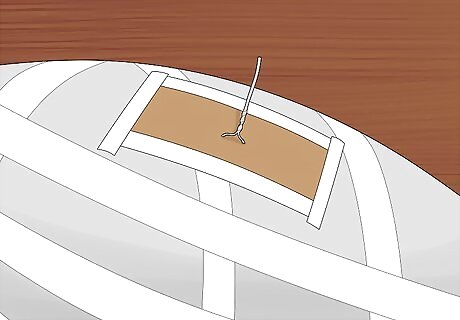
Attach the cardboard to the top of the piñata shape. Use masking tape to secure the hanger mount to the top of the pinata at the place where it will be suspended. All of the cardboard's edges should be completely secured to the pinata innards with the masking tape.
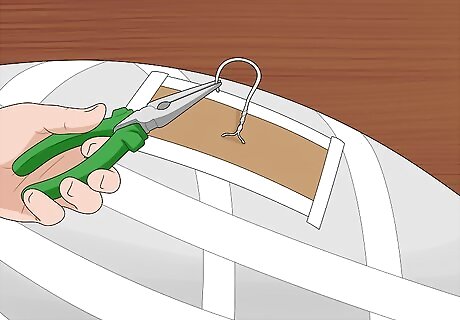
Curl the hanger hook into a closed loop using pliers. Bend the tip into a complete circle with enough extra wire at the end to twist around itself. Secure the hook in place by bending the wire around the lower part of the hook as tight as possible.
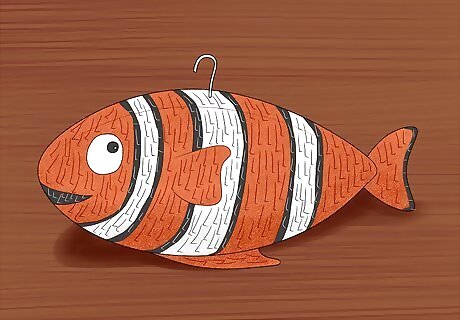
Build the piñata with papier mâché around the cardboard mount. The layers of papier mâché you use to create the piñata will secure the cardboard mount inside of the piñata. Make sure not to apply papier mâché over the hook itself so it will be exposed.
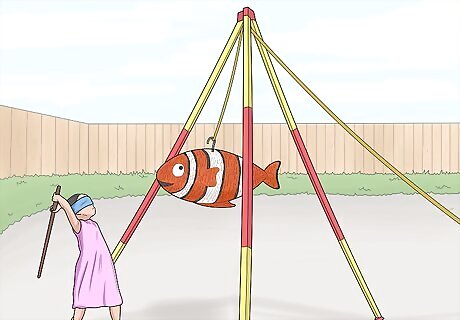
Hang your piñata from a secure place with a rope. If you want to use something in your yard, like a sturdy tree branch or a ceiling beam, check out the hanging technique in M1. You can also rent a piñata tripod and use the hanging technique in M2!






Comments
0 comment