
It's easy to sew those acute angles with absolute precision every time; it's so easy that it's practically "quilt by number"!
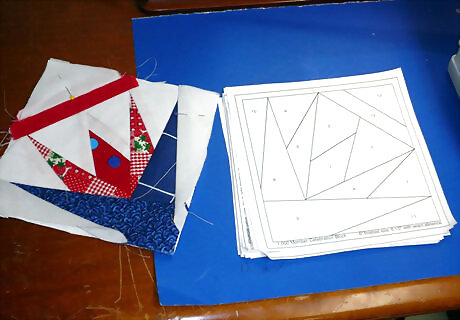
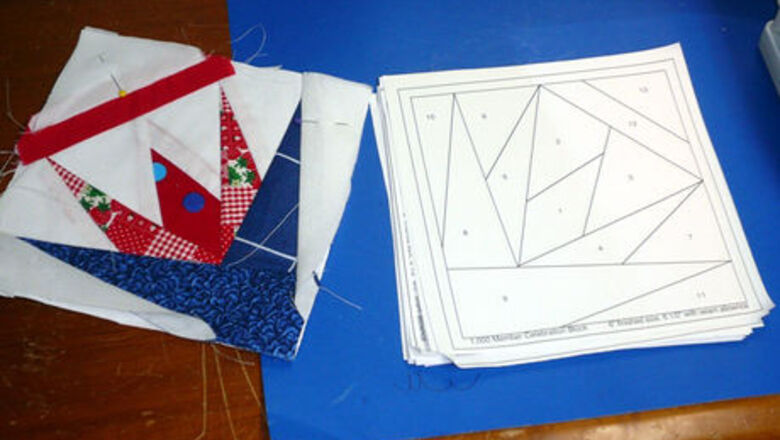
Select your pattern and photocopy or print enough of them to make your quilt. You will need one copy per block. Use the thinnest/lightest weight paper that will work with your printer/copier for ease in removal.
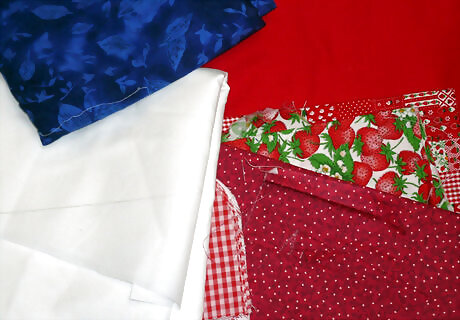
Select your fabrics.
Launder all of your fabrics. Washing them first means that the worst shrinkage, running, fading, etc. takes place before they're stitched.
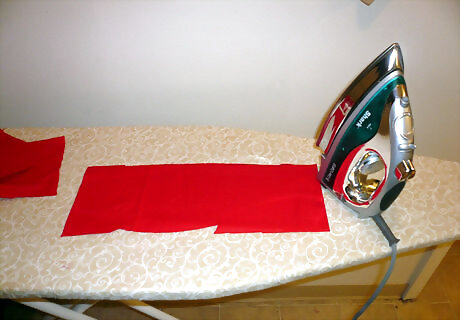
Iron the fabrics smooth if necessary.
Cut rectangles or squares in sizes which will cover the shapes in your pattern blocks. These can actually be ripped/torn in strips and then cut for speed and ease. Note that with lighter-weight fabric, tearing/ripping will damage as much as 1.5" of fabric, and can be very wasteful.
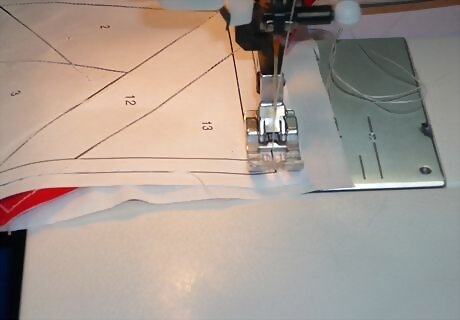
Notice that the pattern pieces are numbered in the order in which you should sew the pieces.
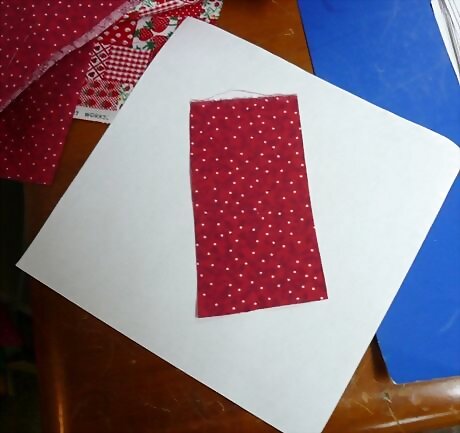
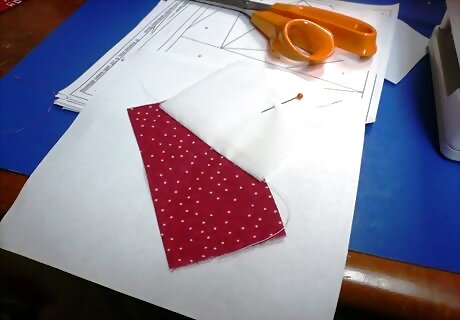
Place the cloth for piece #1 on the BACK side of the paper with the back/wrong side of the cloth towards the paper.
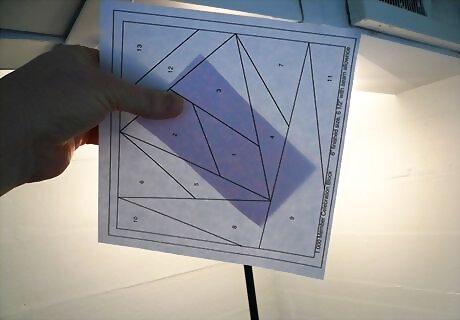
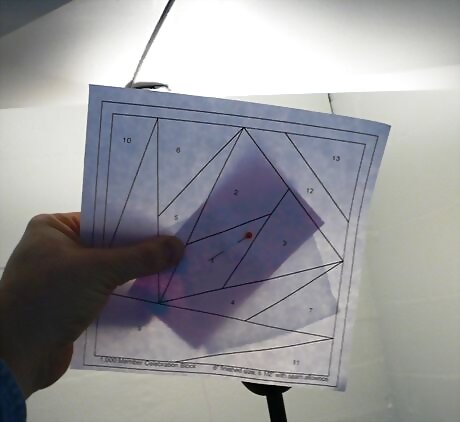
Hold the paper up to a light to verify that the fabric is oriented so that it covers all of the area of piece one with at least a quarter inch of overlap in all directions.
Place the cloth for piece #2 (white) with its right/front side facing the right/front side of piece #1 (red) and its seam edge aligned with the seam line and overlapping by a minimum of a quarter inch.
Pin the two fabrics in place on the paper.
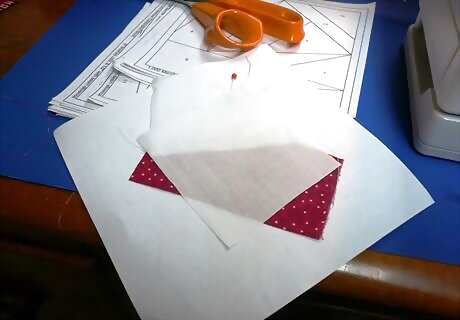
Flip the paper to the front/printed side.

Machine stitch the seam line from the printed side.
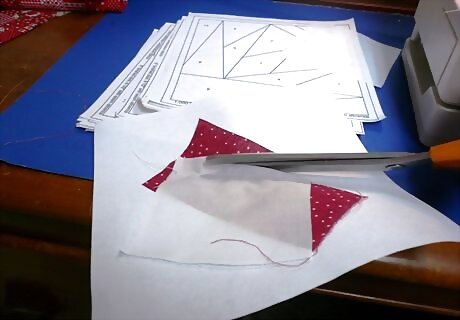
Trim the seam allowances to ⁄4 inch (0.6 cm).
Unpin the fabrics and flip piece #2 over the seam and pin it in place over its allotted area on the block.
Hold up the paper block pattern to the light to check that piece #2 will cover its allotted area.
Place the cloth for piece #3 with its right/front side facing the right/front side of piece #2... and its seam edge aligned with the seam line and overlapping by a minimum of a quarter inch (6 mm).
Pin the two fabrics in place on the paper.
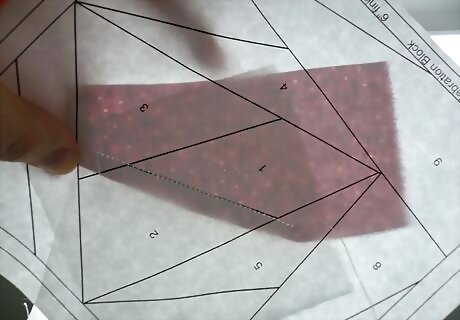
Flip the paper to the front/printed side and use back light to check the placement.
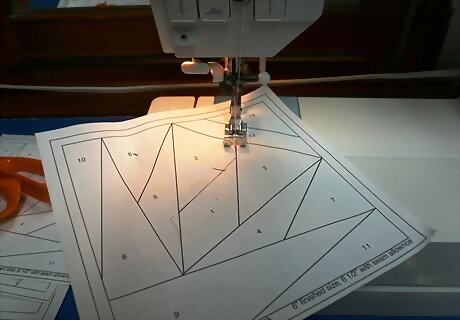
Machine stitch the seam line from the printed side.
Trim the seam allowances to 1/4 inch (6 mm).
Unpin the fabrics and flip piece #3 over the seam and pin it in place over its allotted area on the block.
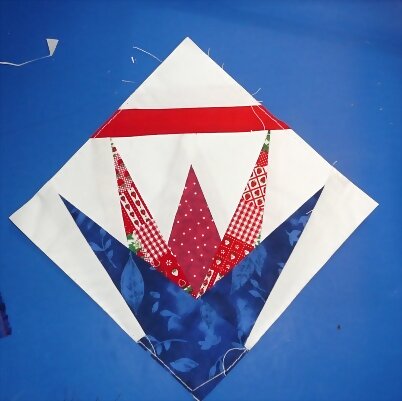
Repeat the process of placing, pinning, checking then sewing and trimming for each successively numbered piece.
Machine baste around the perimeter of your block when complete.
F31_705.JPG Trim all edges to a quarter inch (6 mm) seam "allowance".
Tear away the paper "backing".
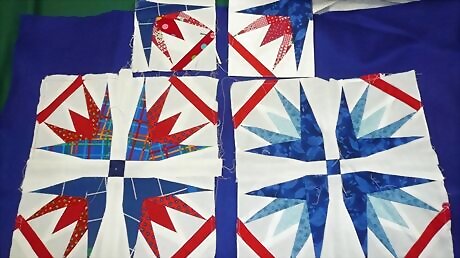
Voilà! You've got a perfectly sewn quilt block, with perfectly measured "seam allowances" and perfect corners - even in those hard-to-manage acute angles!


Comments
0 comment