
- Bundle 5 to 10 sage leaves together and hang them upside down in a perforated paper bag. Air dry them for 7 to 14 days, or until they feel dry and crispy.
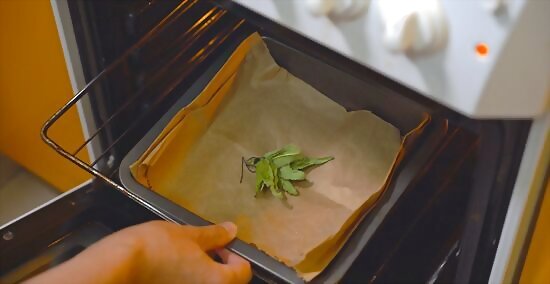
- Or, lay the sage on a lined baking sheet and dry them in the oven at 170° F (77° C). Bake the sage in 15-minute intervals for 3 to 4 hours until it’s brittle.
- As an alternative, set the leaves on your dehydrator’s drying tray and dry them at 95 to 110° F (35-43° C) for 1 to 4 hours.
Air Drying Sage
Gather the sage into bundles of 5 to 10 leaves. Grab a handful of leaves and gather them together by their ends, or where the leaf meets the stem. Just add no more than 10 leaves to each bundle to ensure that they get adequate air circulation to dry. Air drying is generally the best method if you want to make your own smudge stick and burn the sage to cleanse negative energies.

Tie the sage bundles with string, twine, or a rubber band. Cut a long piece of string and wrap it around the base of the stems to secure the bundle together. Just leave the extra string to dangle; you’ll use this to hang the sage upside down. Or, tie a new piece of string around the end of the bundle. If you use a rubber band, it tightens as the sage dries. This helps prevent you from losing leaves.
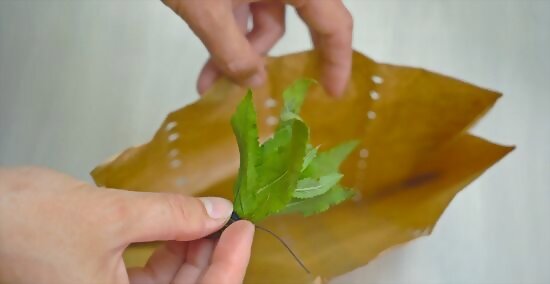
Hang the sage bundles in a paper bag punched with holes. Use a hole punch to add holes along the sides of a brown paper bag. Then, hang the sage bundles upside down from the top of the bag. Leave a bit of the string dangling out of the bag and then secure the top closed with a rubber band or string. The paper bag protects the sage from dust, while the holes let air flow around the leaves. Alternatively, place the leaves upside down in a muslin bag, close it with string or a rubber band, and hang it. Do not put the sage in a plastic bag, as it can cause mold to grow.

Place the sage in a well-ventilated area away from sun and moisture. Find a spot indoors or outside that gets a lot of airflow, like your kitchen or back porch. Then, hang the bag by the string or secure it in place with a chip clip. Just make sure to keep it away from moist areas, like above sinks, stoves, and washing machines. For more flavorful dried sage, hang it inside. Alternatively, air dry the sage on a paper towel. Lay out each leaf individually and change the paper towels daily. While you can dry sage in the sun, it’s generally not recommended as the sun’s rays can cause the sage to lose its flavor.

Turn the bundles every 1 to 2 days to dry them evenly. Open the bag and untie the string holding the bundles together. Then, turn each sage leaf around, retie the bundle, and hang the bag back up. This ensures that all sides of the sage bundle are drying at the same rate.

Watch the sage for mold if you live in a humid area. Herbs can quickly mold if they’re left to dry in moist, damp climates. Each time you turn over the sage leaves, look for fuzzy black or white patches of mold. If you see any, take the bundles down immediately and throw them away.

Remove the leaves after 1 to 2 weeks, or when they feel dry and crumbly. It typically takes between 7 to 14 days for sage leaves to fully dry. Just open the bag and rub one of the leaves between your fingers to see if it’s crisp and brittle—if it easily cracks and crumbles, it’s fully dried! If you live in a humid area, it might take longer for the sage to dry. If you want a faster and easier drying method, choose one of the others below.
Heat the dried sage in the oven to kill any insects and insect eggs. To remove any bugs you might’ve missed during your sage harvest, turn on your oven to 160° F (71° C). Then, place the sage leaves in a single layer on a lined baking sheet and bake them for 30 minutes. As an alternative, place your dried sage in the freezer for 48 hours to kill off any bugs or eggs. Just make sure the temperature is 0° F (-18° C) or below.
Drying Sage in the Oven
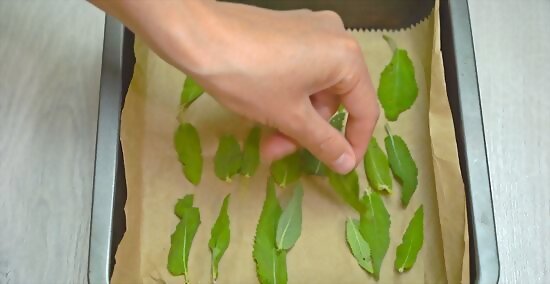
Lay the sage in a single layer on a baking sheet. Get out a baking sheet and line it with parchment paper or a baking mat. Then, arrange the sage on top so none of the leaves touch each other or overlap; adding space around the leaves ensures they dry evenly.

Set your oven to its lowest temperature, or around 170° F (77° C). High heat can quickly destroy the sage’s flavor, color, and essential oils. So, choose the lowest temperature on your oven, which is usually around 170° F (77° C) or under. Then, place the sage leaves inside. Do not dry the sage in temperatures higher than 180° F (82° C). If your oven doesn’t go below 180° F (82° C), use a different drying method.
Bake the sage in 15-minute intervals, stirring the leaves occasionally. Simply check the leaves every 15 minutes to make sure they’re not burning. After about 30 to 60 minutes of heating the leaves, touch the sage to see if it feels dry and crumbly. Then, flip and stir the leaves with tongs or a fork to ensure they dry evenly. If you have an electric oven, prop open the oven door to allow the air to circulate and to keep the temperature from rising too high. If you have a gas oven, don't prop open the oven; it’s dangerous to let the gas fill your kitchen. Instead, open the oven for a few seconds every 5 minutes to circulate the air.
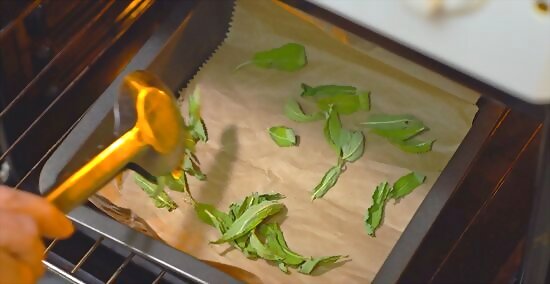
Remove the sage after 3 to 4 hours, or when it’s dry and crispy. Drying sage in the oven can take 3 to 4 hours, depending on your oven and how much sage you collected. When the leaves crumble easily between your fingers, take the sage out of the oven. Just place the baking sheet on your counter and let the sage cool down to room temperature. If your sage feels dry before 3 to 4 hours have passed, go ahead and take it out early.
Drying Sage in a Food Dehydrator

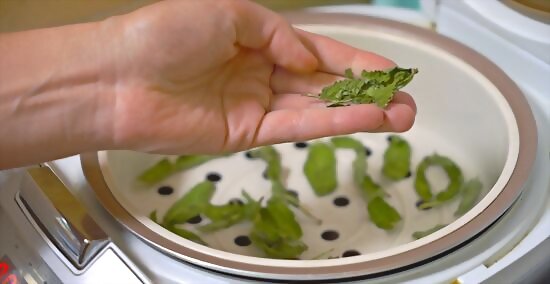
Set your dehydrator between 95 to 110° F (35-43° C). Using a dehydrator is one of the fastest and easiest ways to dry your sage—the dehydrator stays at a controlled, low temperature to preserve the sage’s flavor. Just turn on your machine and change the temperature to between 95 and 110° F (35-43° C). If you live in a humid climate, bump the temperature up to 125° F (52° C) to ensure the sage dries.

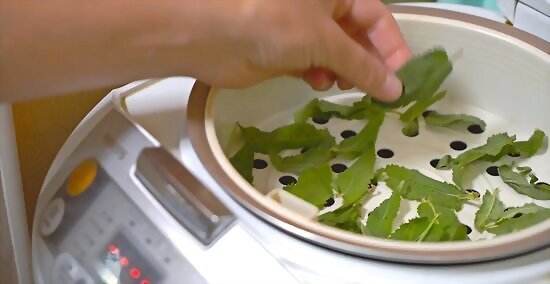
Spread the leaves on the drying tray in a single layer. Pull out your dehydrator’s drying tray and arrange the sage leaves in 1 layer. Just make sure none of the leaves touch or overlap each other, as this can prevent them from drying evenly. Depending on the size of your dehydrator and how many leaves you picked, you might need to dry the sage in batches. Dry the sage alone so its flavors don’t mix with other herbs or fruits.
Dry the sage for 1 to 4 hours, checking their dryness every 30 minutes. Sage typically dries within 1 to 4 hours, though the time it takes depends on your dehydrator. Just open up your appliance about every 30 minutes and touch the sage to see if it feels crispy or brittle.
Take out the sage when it feels crumbly and dry. When the sage has crispy, dry edges and crumbles between your fingers, it’s fully dry. Just turn off your dehydrator and set the sage on your counter to cool off.
Drying Sage in the Microwave

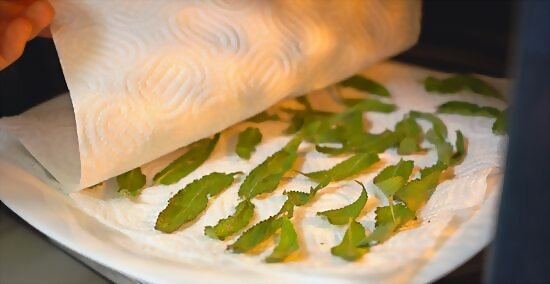
Lay the sage leaves in a single layer between 2 paper towels. Grab a paper towel sheet and spread out your sage on top so none of the leaves overlap or touch each other. Then, layer another paper towel sheet on top of them. If you have a large batch of sage, you might have to dry your leaves in batches. If your microwave is 1,000 watts or higher, use another drying method. Your microwave might heat the sage too quickly, causing it to lose its flavor or burn.
Heat the leaves for 2 to 3 minutes, flipping them over every 30 seconds. Just zap the sage for 30 seconds at a time, watching it carefully as the microwave’s heat can dry them quickly. Then, take the leaves out of the microwave and flip each leaf over so they dry evenly.
Remove individual sage leaves when they feel dry and crispy. When you flip over a leaf and it feels brittle or crumbles between your fingers, take it out of the microwave. Leaving a dried leaf on the paper towel can heat it up and potentially start a fire. Just set aside the dried leaves on a plate to cool down and keep drying the rest of the leaves until they feel brittle.
Storing Dried Sage

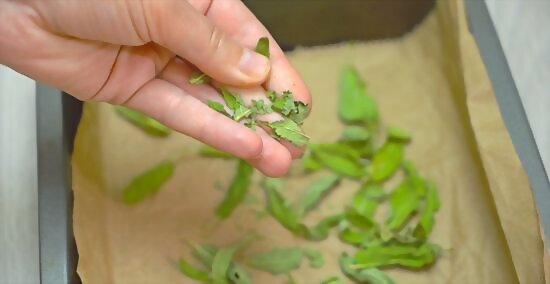
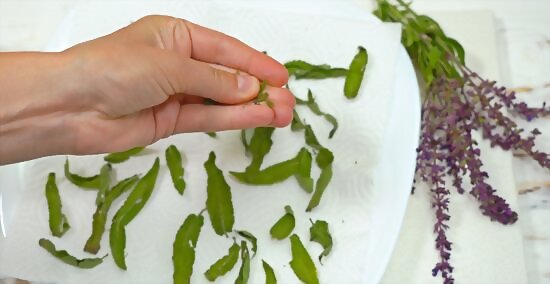
Crumble the sage into pieces by rolling it between your fingers. If you're cooking with sage to make delicious meats and veggies, crumble the leaves to make them easier to season with. Simply rub each leaf between your fingers until it’s in tiny pieces. If you’re using the sage to form a smudge stick, keep the leaves whole.

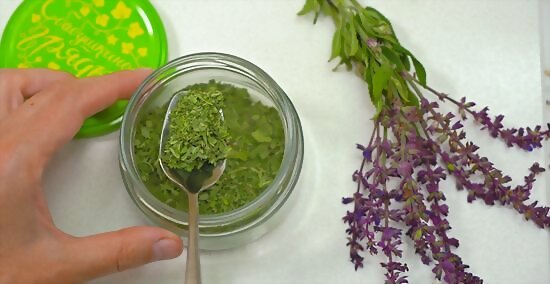
Set the dried sage in an airtight container in a cool, dry, dark spot. To prevent moisture and debris from contaminating your sage, store it in an airtight glass or plastic container or jar. Then, set it in a spot that stays cool and dry, like a pantry, cupboard, or drawer. Just make sure the area is out of direct light so the sage doesn’t lose its flavor. For example, don’t place the sage on a windowsill or near a stove or sink. These bright, moist areas can spoil your dried sage. Storing your sage in the fridge isn’t generally recommended, as the container might form condensation that contaminates the leaves.
Use the dried sage within 6 months to 1 year. Most dried herbs keep well for up to 1 year, and sage is no exception. Whenever you open your container to make sage-seasoned sausage or earthy sage butter, tightly seal it back up to keep the dried leaves as fresh as long as possible.
Harvesting and Cleaning Fresh Sage
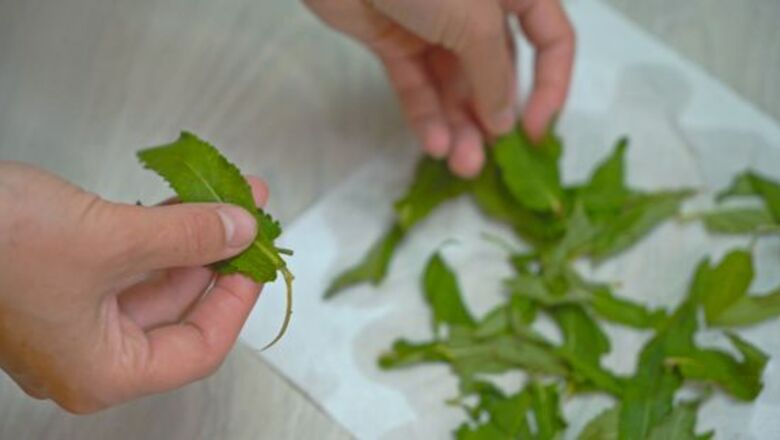
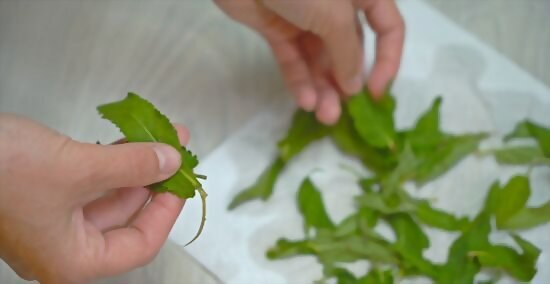
Pinch off sage leaves in the morning where the leaf meets the stem. When all the morning dew has dried off your sage, look for healthy, vibrant green leaves that aren’t shriveled, yellowing, damaged, or covered in insects. Then, gently pinch off the sage at the point where the leaf meets the leaf stem. Collect your leaves in a basket or place them on a clean towel. Alternatively, cut stalks off the sage that are about 6 to 8 inches (15-20 cm) long. Just cut the stalk below a group of leaves using sterilized scissors. A sage leaf might be infested with insects if it’s covered in webbing or little white specs that might be eggs; discard these leaves. Don’t pinch off more than ⅓ of the sage’s leaves to keep it healthy and encourage more growth. Harvesting sage leaves after the dew dries preserves their natural essential oils, which makes their flavor and smell more potent.

Rinse the leaves in cool water, then shake off the excess moisture. Place the sage leaves or stalks in a colander and run them under cool water for a few seconds to rinse off any dirt and debris. Or, hold them in your hands if you don’t have a colander. Then, gently shake the sage and place the leaves on a clean, dry towel.

Pat the sage dry between 2 clean, dry towels. Simply set a second clean towel over the leaves. Then, gently press the towel onto the sage to remove the remaining moisture. Just keep blotting the leaves until they feel dry to the touch. Or, spin the sage leaves in a salad spinner to dry them quicker.


Comments
0 comment