
views
- Cut a coffee filter into strips and draw a line 1 in (2.5 cm) from the bottom of each strip with a marker.
- Lower a strip into a cup of water so the line is close to the water but not submerged. Watch the marker color creep up the filter to create colored bands.
- Inspect the colored bands on the strip. Lighter shades will travel further than darker ones because they have smaller compounds that move faster.
Creating a Sample

Make or buy a chromatography strip. A chromatography strip is a strip of material that the mobile phase mixture, a liquid or gas, moves through. The strip serves as the stationary stage so you can see the rate of travel of the different components in the mobile phase. You can by specially formulated chromatography strips for superior results, but for simple chromatography you can make your own. Cut a coffee filter into straight strips about 1 inch (2.5 cm) wide and five or six inches long. Paper towels, or any other paper, can be substituted for the coffee filter.
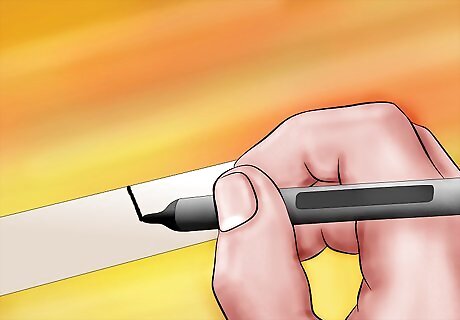
Place a colored line near the bottom of the strip. Measure up about 1 inch (2.5 cm) from the bottom of the strip. In this experiment, you’ll separate the components from a marker. Use a black marker to draw a straight line across the width of the strip. Make sure that your line is up high enough that you can submerge the bottom of the paper without submerging the line. In place of a line, some people use a dot. This will work as well, but the bands will not be as clearly defined using this method.

Secure the chromatography strip vertically. Use clothespins to secure the strip vertically so you don’t have to hold it in the water yourself later on. It should be hung such that the side with the marker line is nearest the ground. Make sure to place the clothespin as high on the strip as possible while still having a good hold. If the clip is too far down on the strip, it may interfere with the bands. You can hang the strip with paper clips, tape, or any other mechanism you see fit.
Introducing a Solvent
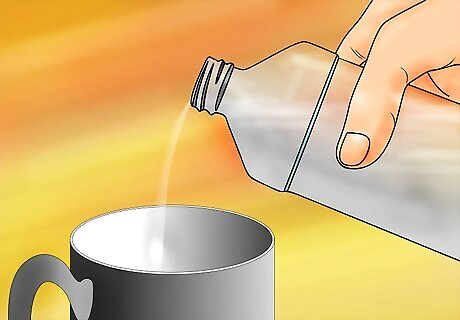
Put water in a cup. When doing simple chromatography, your solvent (the liquid that carries the mobile phase across the stationary phase) will be water. Add a little water to a clear cup or glass. You only need enough for the chromatography strip to soak up, so just a few ounces is plenty.
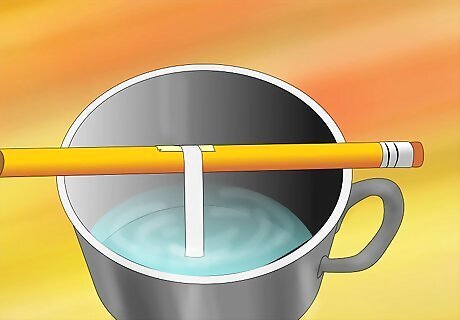
Lower the chromatography strip into the water. Keeping your chromatography strip vertical, lower it into the water. Make sure that you have an apparatus set up to hold the strip there, as this process can take quite a bit of time. The bottom of the strip should be submerged, but the marker line should not be submerged. If you accidentally submerge this line, throw the strip away and make another. An example apparatus would be to have the clothespin that is holding the strip clamped to a pencil lying across the top of the glass. This way, the strip dangles down and just barely touches the water.
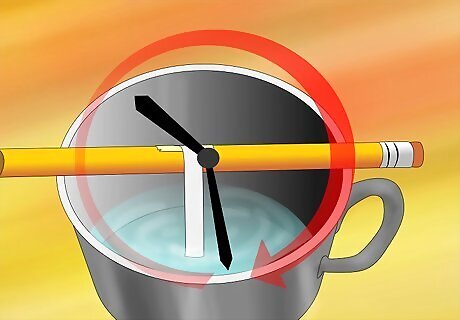
Wait patiently. As the water moves up the strip, it will carry the different compounds in the marker with it. The lighter (smaller) compounds will move faster, and the heavier (larger) compounds will move slower. This will separate the compounds out into “bands” based on their size. This is a slow process, however. Watch the strip until you see the water reach about 1 inch (2.5 cm) from the top of the strip. The exact time it takes the water to reach 1 inch (2.5 cm) from the top of the strip will depend on what kind of strip you are using. Don't carry the system after submerging the strip; avoid any stirring that will affect the result by diffusion of bands.
Observing the Bands
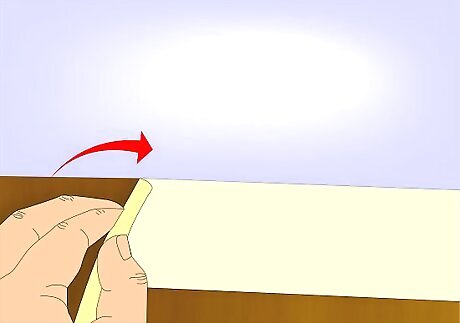
Take the strip out. Place it on a smooth surface and wait for it to dry.

Count bands you see. Once you have removed the strip from the water, your bands should stay in place. This will allow you to count how many different bands are visible on your strip. That will give you a rough idea of how many different sized compounds are in the marker’s ink.

Notice the color of each band. The marker’s black ink is made up of several different pigments. These pigments all have their own unique colors. When you separate them into bands, the bands will be the color of that individual pigment. By noting the color of each band, you can analyze what color pigments went into creating the black ink in the marker.
List the bands from the top of the strip to the bottom. Write the colored bands down based on how far they traveled. The bands near the top are your lightest compounds, and the bands near the bottom are your heaviest compounds. You are also likely to notice a color trend from top to bottom. Lighter colors are usually smaller compounds, and thus move farther up the strip, and darker colors will linger closer to the bottom because they are generally heavier compounds. The ratio of the distance a compound moved (Dc) to the distance the solvent moved (Ds) is called the Rf value. You can calculate the Rf value for any band by dividing the distance the band traveled from the original line to the distance the solvent traveled from the original line. For example, if you have a band two inches past above the line you made and the solvent traveled five inches above the solvent, you could use the equation Dband/Dsolvent = Rf. For this example, that means: Rf = 2 inches / 5 inches Rf = 0.4


Comments
0 comment