views
Organizing Your Project
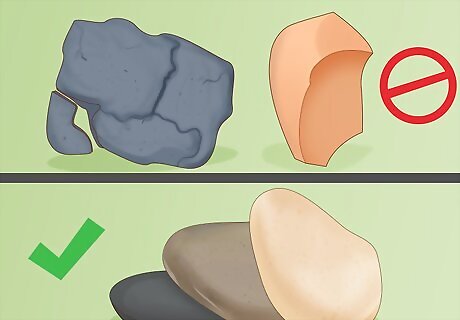
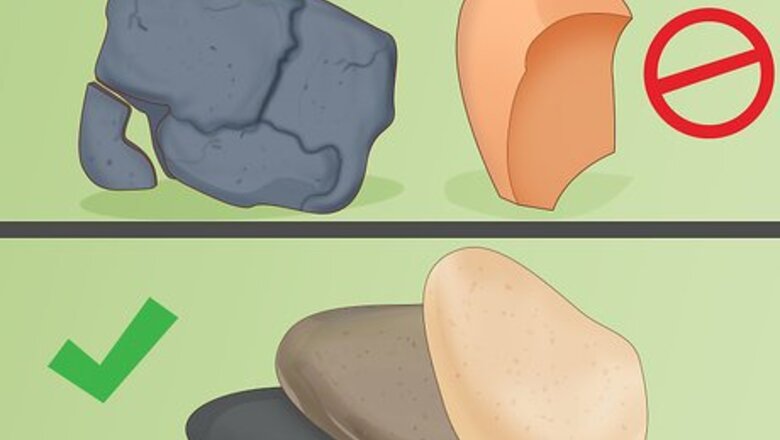
Choose smooth stones. Virtually any type of stone will work well for this project, so focus more on its condition, rather than what type it is. Favor those with smooth, rounded surfaces. Avoid chipped, broken, or jagged ones. Don’t limit yourself to stones with “perfect” shapes, like exact circles. Be on the lookout for oddly shaped stones that suggest designs uniquely suited to them, like a snowman or the Cheshire cat from Alice in Wonderland. Waterways are ideal places to find stones that have been worn smooth by currents. However, be careful about where you look, since public parks may forbid removing them. If you can’t find any available in the great outdoors, visit a local craft or gardening store, which often carry them.
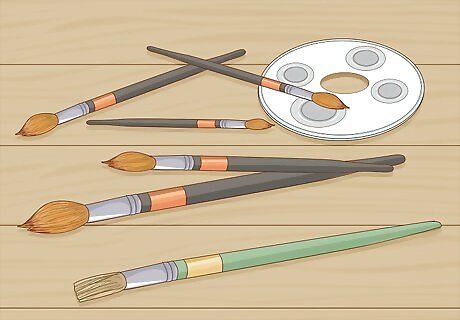
Use cheap brushes. Expect paint brushes to wear out pretty fast when used on something as rough and hard as a stone. Save your money and leave expensive sets on the shelf. Buy a cheap set that offers a variety of sizes. If not already included in the set, also buy some wide, flat brushes to paint your background (or any other element covering a large surface area) in addition to the smaller brushes for your detail work. A paint palette is also advised if you're going to be using lots of different paints and shades, rather than just one or two colors. The longer the bristles, the better, since these will hold more paint and last longer.
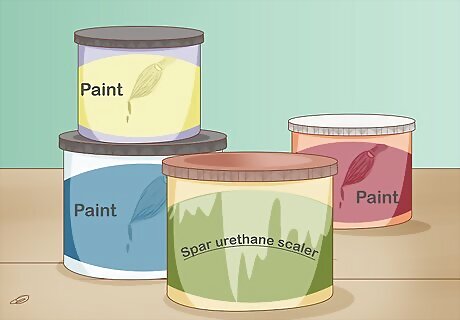
Buy the right paint and sealant for outdoor stones. If you are painting stones to add a touch of color to your garden or lawn, expect them to suffer more abuse over time from the sun and weather. Choose the right materials for the job. Favor paints designed specifically for exterior use. Then seal them with a spar urethane sealer for more protection from the elements.
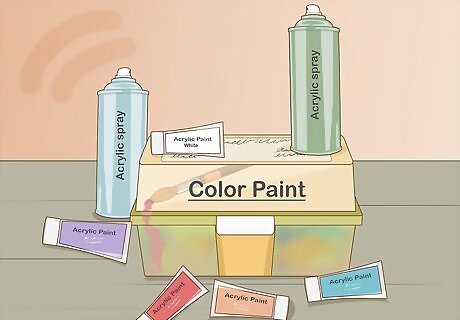
Do the same for indoor stones. If, on the other hand, your plan is to bring the outdoors in and raid your garden for stones to paint and place inside your home, use any acrylic, craft, or water-based paint. Then apply a coat of Mod Podge or acrylic spray for a sealant. Of course, there's no harm in using materials meant for exterior use here. So if you have some handy, feel free to use them instead.
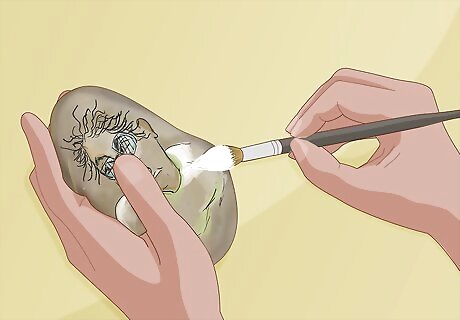
Sketch your design and practice on test stones. This step isn't strictly necessary, so feel free to skip it if you're just looking to have fun and aren't too concerned about the finished product. However, if you prefer perfection, practice your design on a sketchpad. Then use tracing paper to copy it, which you can then use to trace the outline on your stone. Additionally, expect the stone's natural shade to possibly affect the paint's color after drying, so dab your paints on a test stone with a similar shade to see what happens.
Painting Your Stones
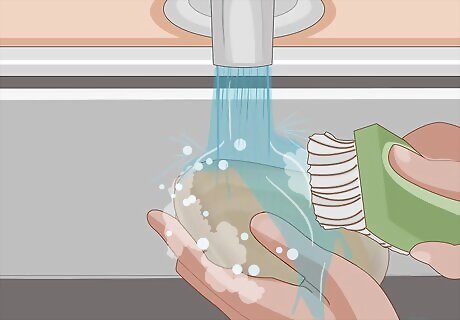
Clean your stone. If you’re using stones that you found outside, wash them first. Don’t worry about special cleaners. Just wash them in warm water and soap to remove any dirt that might muck up your paint or stick to your bristles. Rinse them off with more water and then either let them air-dry, pat them down with a towel, and/or use a hair dryer to get rid of the moisture. Store-bought stones should be relatively clean and ready to go, but washing them to get rid of any dust won’t hurt either.
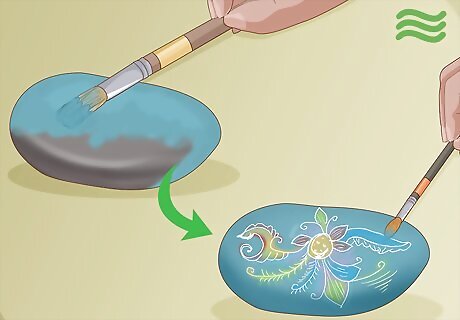
Paint your background first. Use a wide flat brush to apply your background color with minimal effort. Start your first coat on whichever side you choose: the back of the stone or its face. Let it dry completely before flipping the stone over and painting the other side. Once that side has dried, repeat the process with a second coat to minimize any alteration in color that the stone’s natural color may cause by bleeding through the paint. Expect drying times to vary depending on temperature, humidity, the type of paint used, and how much. When flipping the stone over to paint a new side, make sure any paint that may have dripped onto your dropcloth has dried as well. If necessary, replace your worktable’s protective covering with a fresh one.
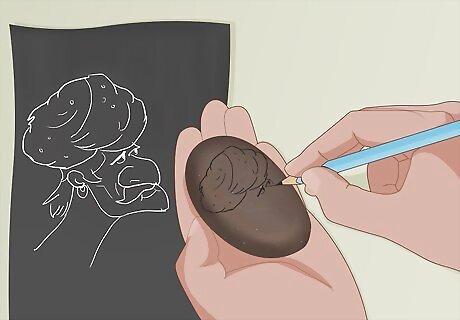
Trace your outline. If you’re going to paint your rock freehanded, feel free to skip this step. Otherwise, use a pencil or fine-point marker to copy your design onto the stone (or, if you’re simply painting a bunch of squares in various colors, you can use painter’s tape to outline the first to be painted). For now, only worry about copying the largest elements. Leave the smaller elements for later, since anything you trace now may end up being covered by your next coat of paint. For instance: Let’s say you’re painting Lisa Simpson’s face onto a blue background. For the moment, just trace the outline of her head (minus her eyes) as a single shape. Leave out her lips, inner ear, eyelashes, eyeballs, and pupils until later.

Paint large areas in first. Always color these in before moving on to smaller details. Avoid the risk of painting over your detail work, which could easily happen if you save the largest areas for last. Depending on how large or small your stone is, choose between a wide flat brush or a thick round one. Let the paint dry completely before moving on to smaller elements or fine detail work. Again, let’s say you’re painting Lisa Simpson. For now, simply fill the outline of her head with yellow paint.

Add smaller elements and detail. Once your last coat of paint has dried completely, repeat with smaller elements. Always work from biggest to smallest, letting one set of elements dry completely before moving on to the next smallest. If you’re less sure of your painting skills when it comes to extremely fine lines, consider using variously colored fine-point markers or marker paints instead of a brush and paint. With Lisa Simpson, move onto her eyeballs next, since these are the second largest elements after her head. Paint them white and let them dry. Doing so once the yellow has dried helps prevent the two colors from mixing accidentally. Once the white paint dries, proceed to add her lips, inner ear, eyelashes, and pupils, as well as a fine black border around each feature.
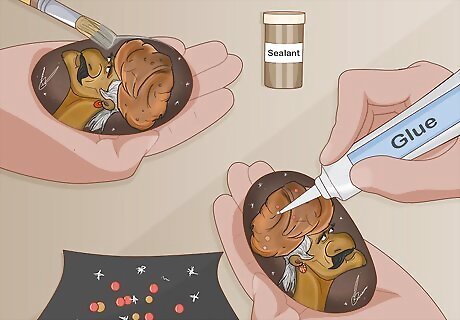
Apply sealant. Protect your artwork from wear, tear, and moisture. Add or one two coats of sealant. Be sure to read the directions for the particular sealant you choose, since some may recommend only using outdoors and/or with a ventilator mask in order to prevent inhalation of hazardous fumes. Once the sealant has dried, feel free to glue any add-ons (like pipe cleaners for whiskers, googly eyes, or bows) to the surface, if desired.
Making Your Own Stones
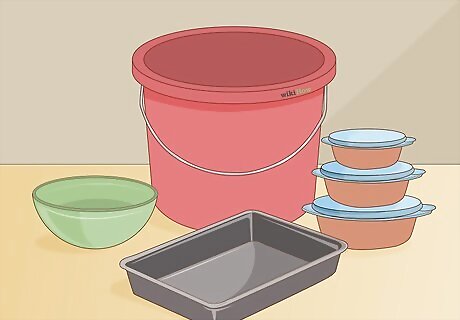
Choose your mold. Almost any sort of container can be used for this. Just be sure there aren’t any holes in its bottom or sides so cement doesn’t leak out. If necessary, trim the sides so they’re only a little higher than the stone you intend to make for easier access to the cement once it’s poured inside. Possible molds include metal baking pans, plastic bowls, buckets, or containers, or even paper milk cartons cut to size.
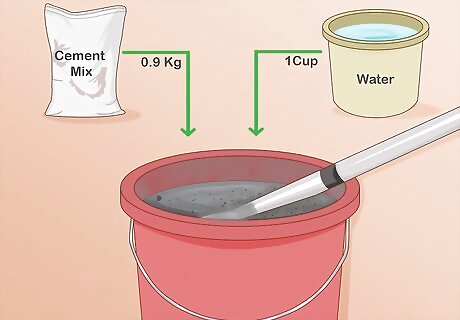
Combine cement mix with water. Depending on how large you wish to make your stone, the amount needed will vary. However, let’s saying you’re making two stones using a couple of standard-size loaf pans as molds. For this, measure about 2.5 lbs (0.9 kg) into a plastic bucket. Then pour 1 cup (237 ml) of water into the mix. Stir to combine until all of the cement mix has been moistened. The directions to your particular brand of mix may advise a different ratio. However, for this project you only need enough water to get all of the cement moist, rather than make a wet soup like you see in the movies.
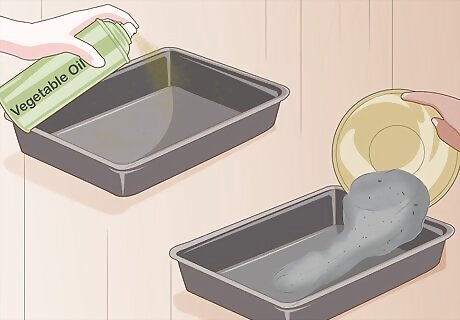
Fill your mold. First, spray the inside of your mold with cooking oil to lubricate the sides for easier removal. Then pour the cement in as evenly as possible. Once it’s filled, lightly rap the mold’s bottom on a hard surface a couple of times, which will help any trapped reach the surface and escape. Then smooth the surface with a spade or even just your hand.

Decorate the surface, if desired. Consider adding other elements in addition to (or instead of) painting your stone. Set mosaic tiles into the surface immediately after filling the mold, while the cement is still wet. Wait 30 or 40 minutes after filling, and then use stepping stone stamps to press names, words, or numbers into the cement's surface, like your family name or street number.

Let it dry for a day. Keep watch over your stone for the first hour after filling the mold. Pat the surface dry with paper towels if any water is forced to the surface as the cement dries. After that, simply let it sit for 24 hours. Then flip the mold upside down over a soft surface and whack the bottom until the stone falls out.





Comments
0 comment